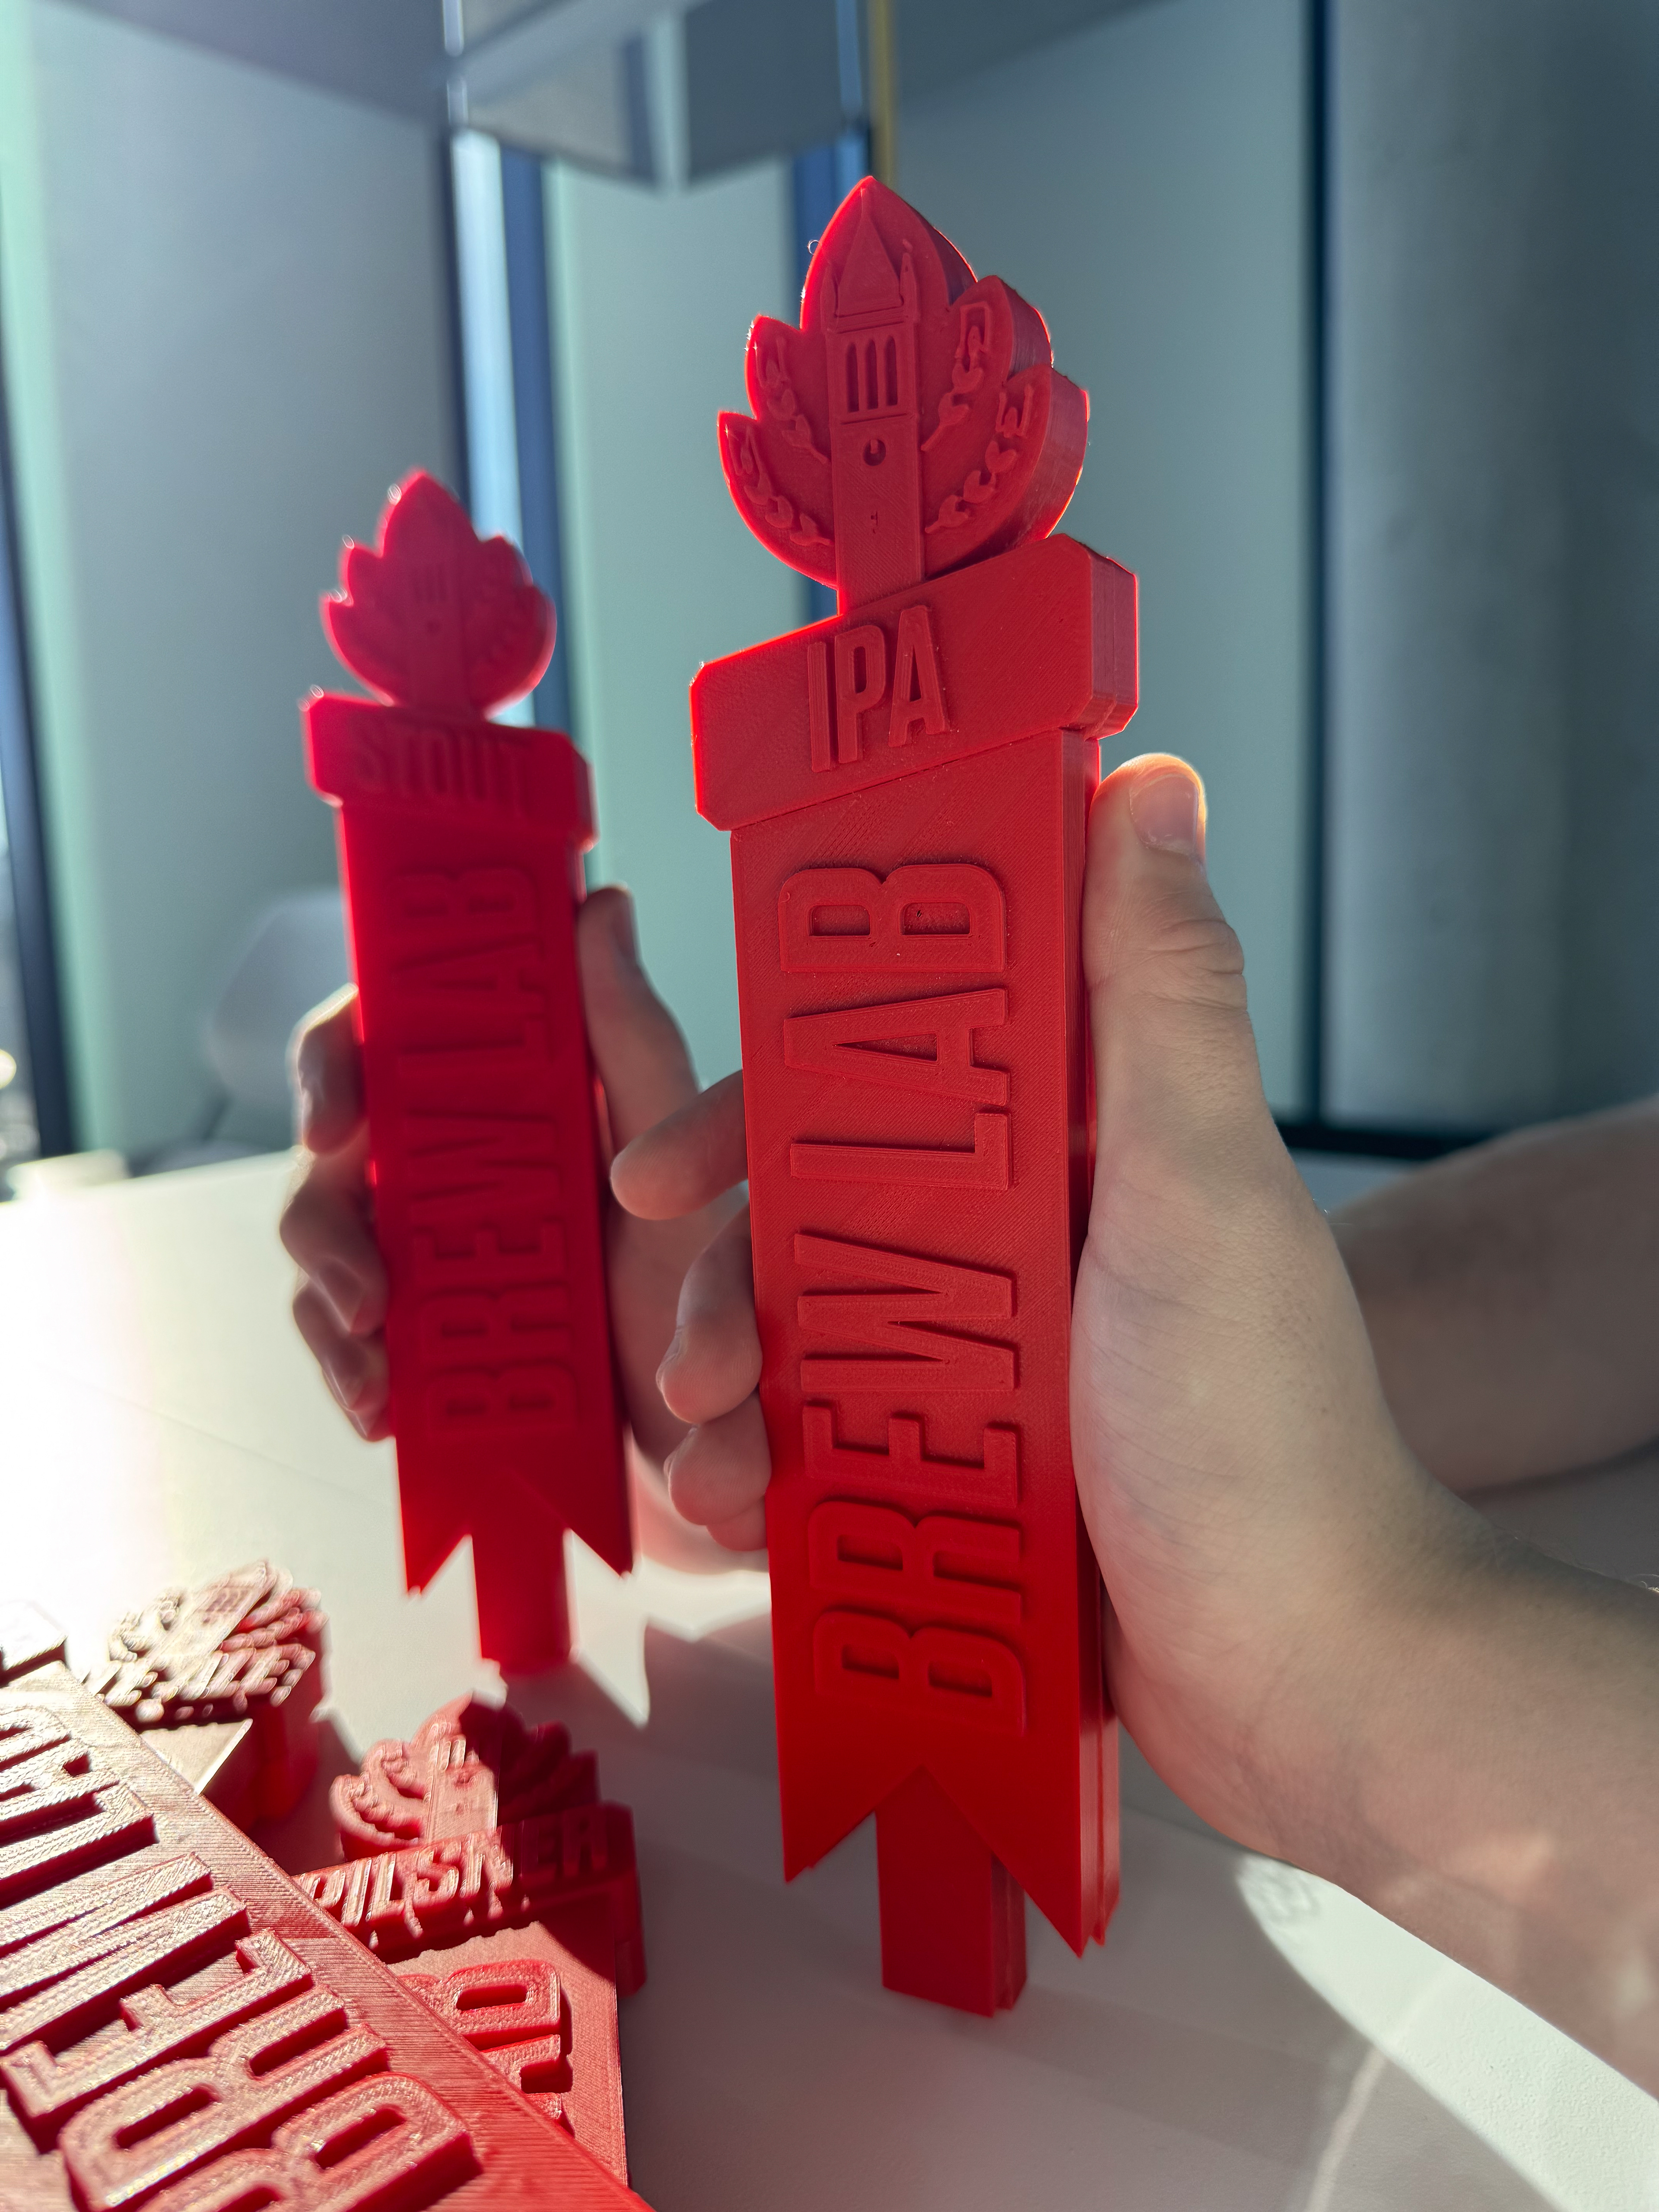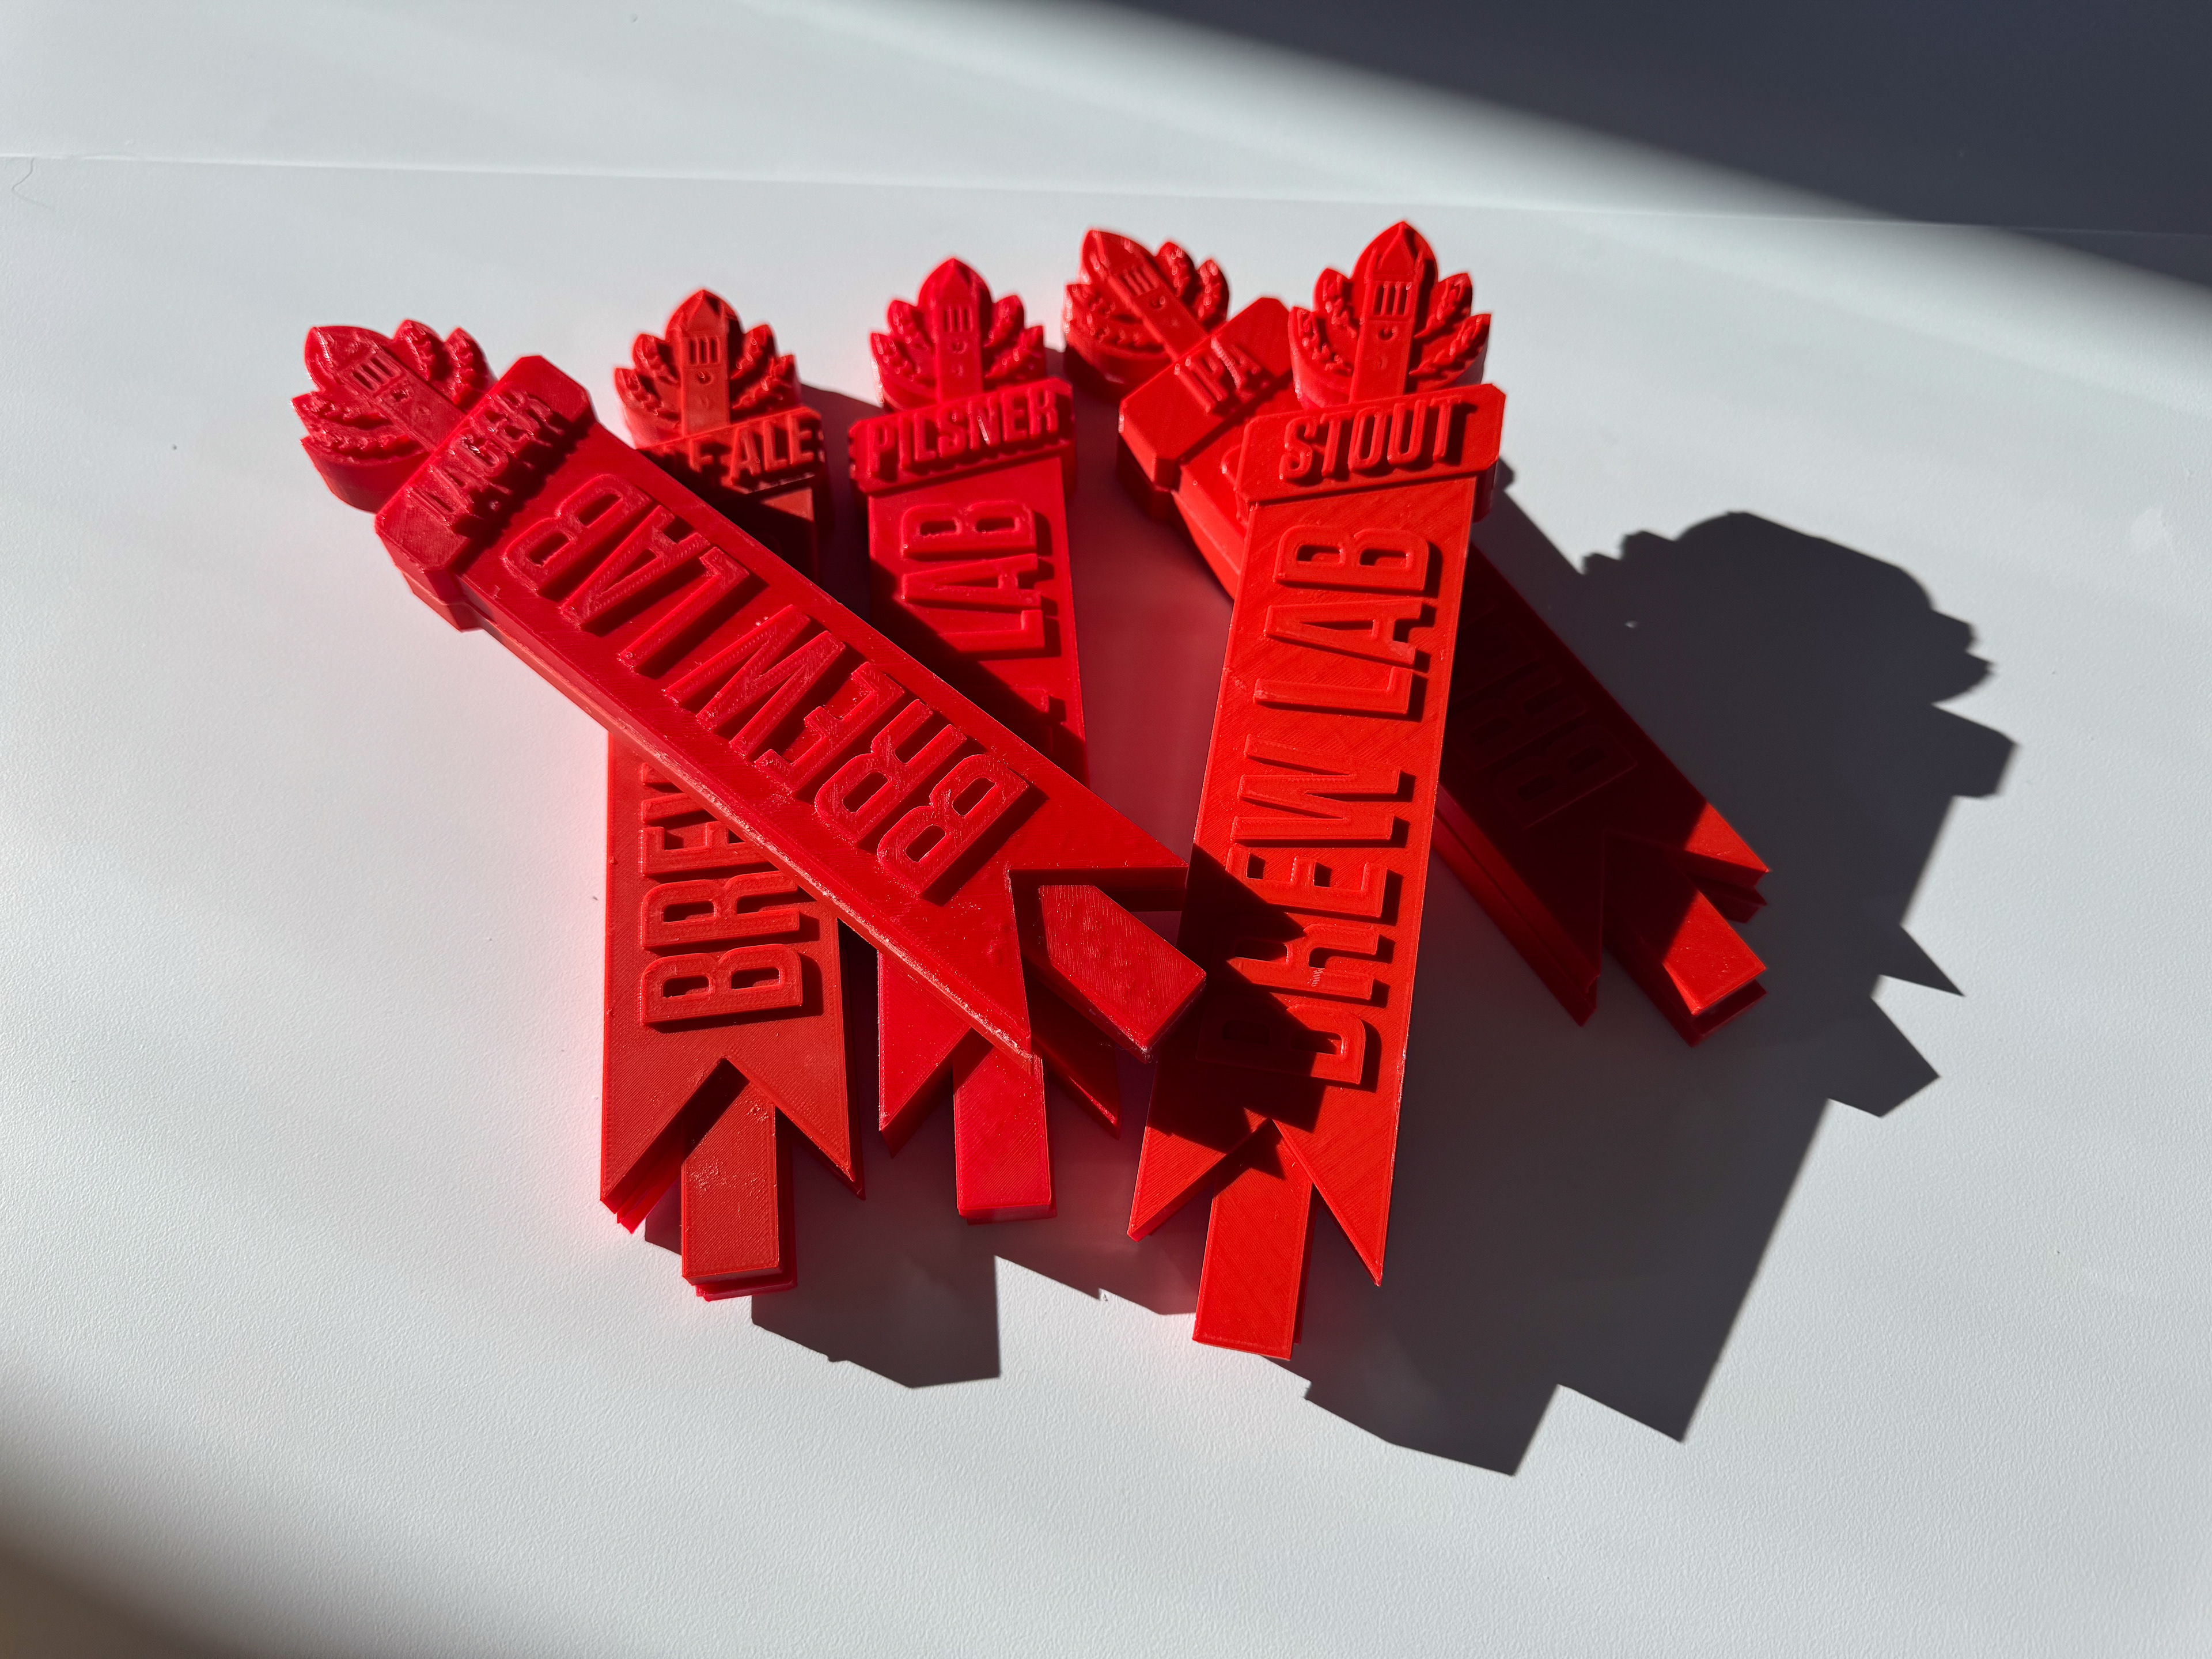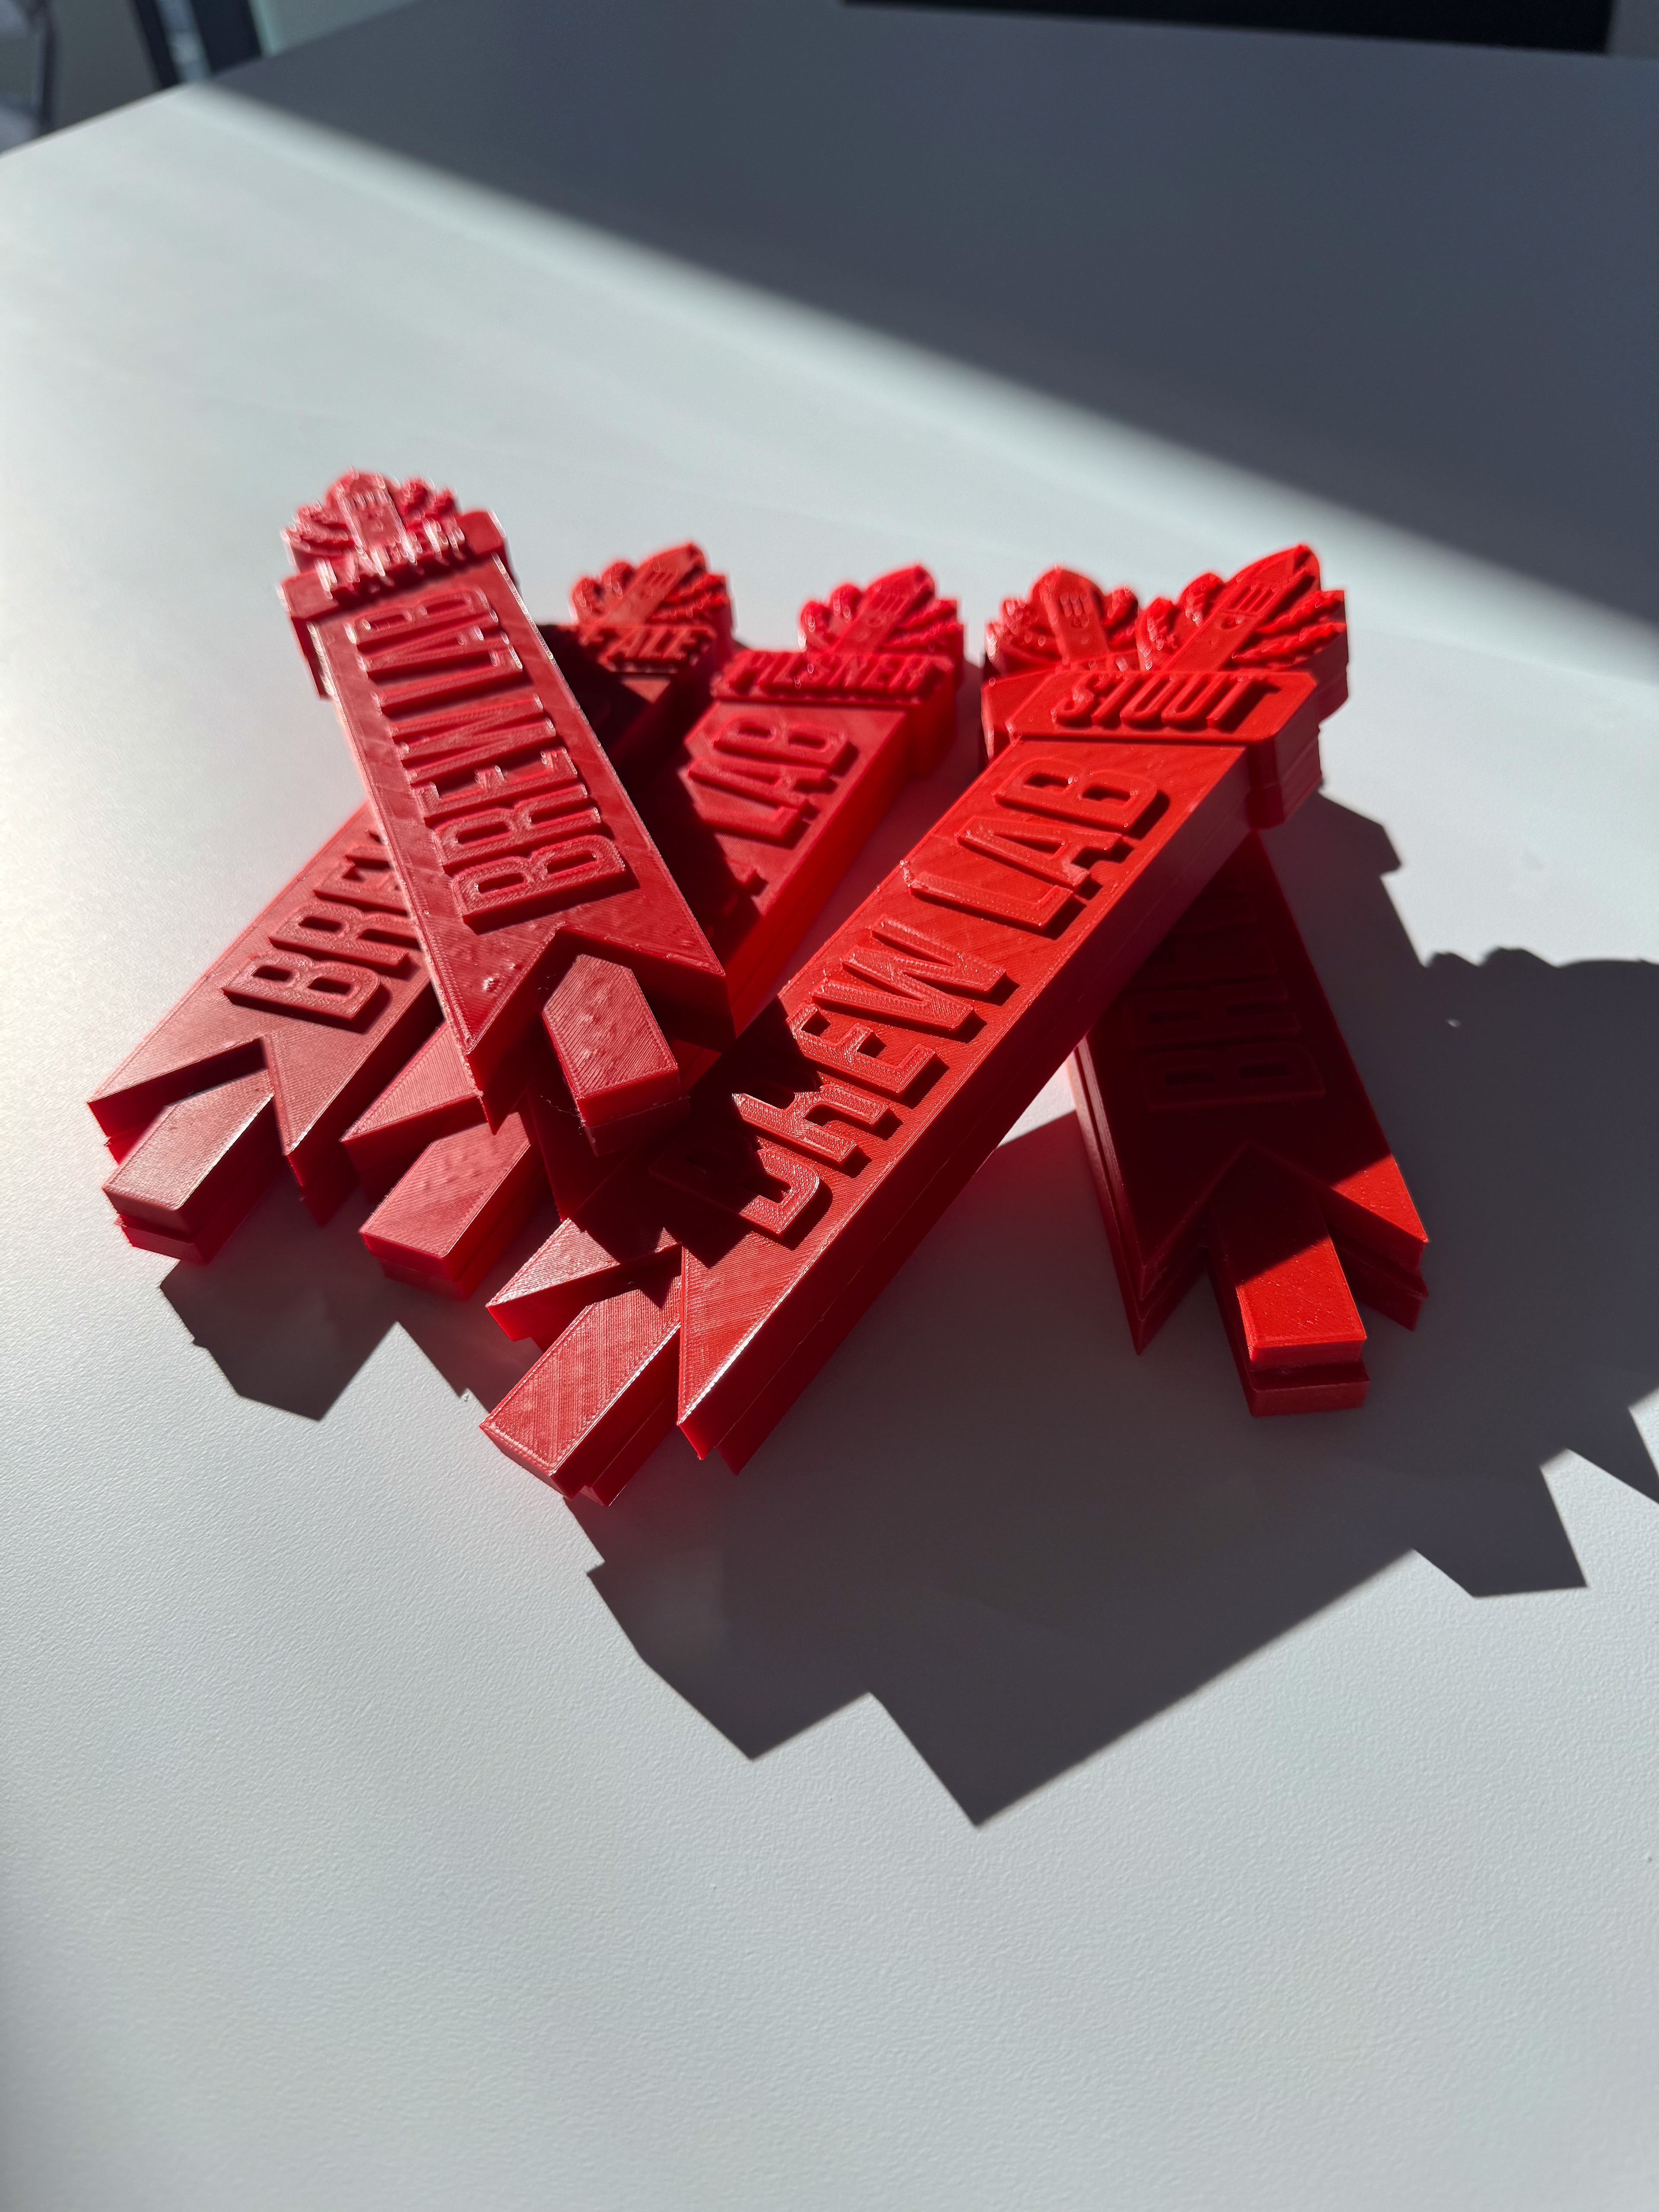
As a part of a project in collaboration with the ISU Brew Lab, I was placed in a group tasked with creating a set of concept tap handles that could potentially appear in bars where Brew Lab beer might be sold. All of the work shown is my own unless otherwise specified.
After receiving the new logo for the Brew Lab, we reassessed their target audience and brand attributes. From there, we gathered inspiration from various sources, such as existing beer taps, packaging, and related design trends. We collected visual elements we favored, such as colors, textures, and typography.
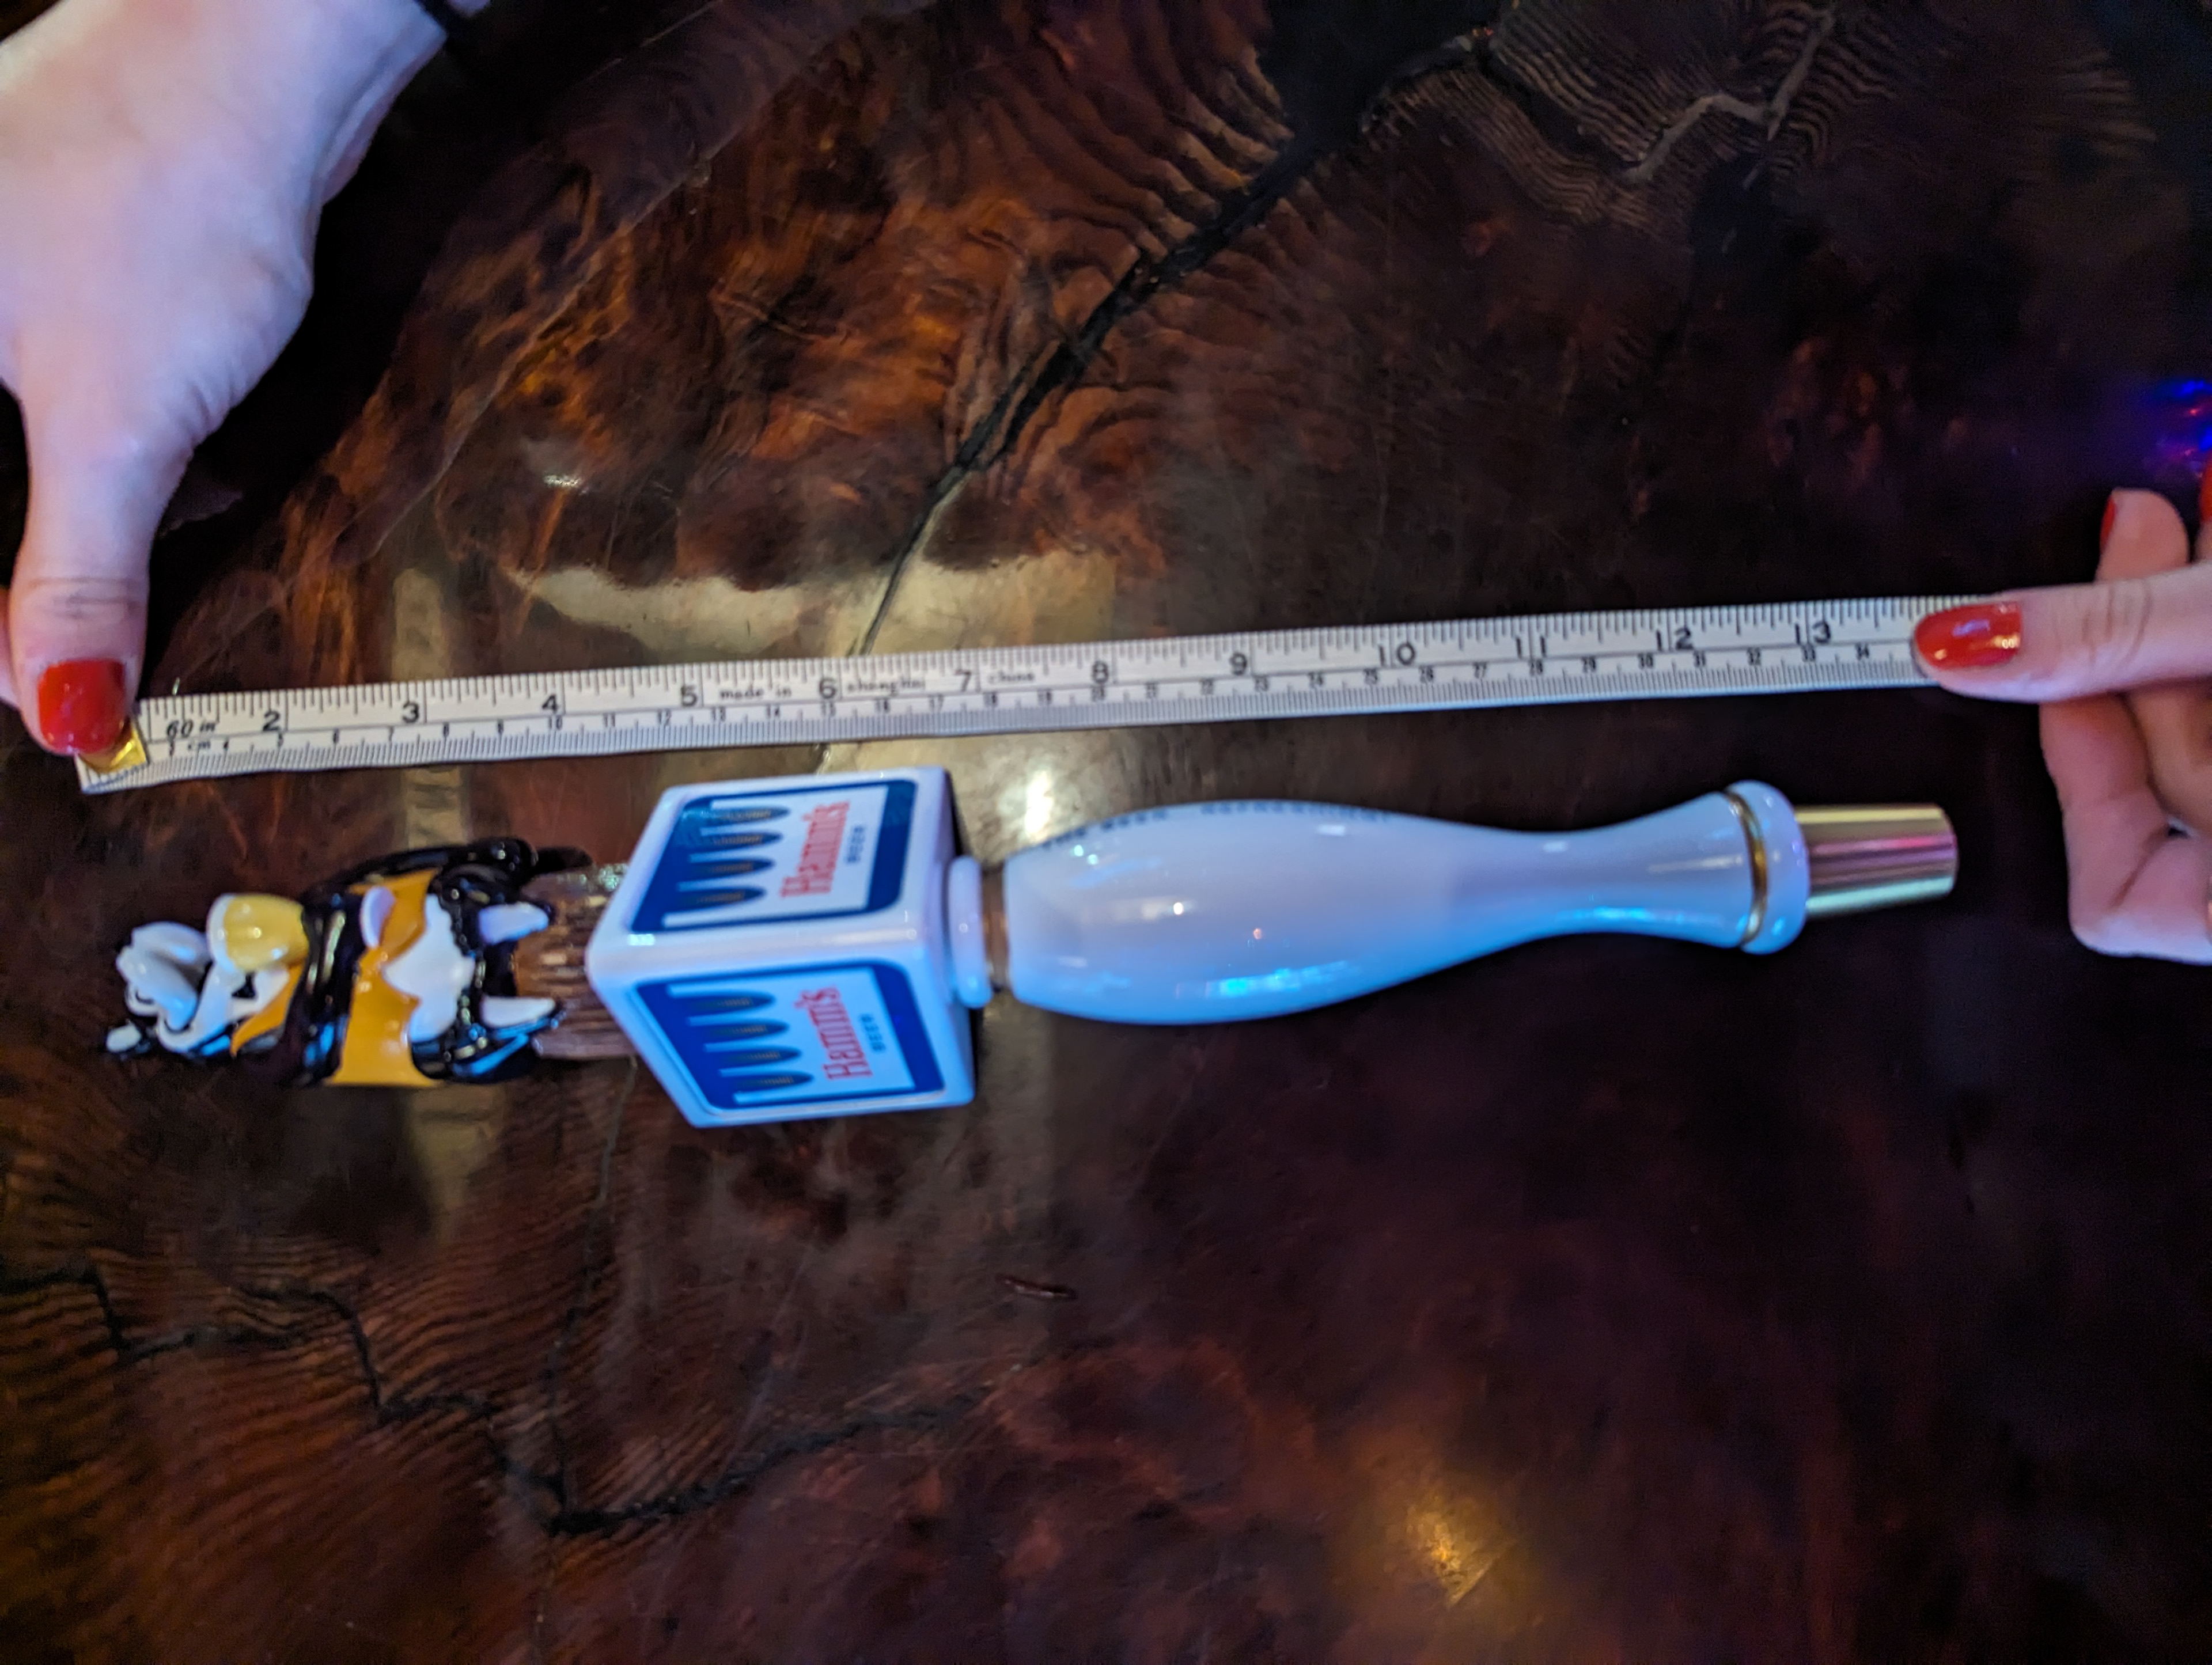
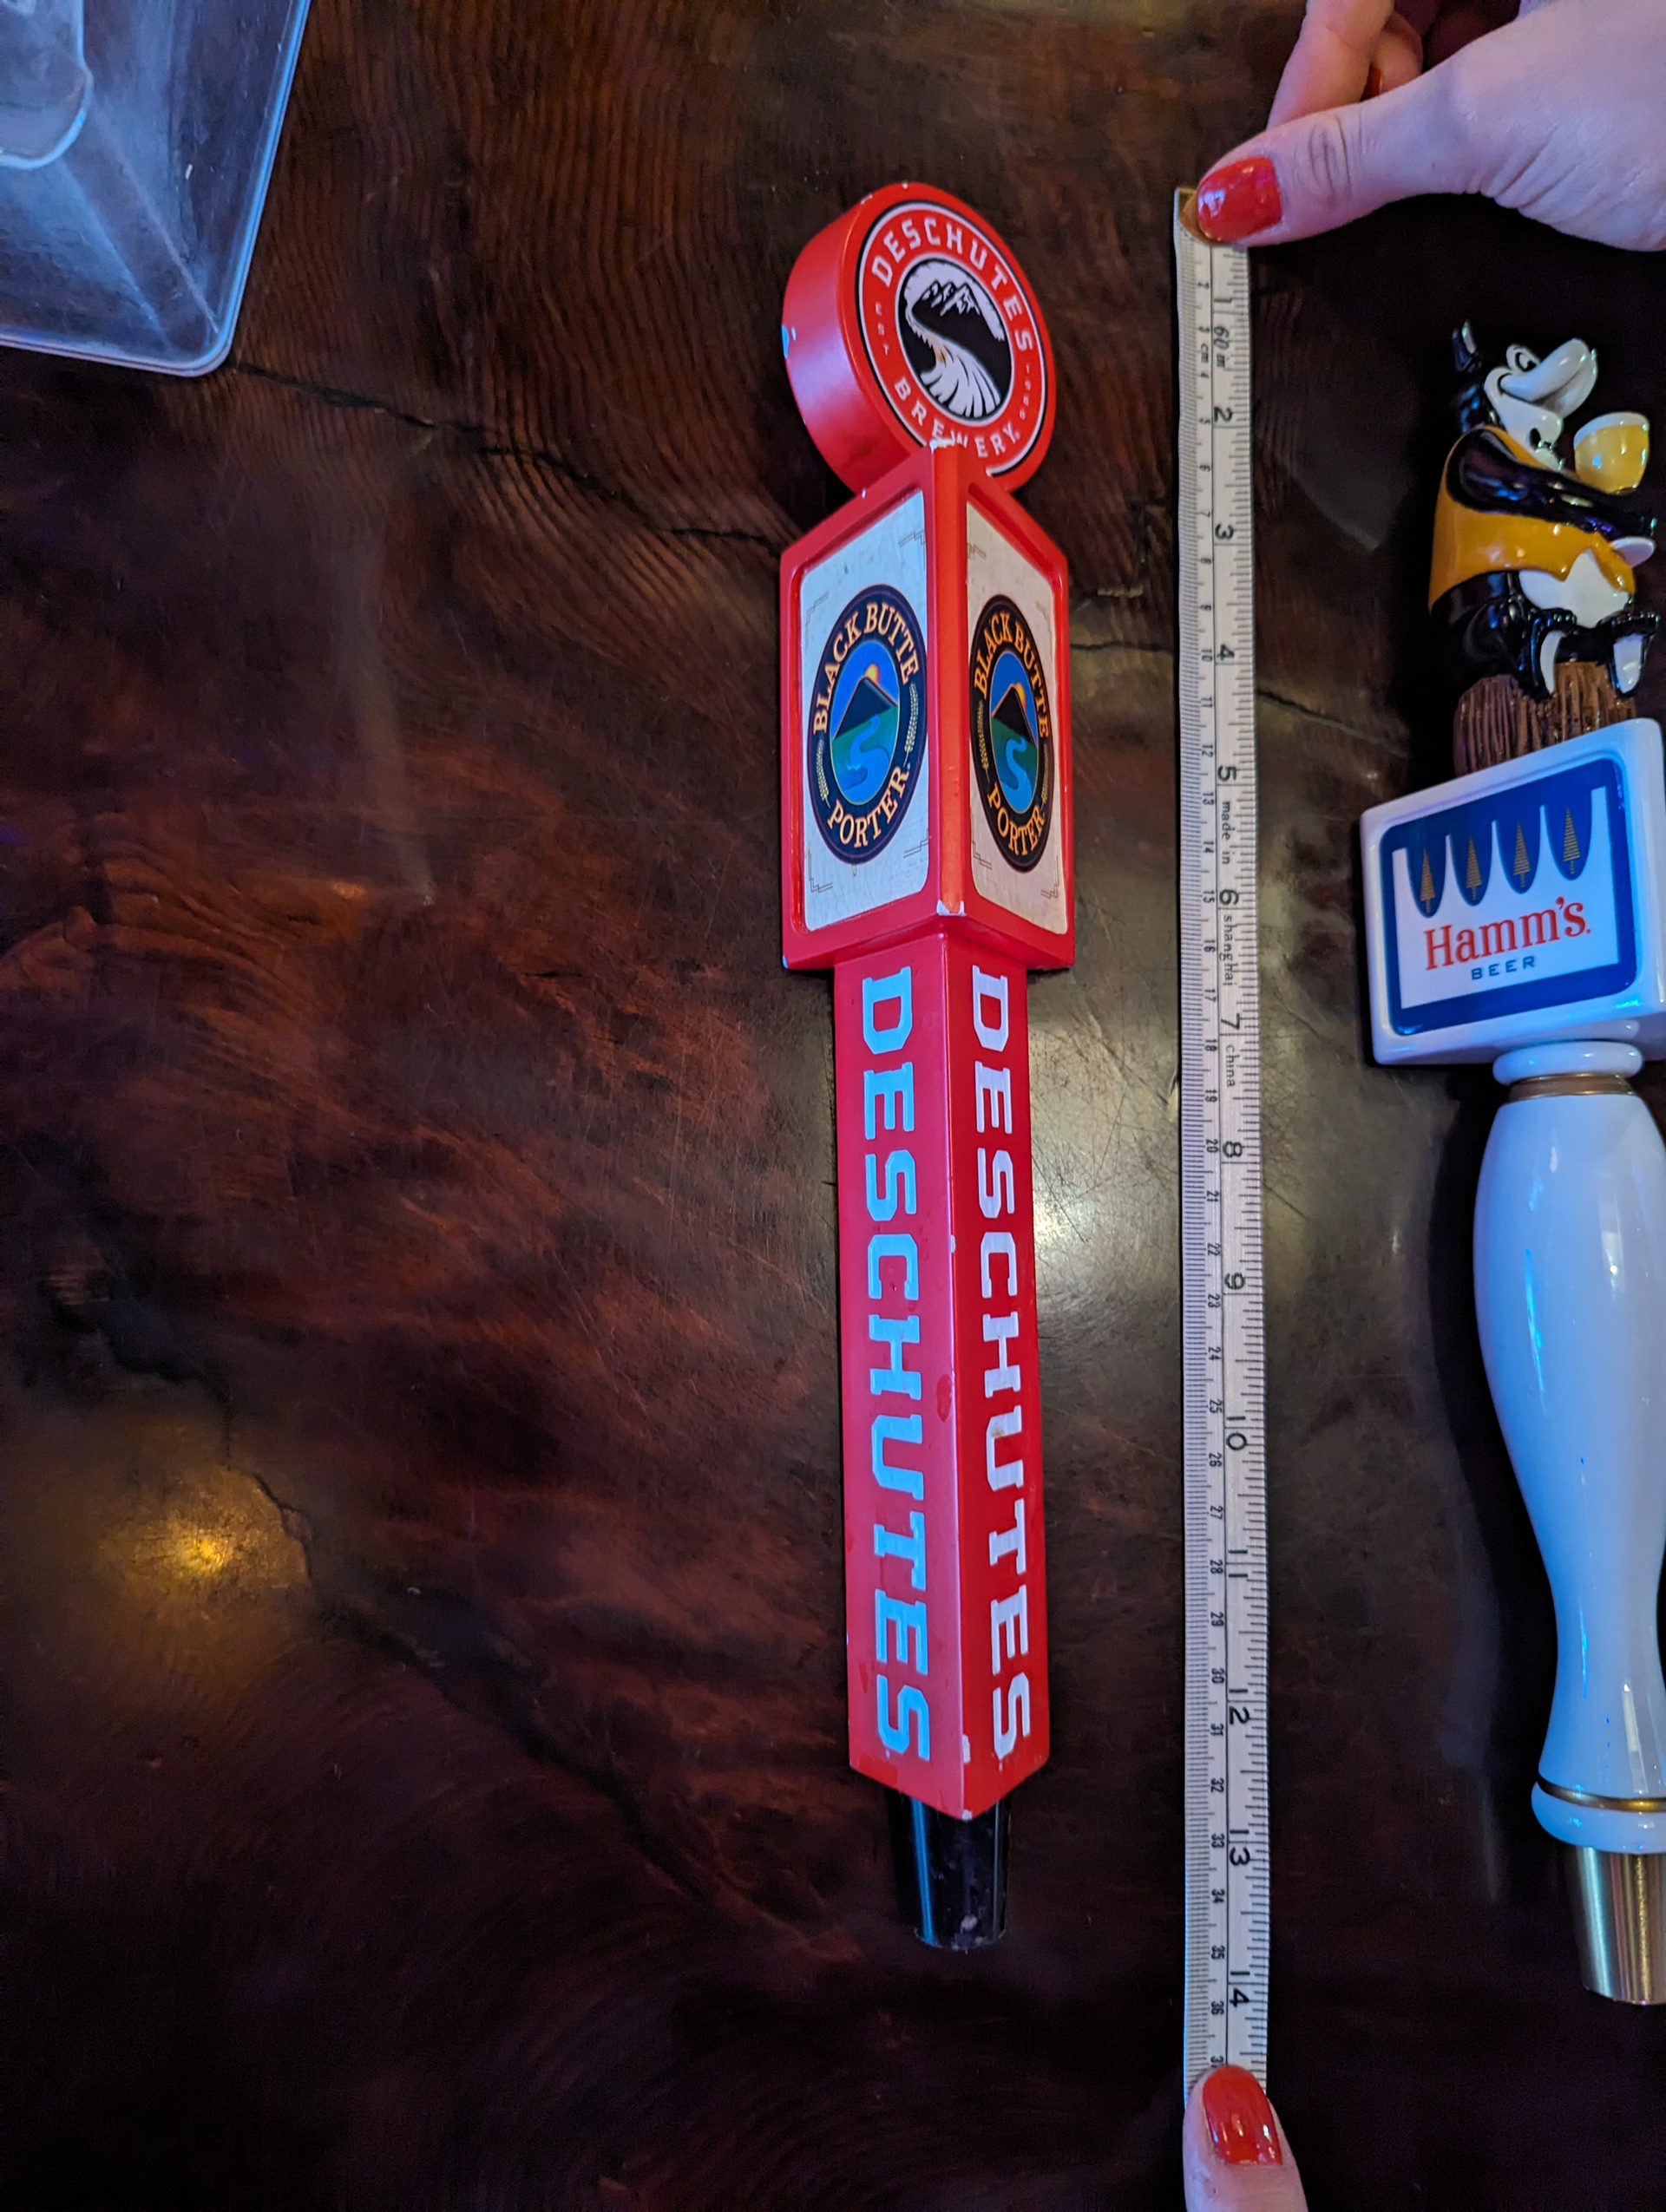
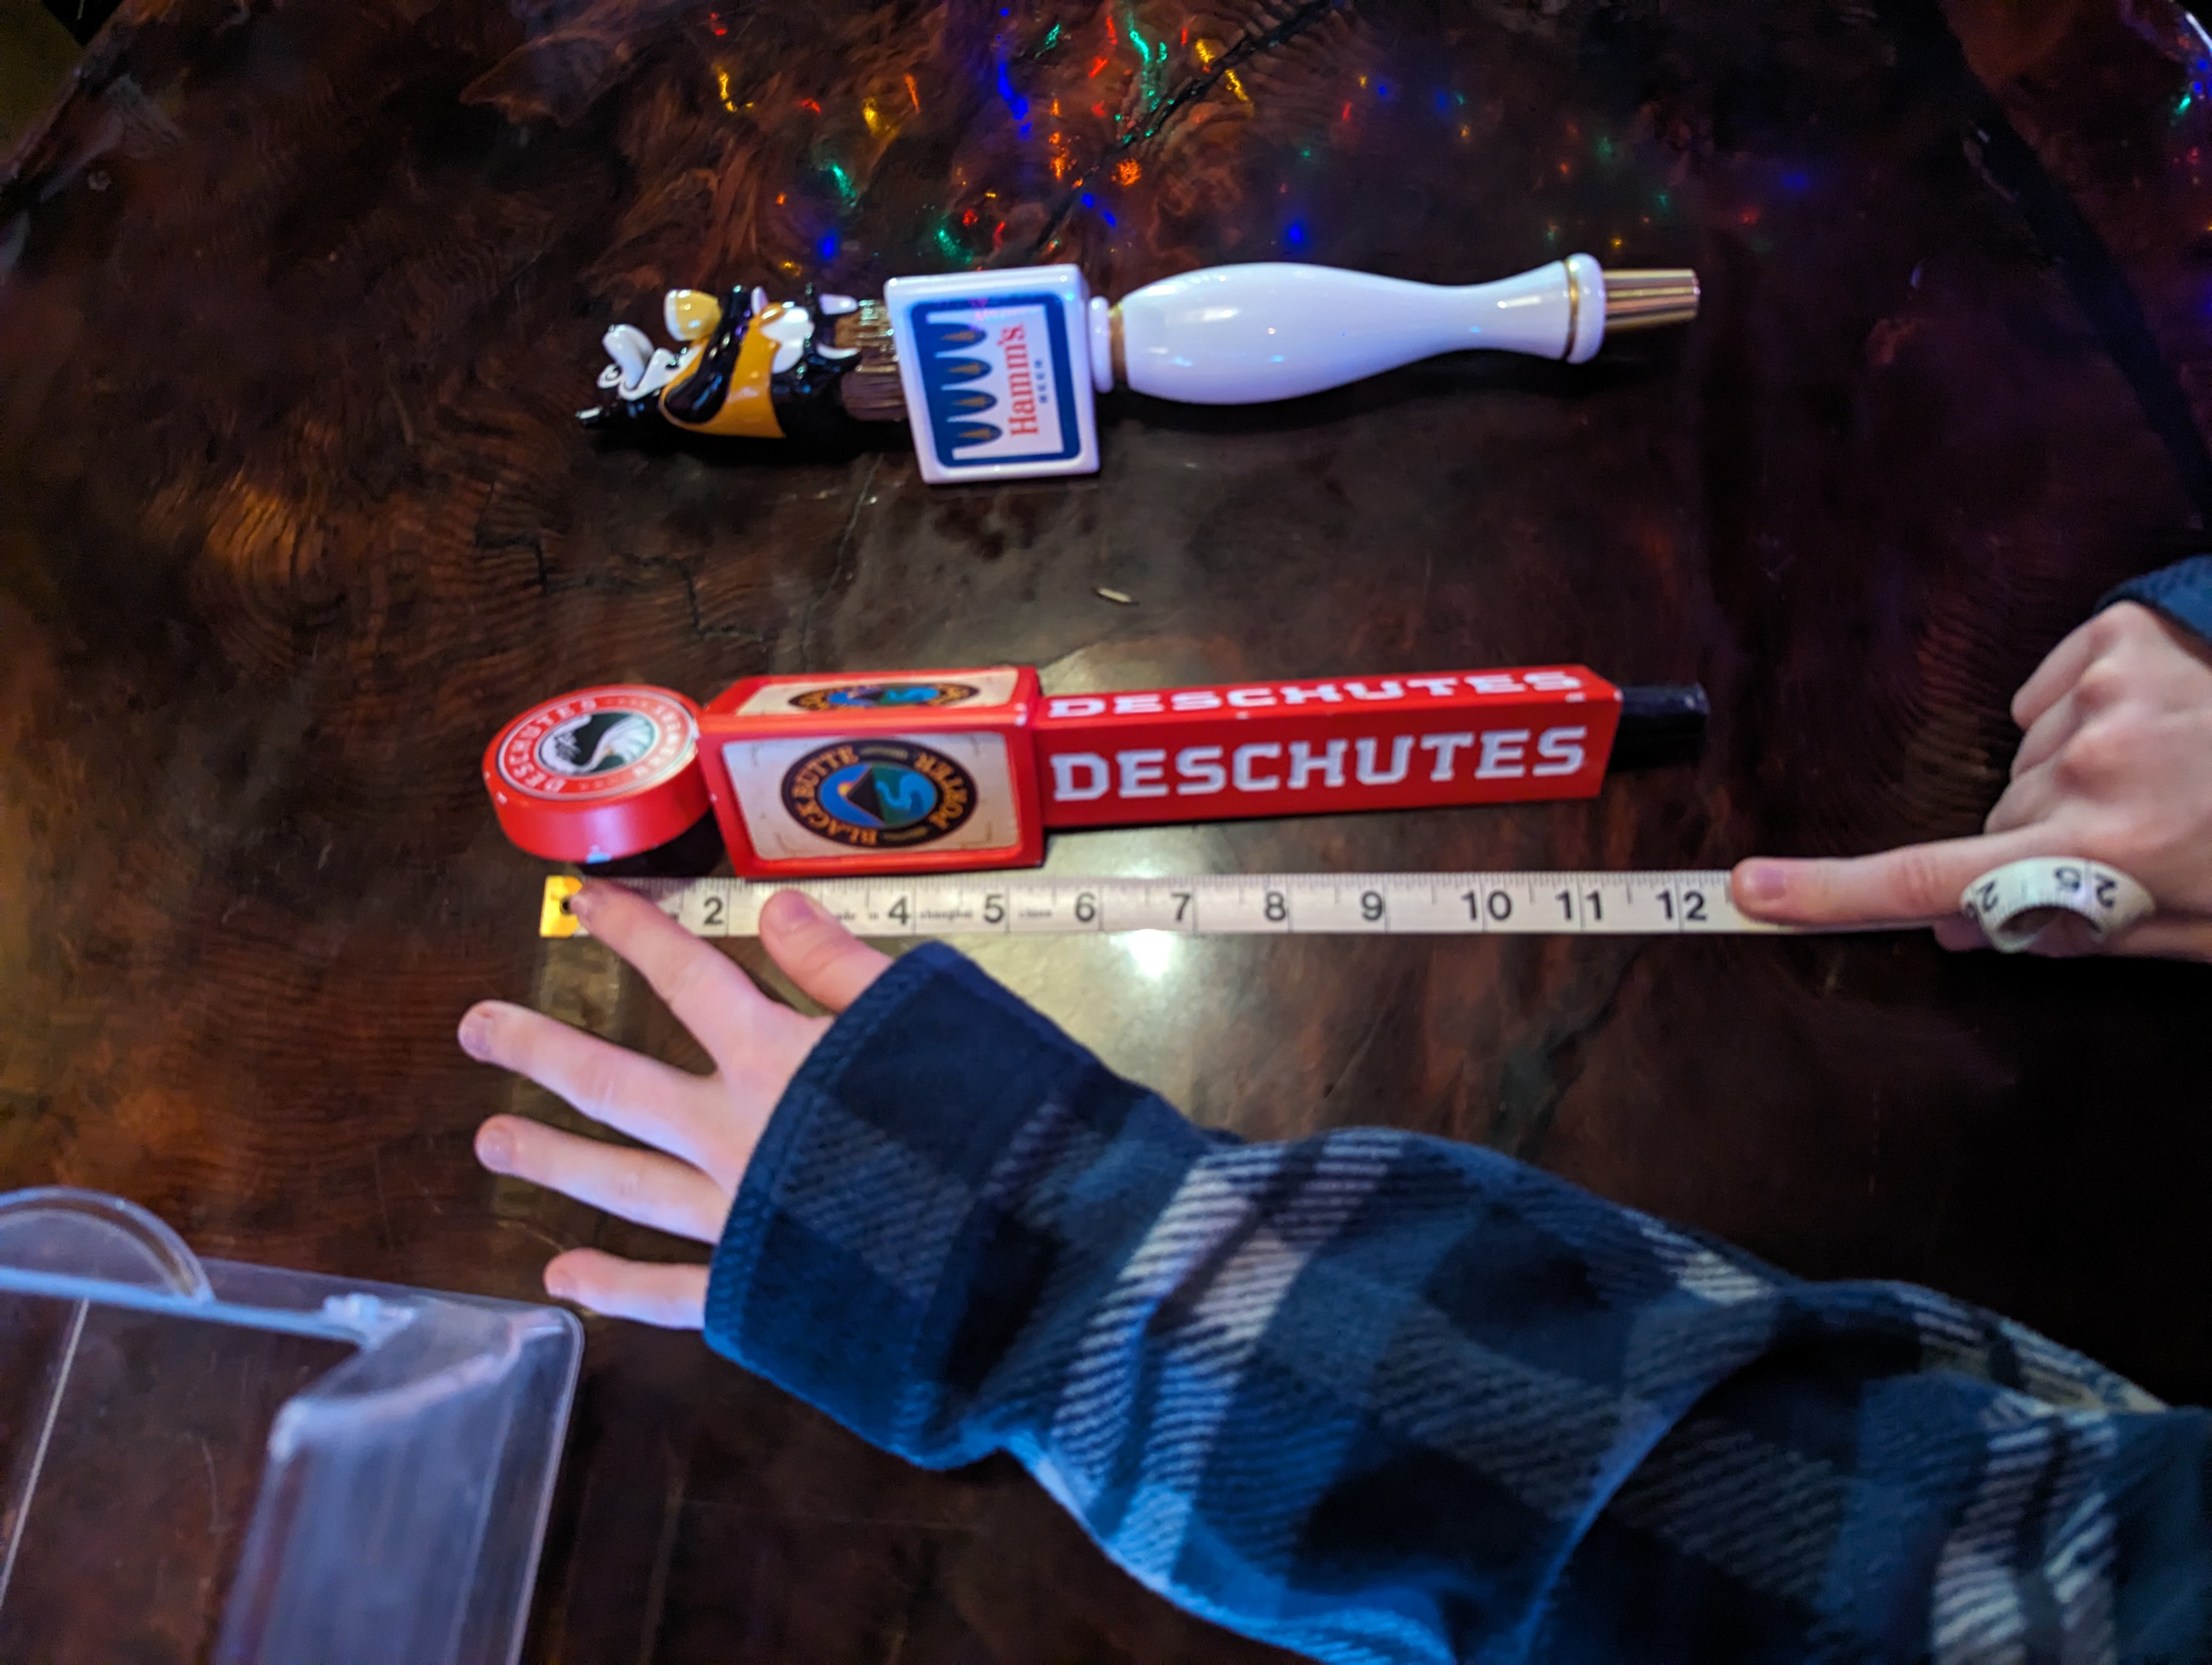
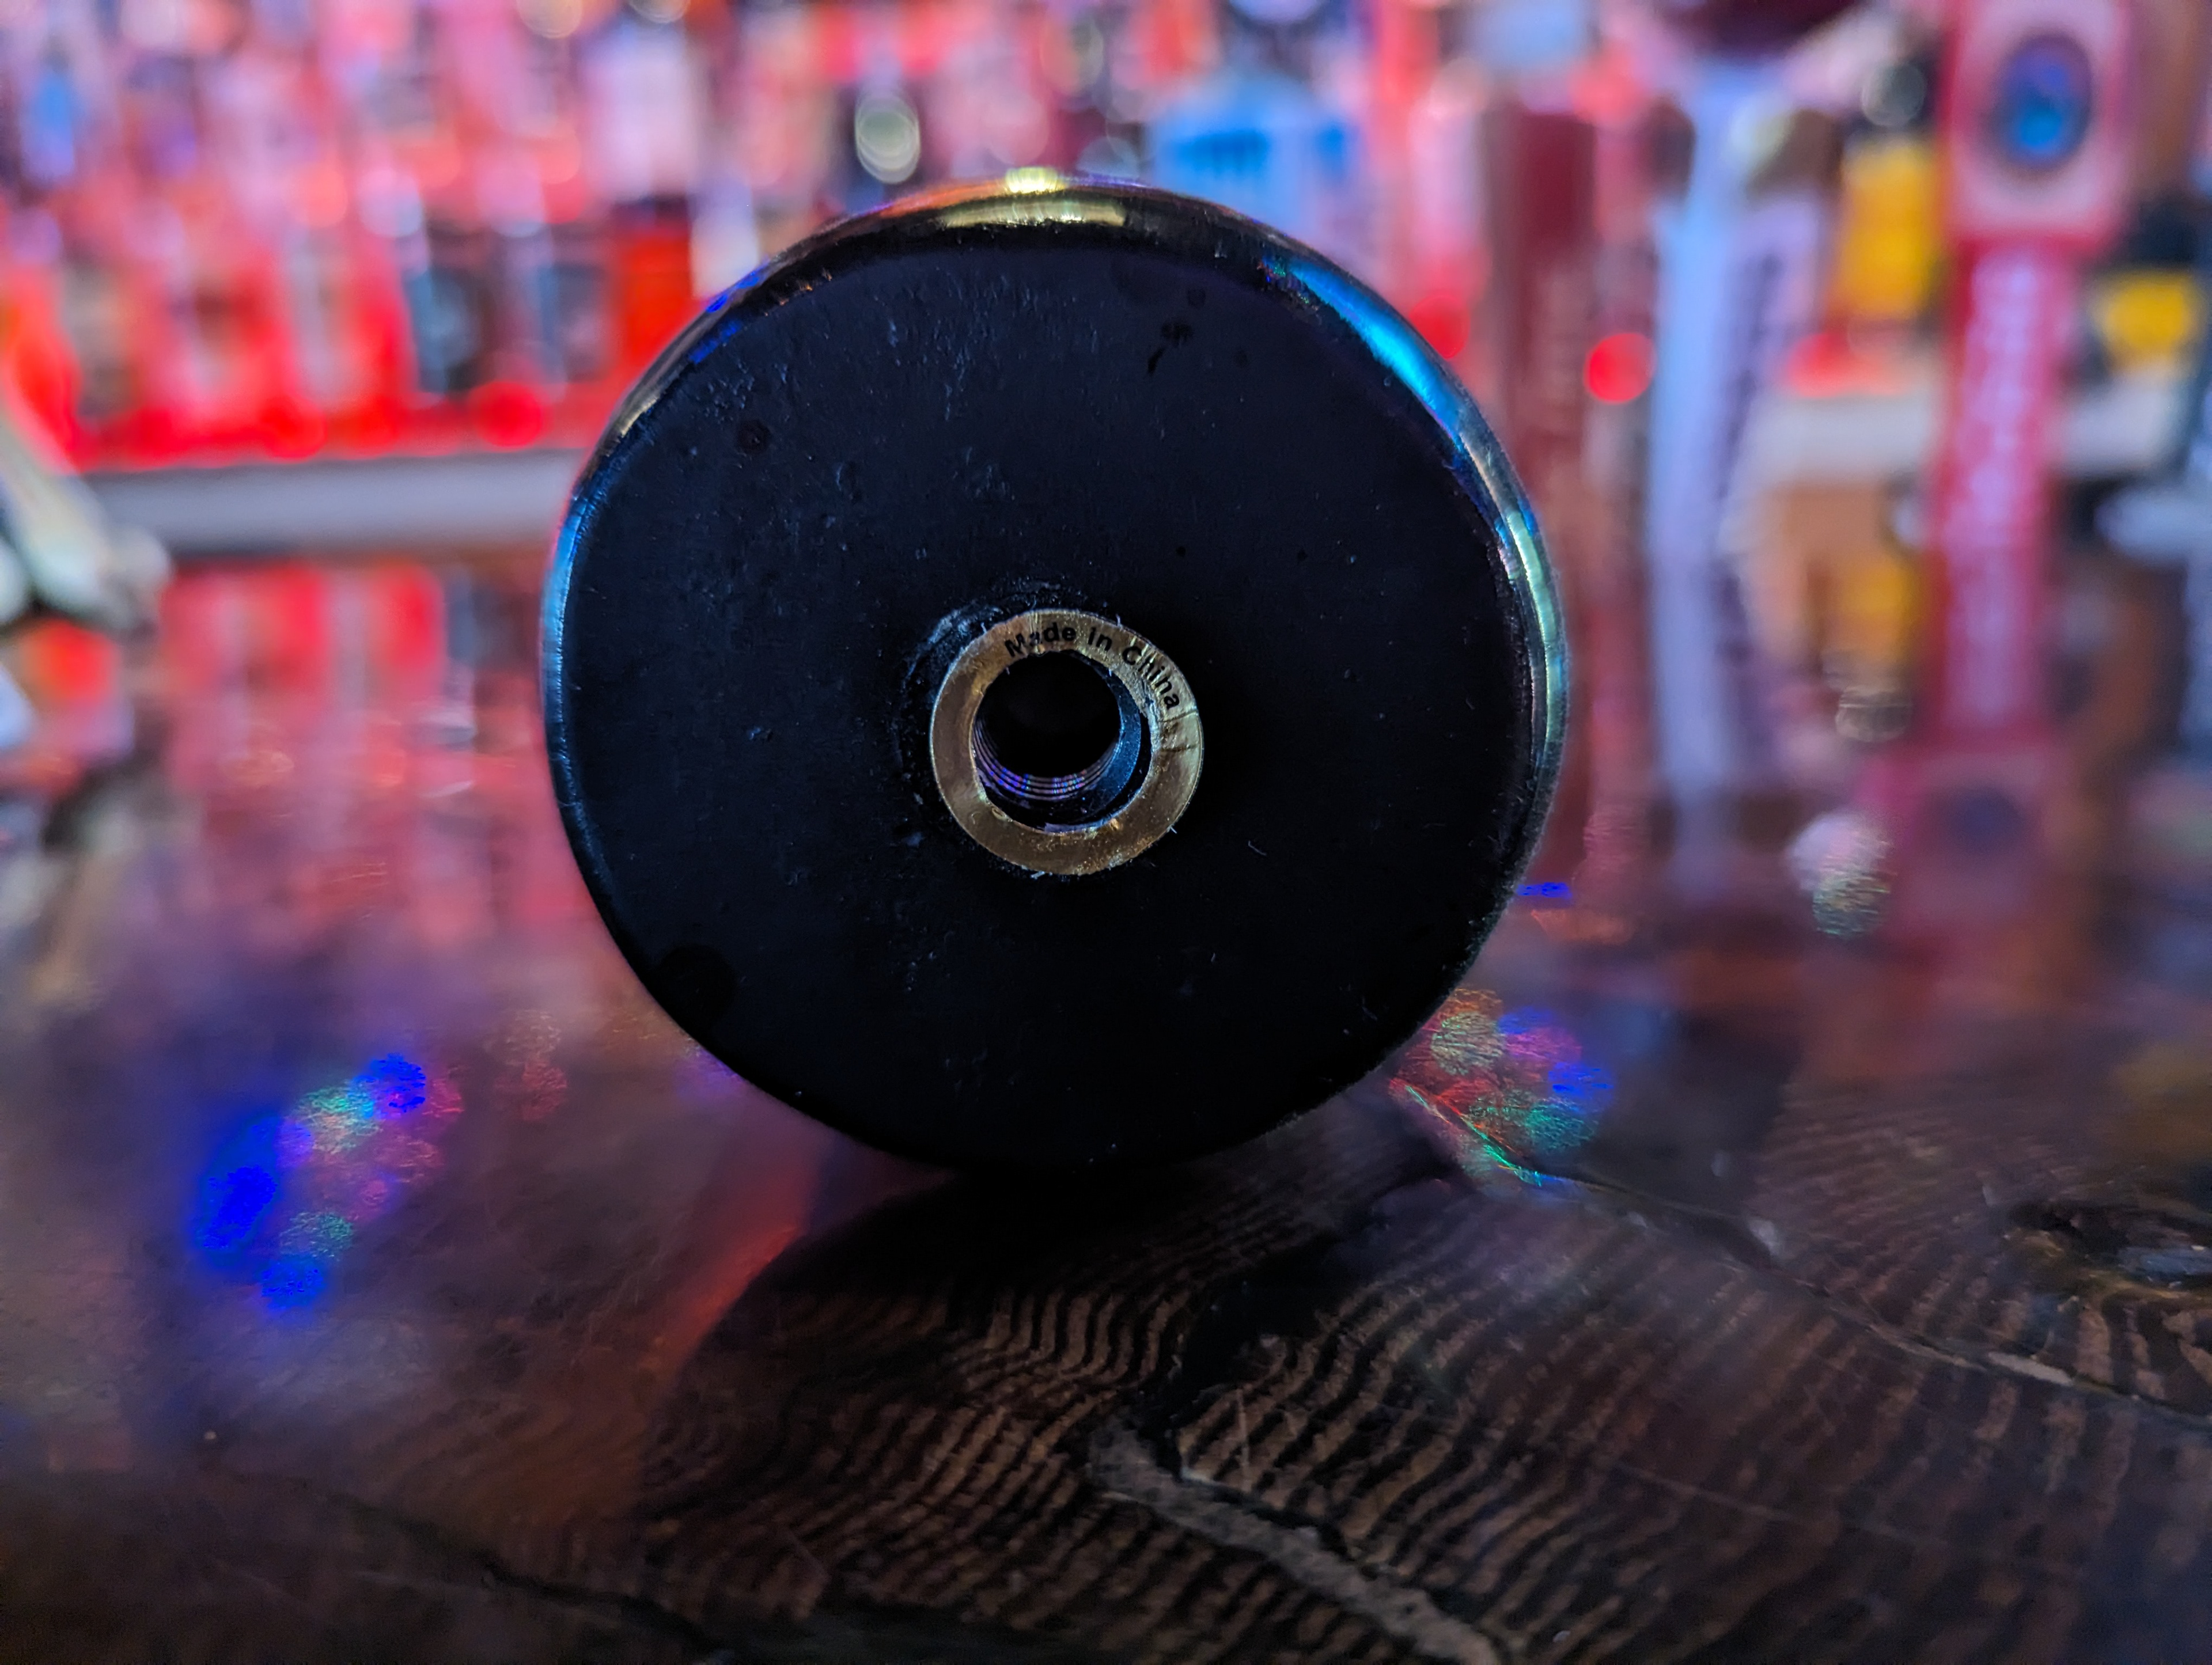
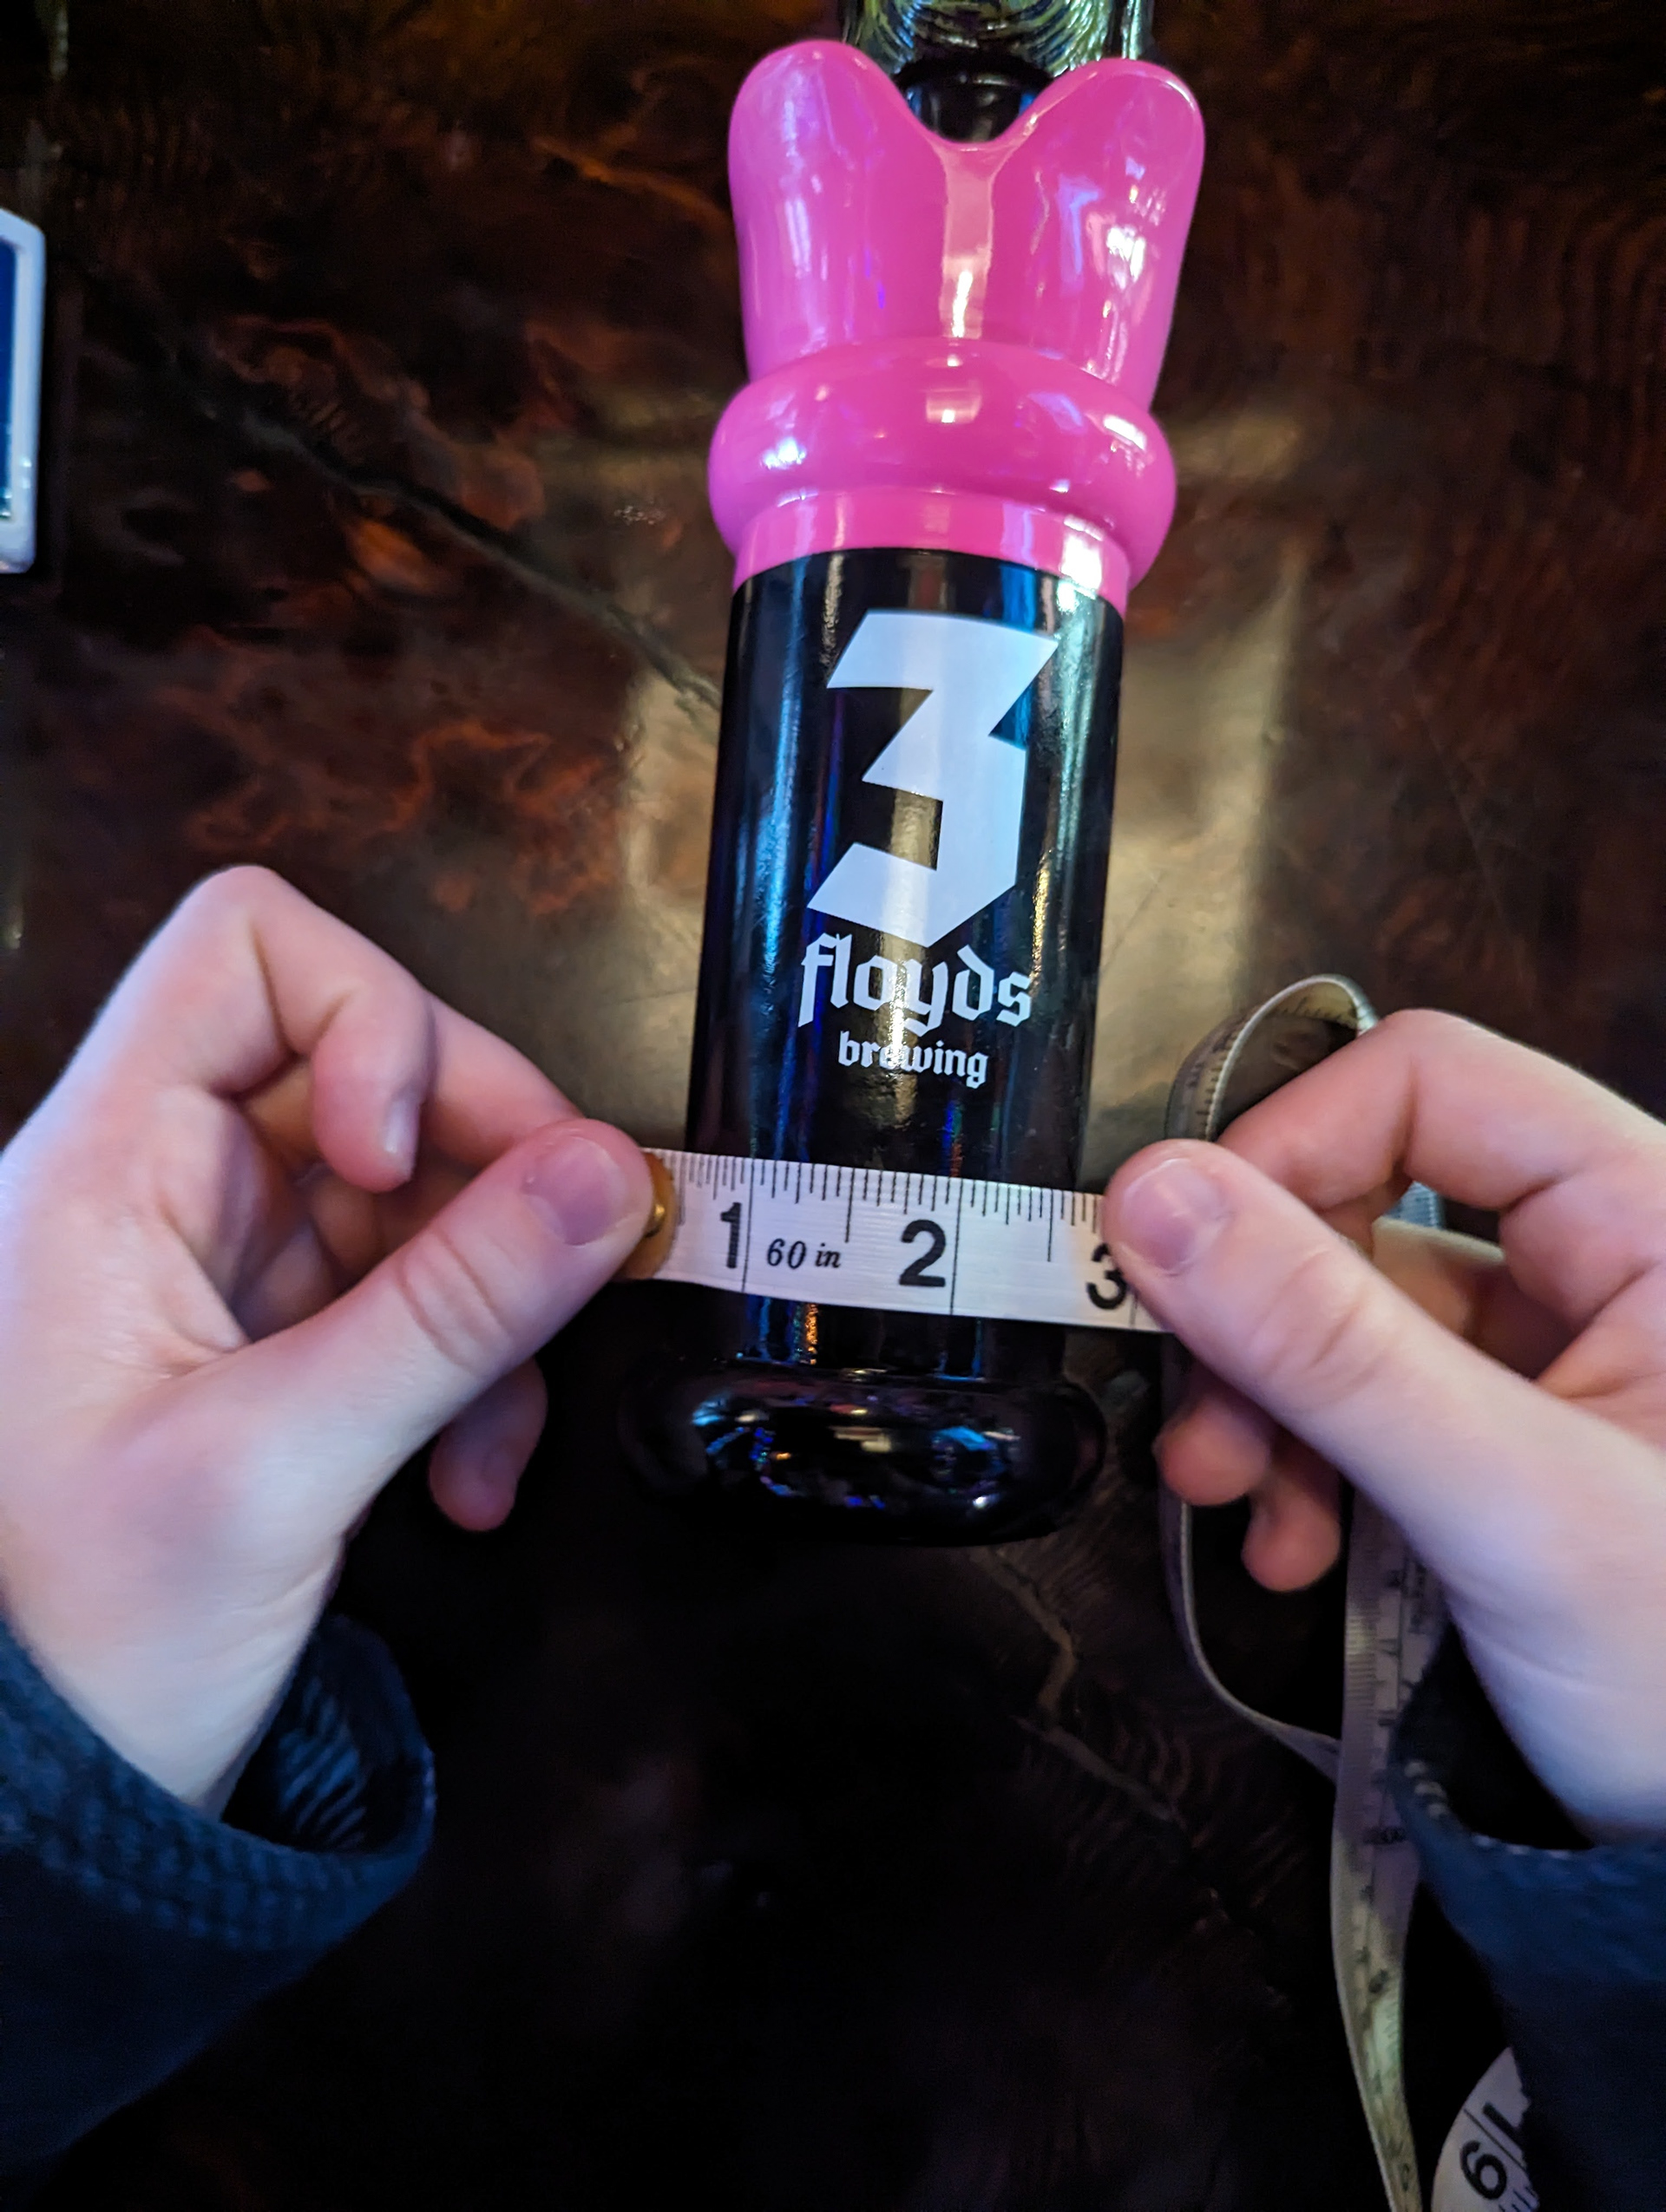
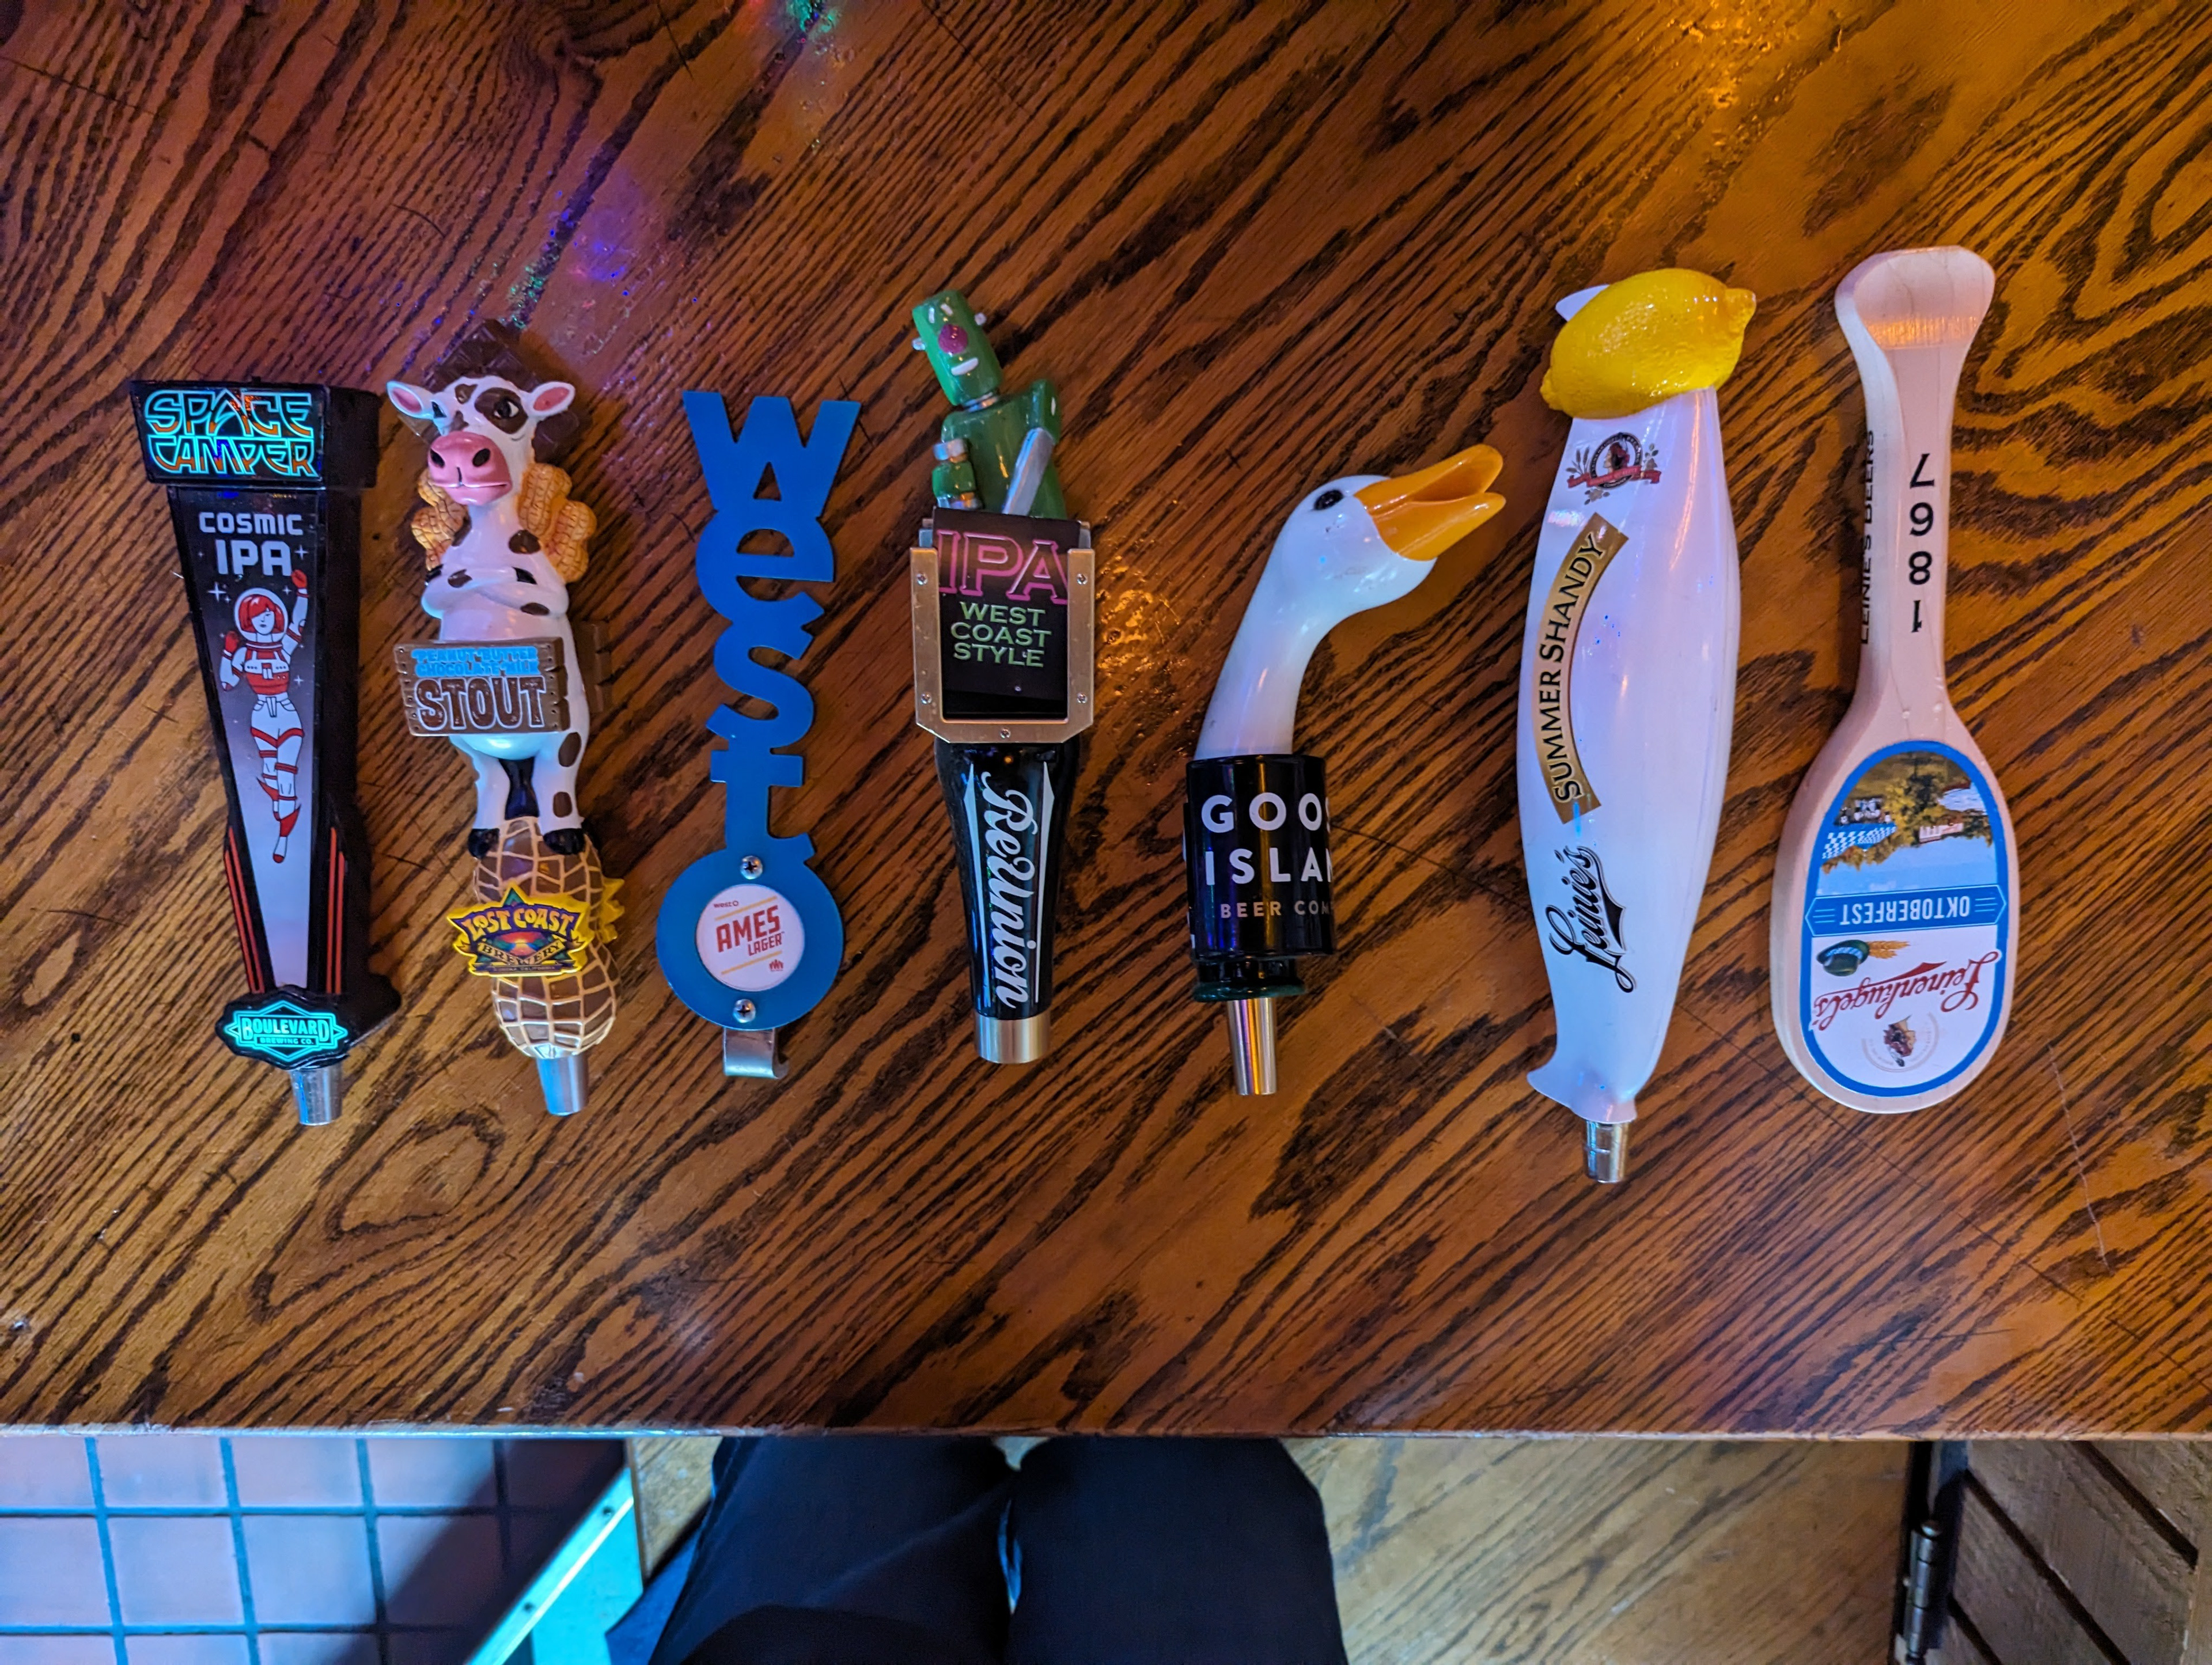
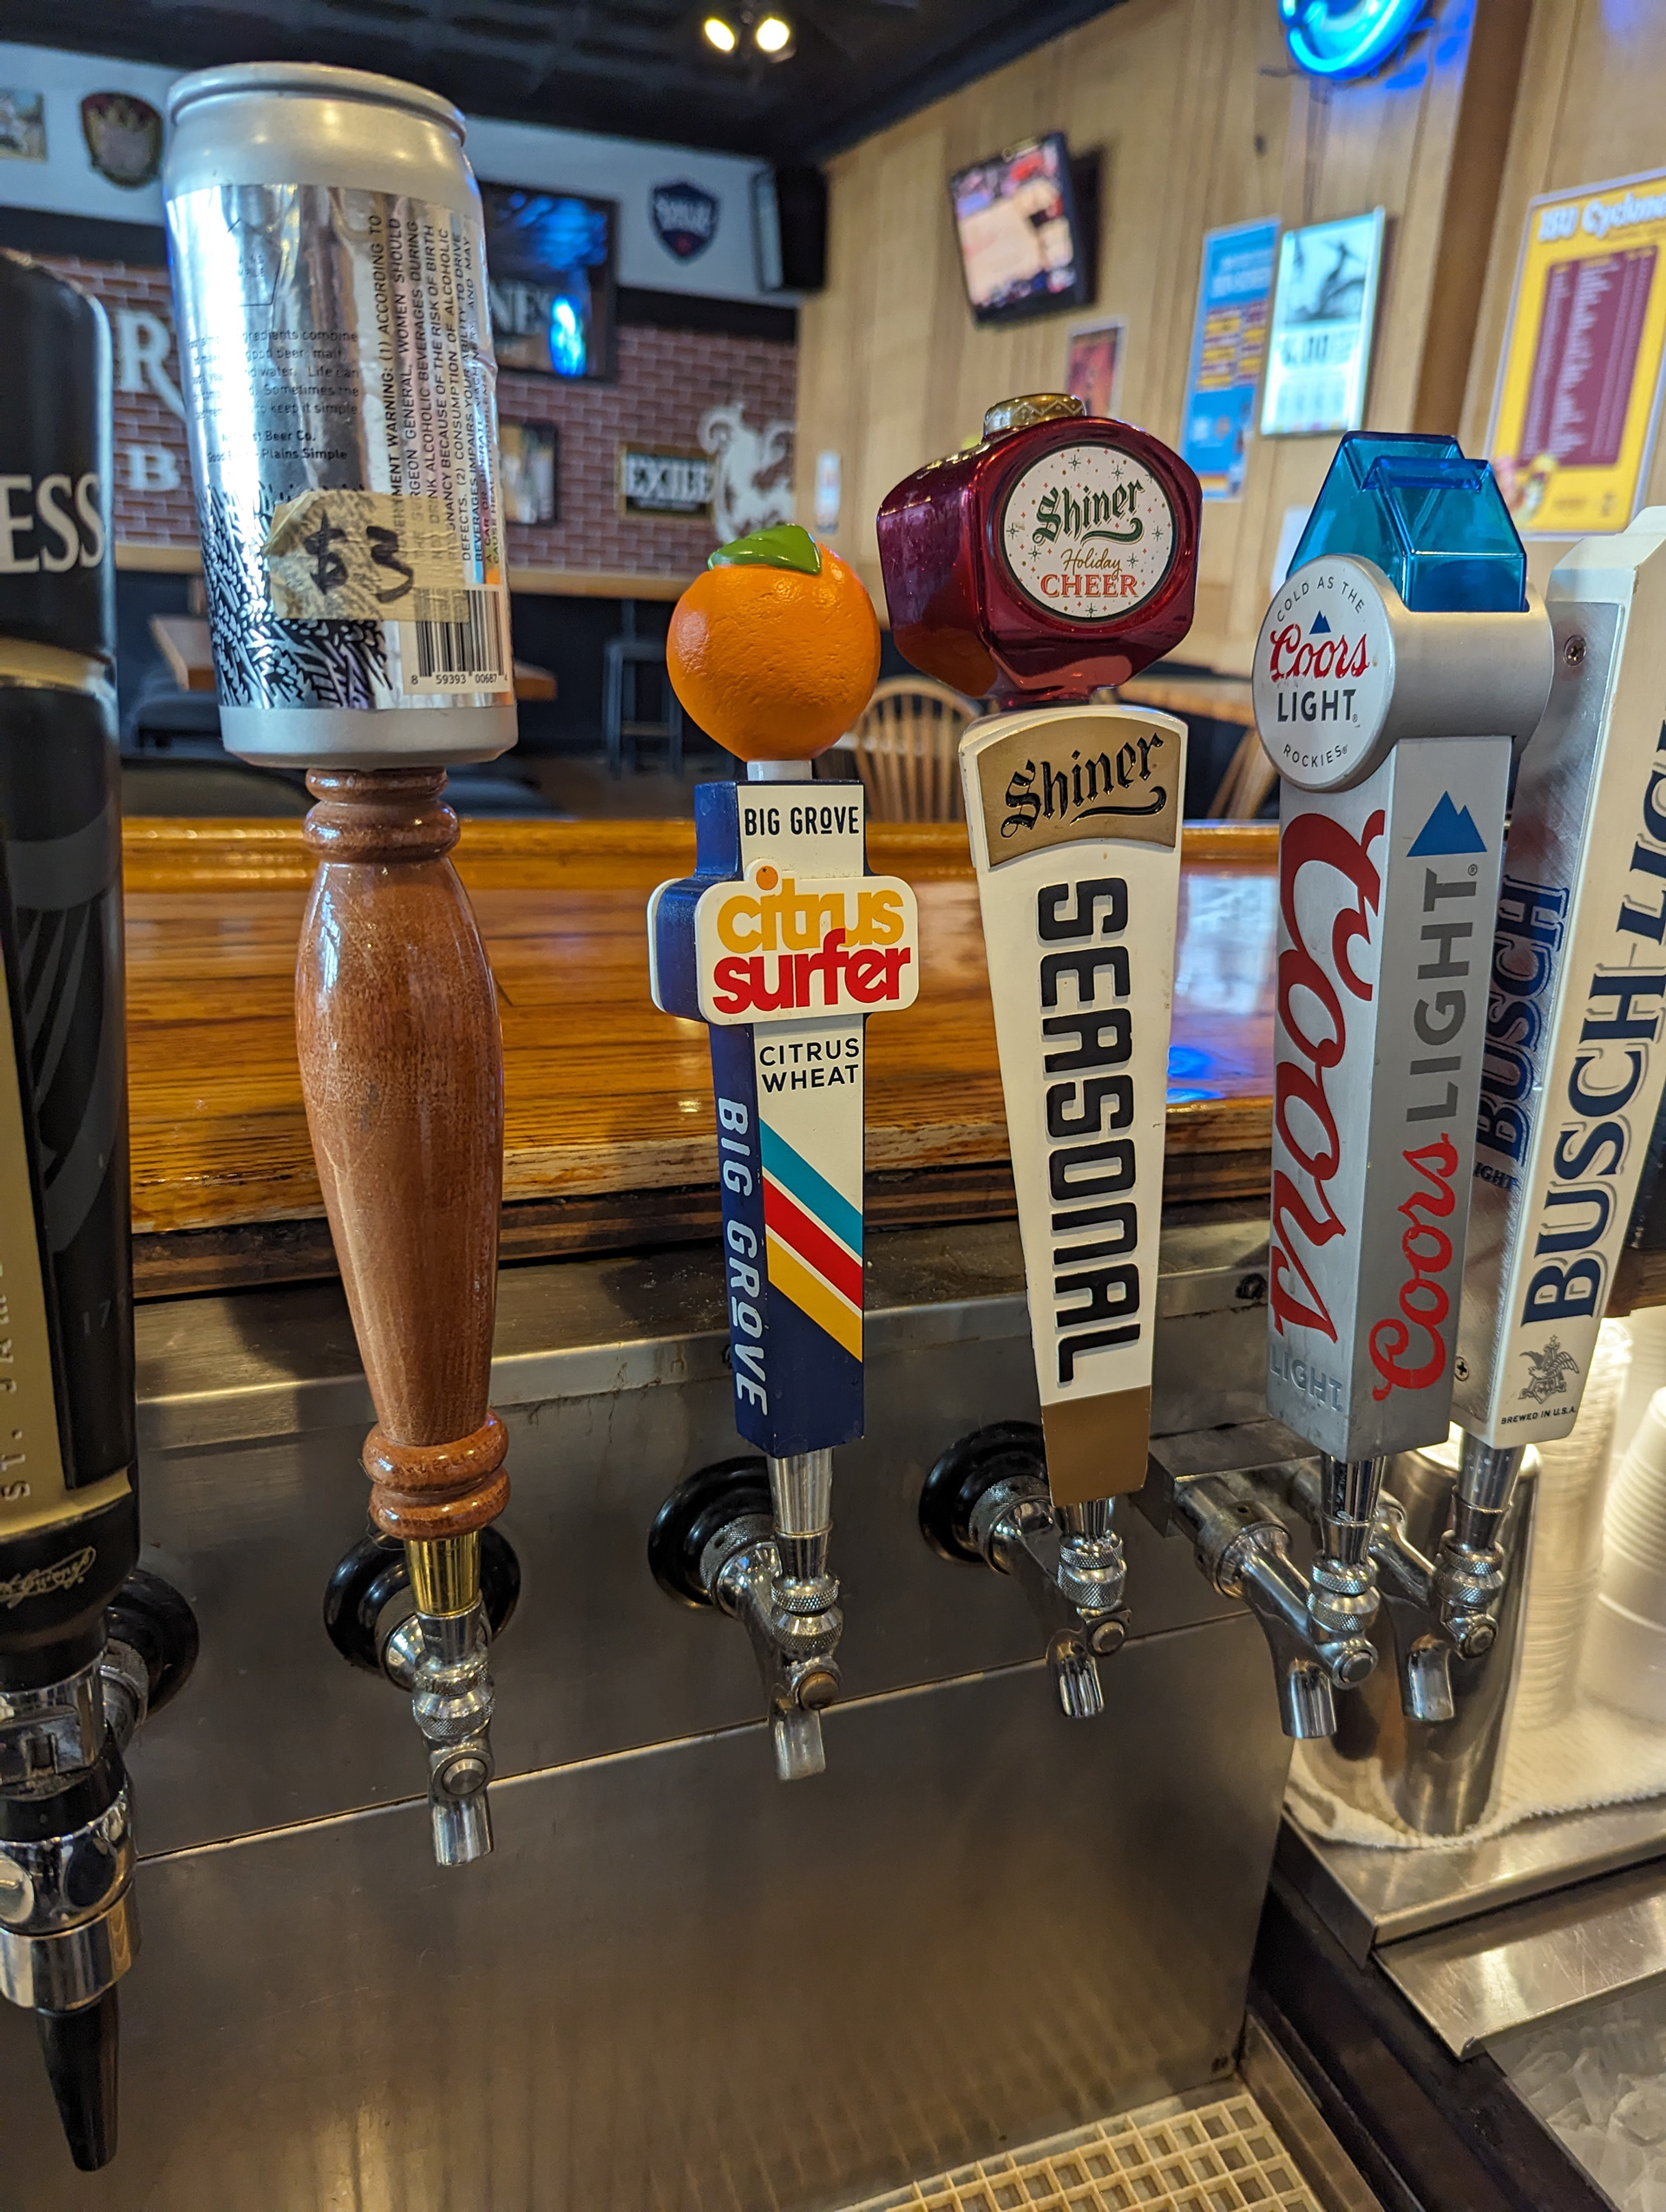
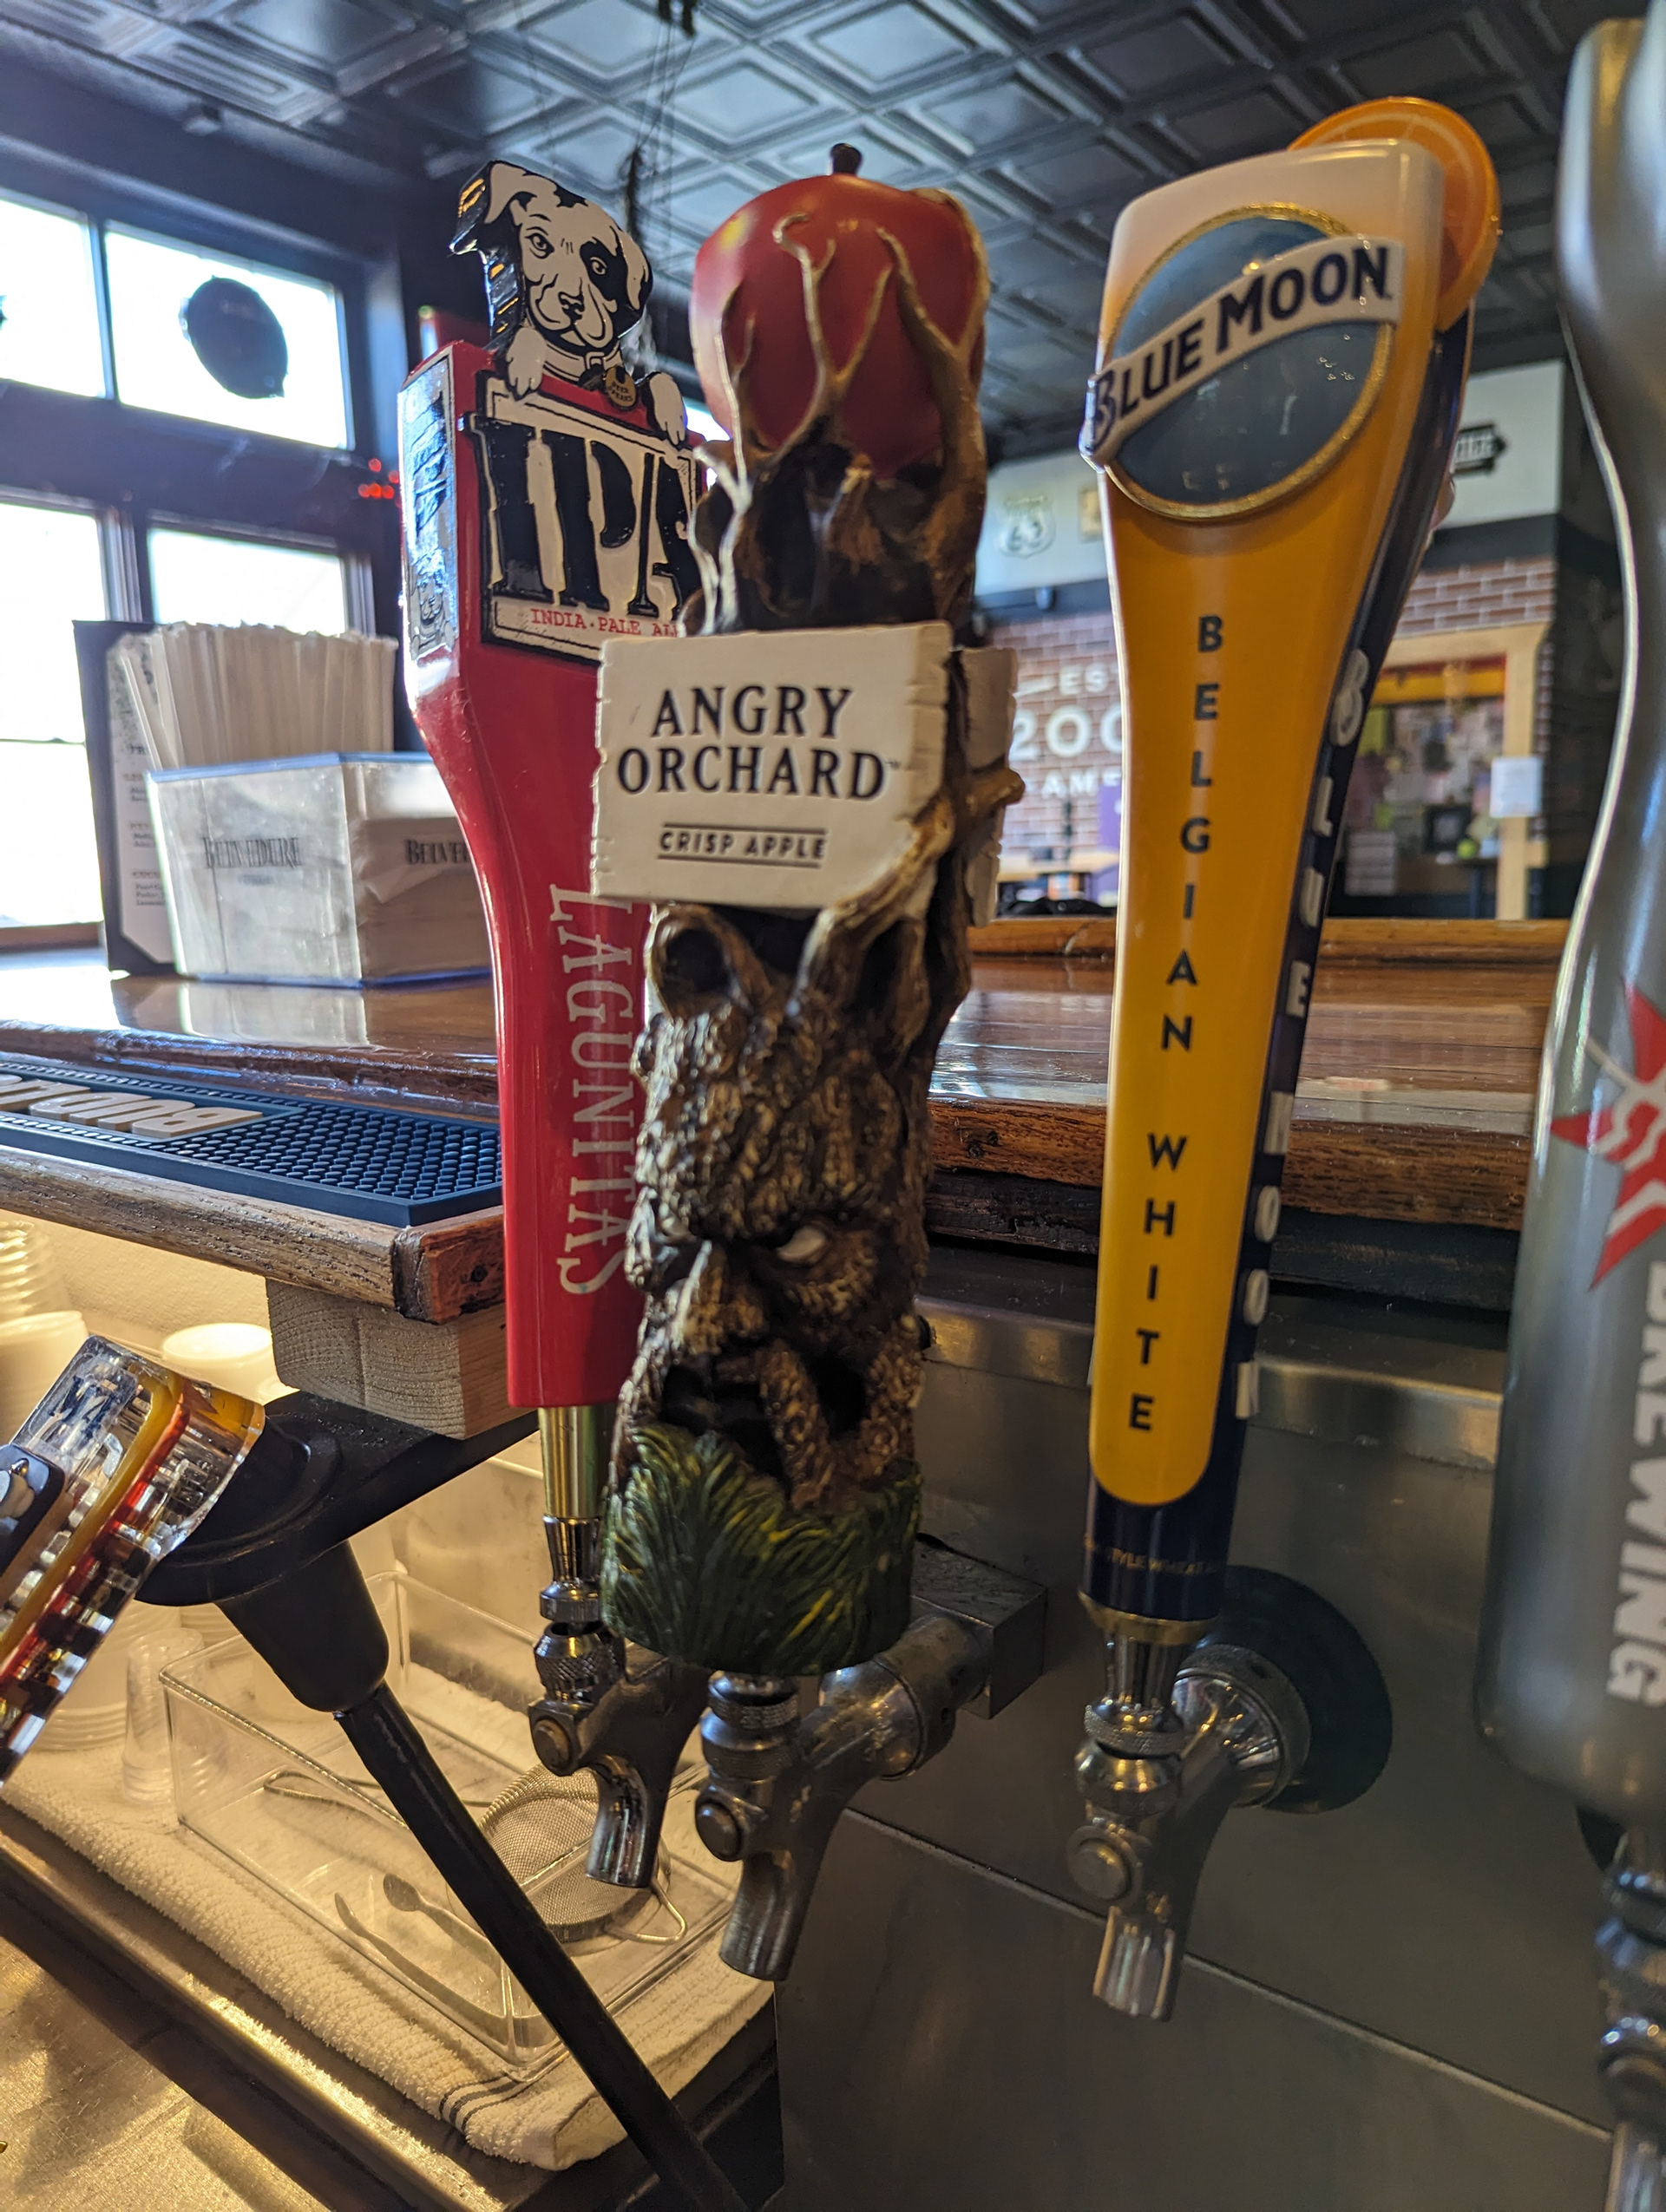
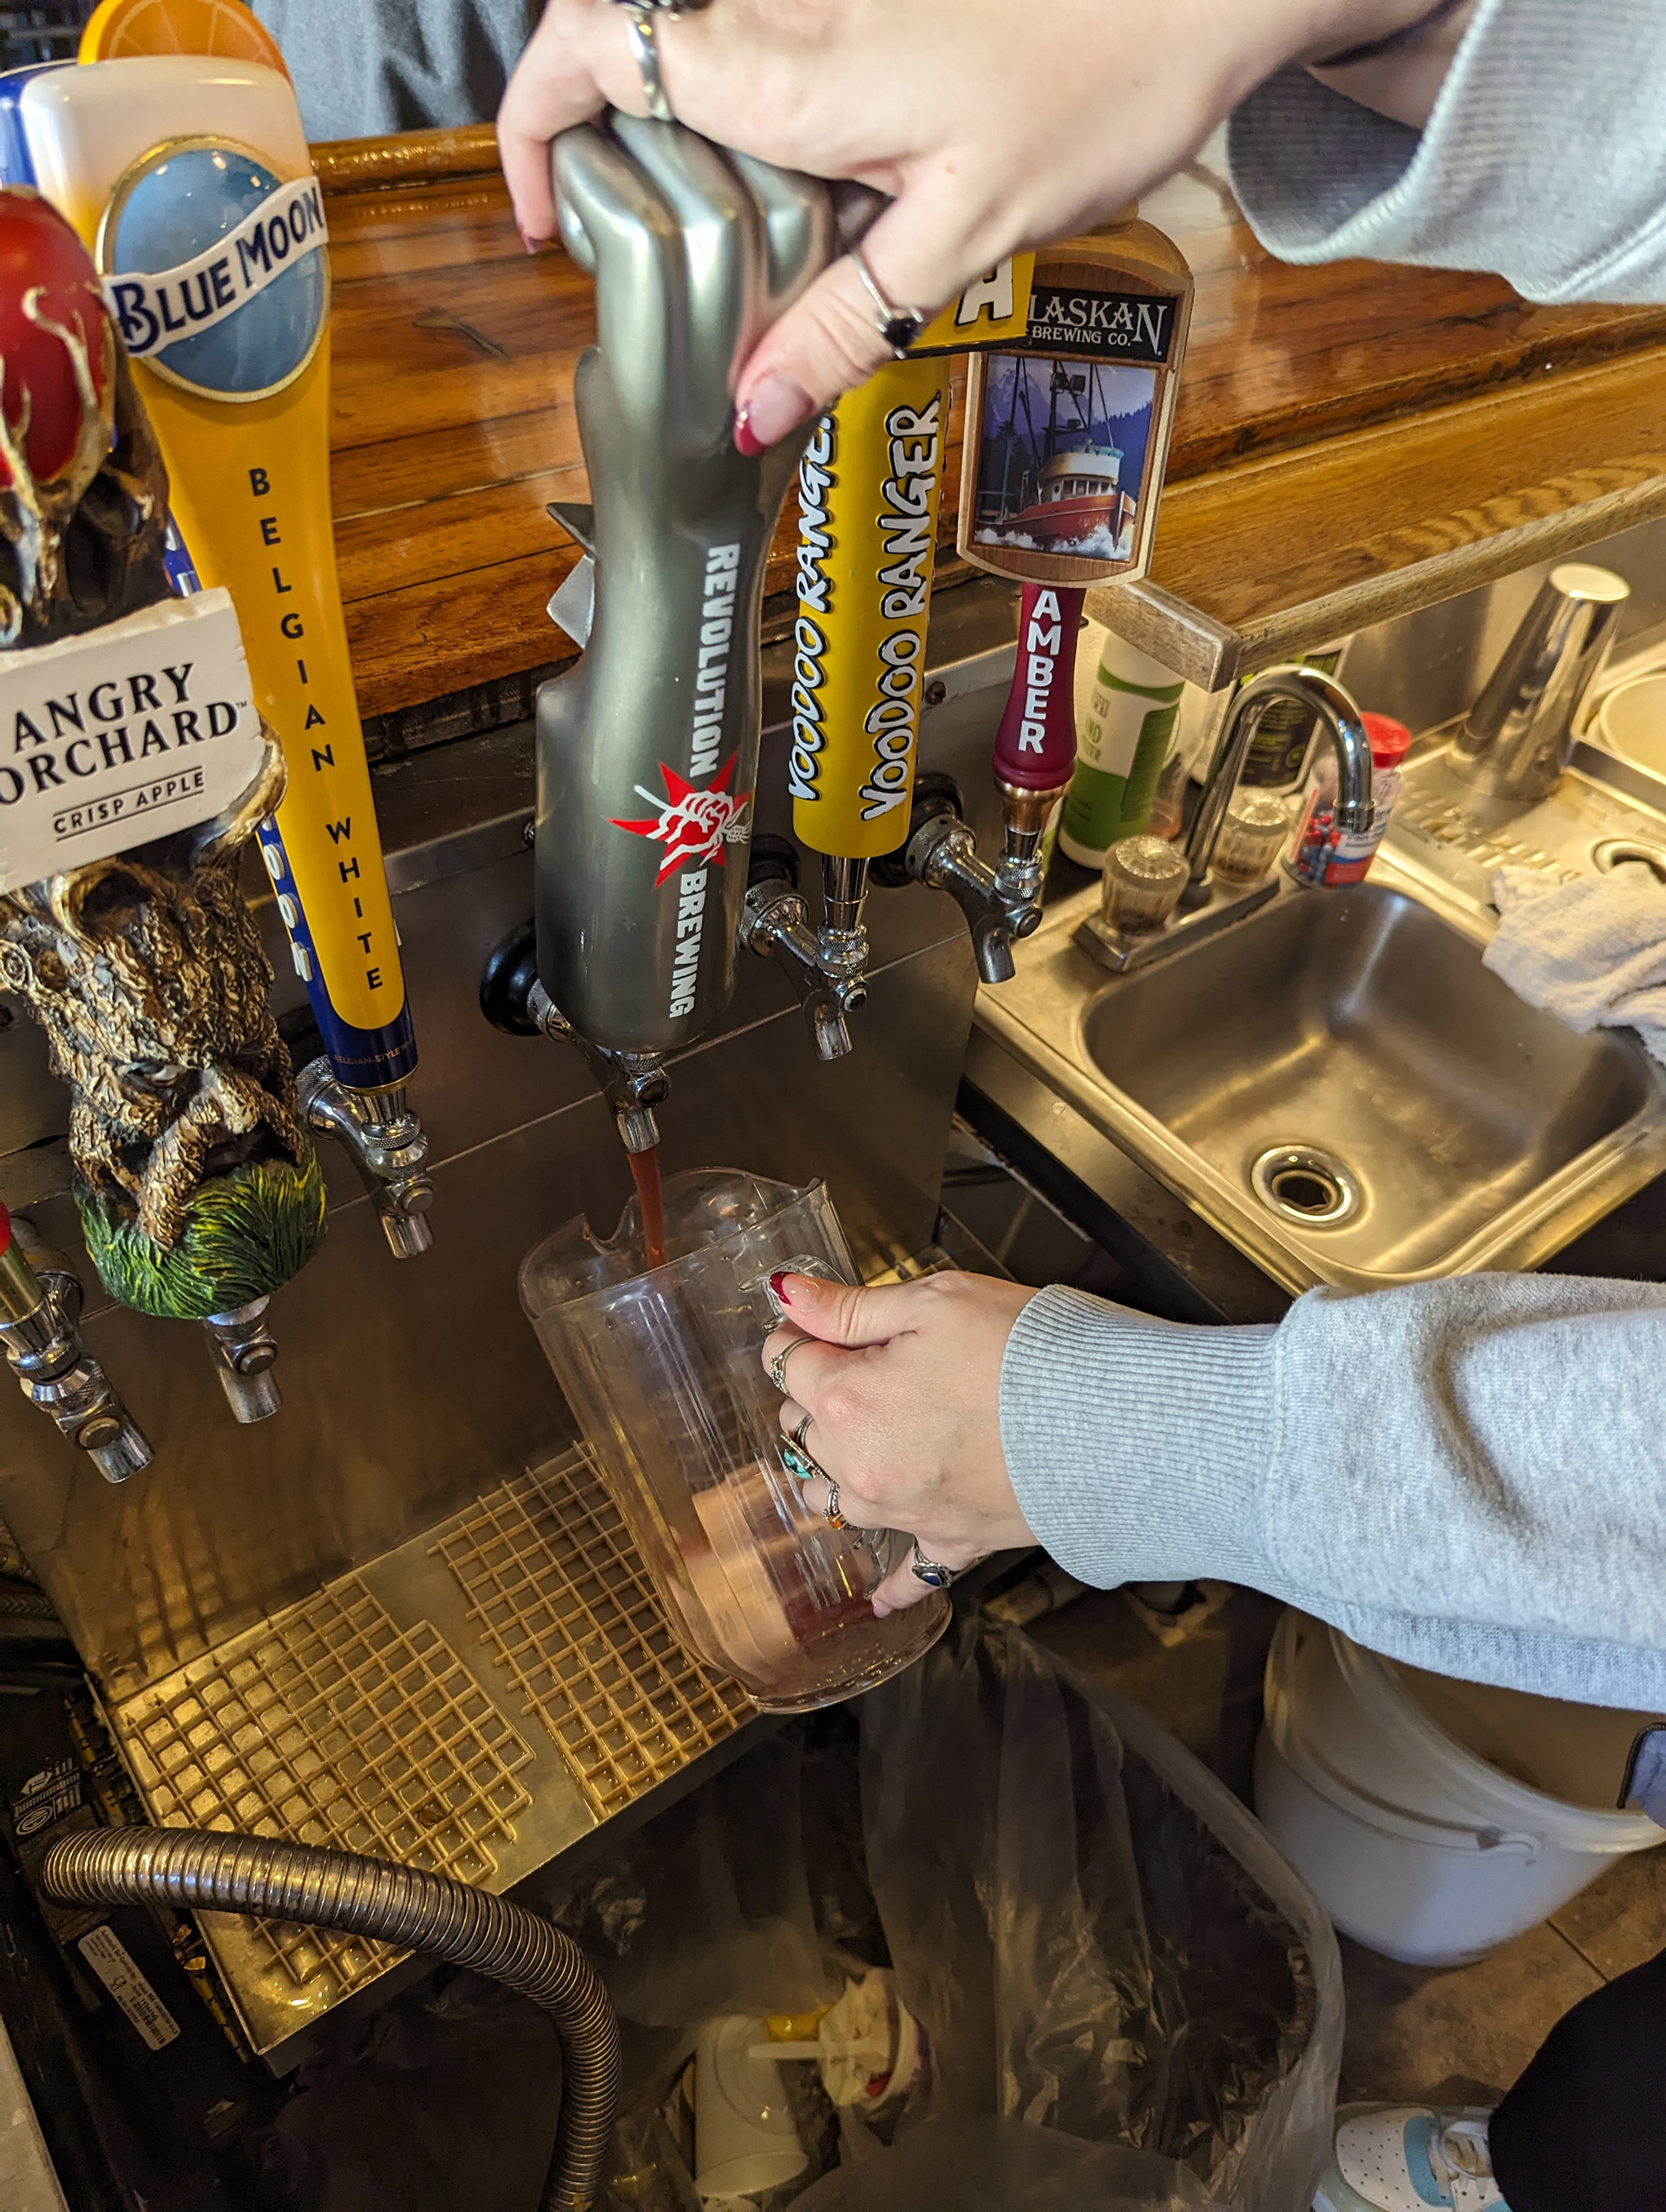
After conducting our initial digital research, we visited local bars to observe a variety of tap styles in their natural setting, noting what stands out and how designs contribute to the overall atmosphere. We also held conversations with bartenders who provided us with valuable insights into what makes a beer tap functional and appealing, as they understand the importance of durability, ergonomics, and visual appeal. Exploring different establishments helped us identify trends, gather inspiration, and gain a deeper understanding of how tap designs enhance customer experience and reflect the brand’s identity.

We translated the ideas we gained from our digital and physical research into exploratory drawings. This stage focuses on generating a variety of concepts, experimenting with shapes, proportions, and details that reflect the brand’s personality and practical requirements. We created multiple iterations, testing how the tap design balances aesthetics with functionality, ensuring it’s visually striking while easy to grip and use.
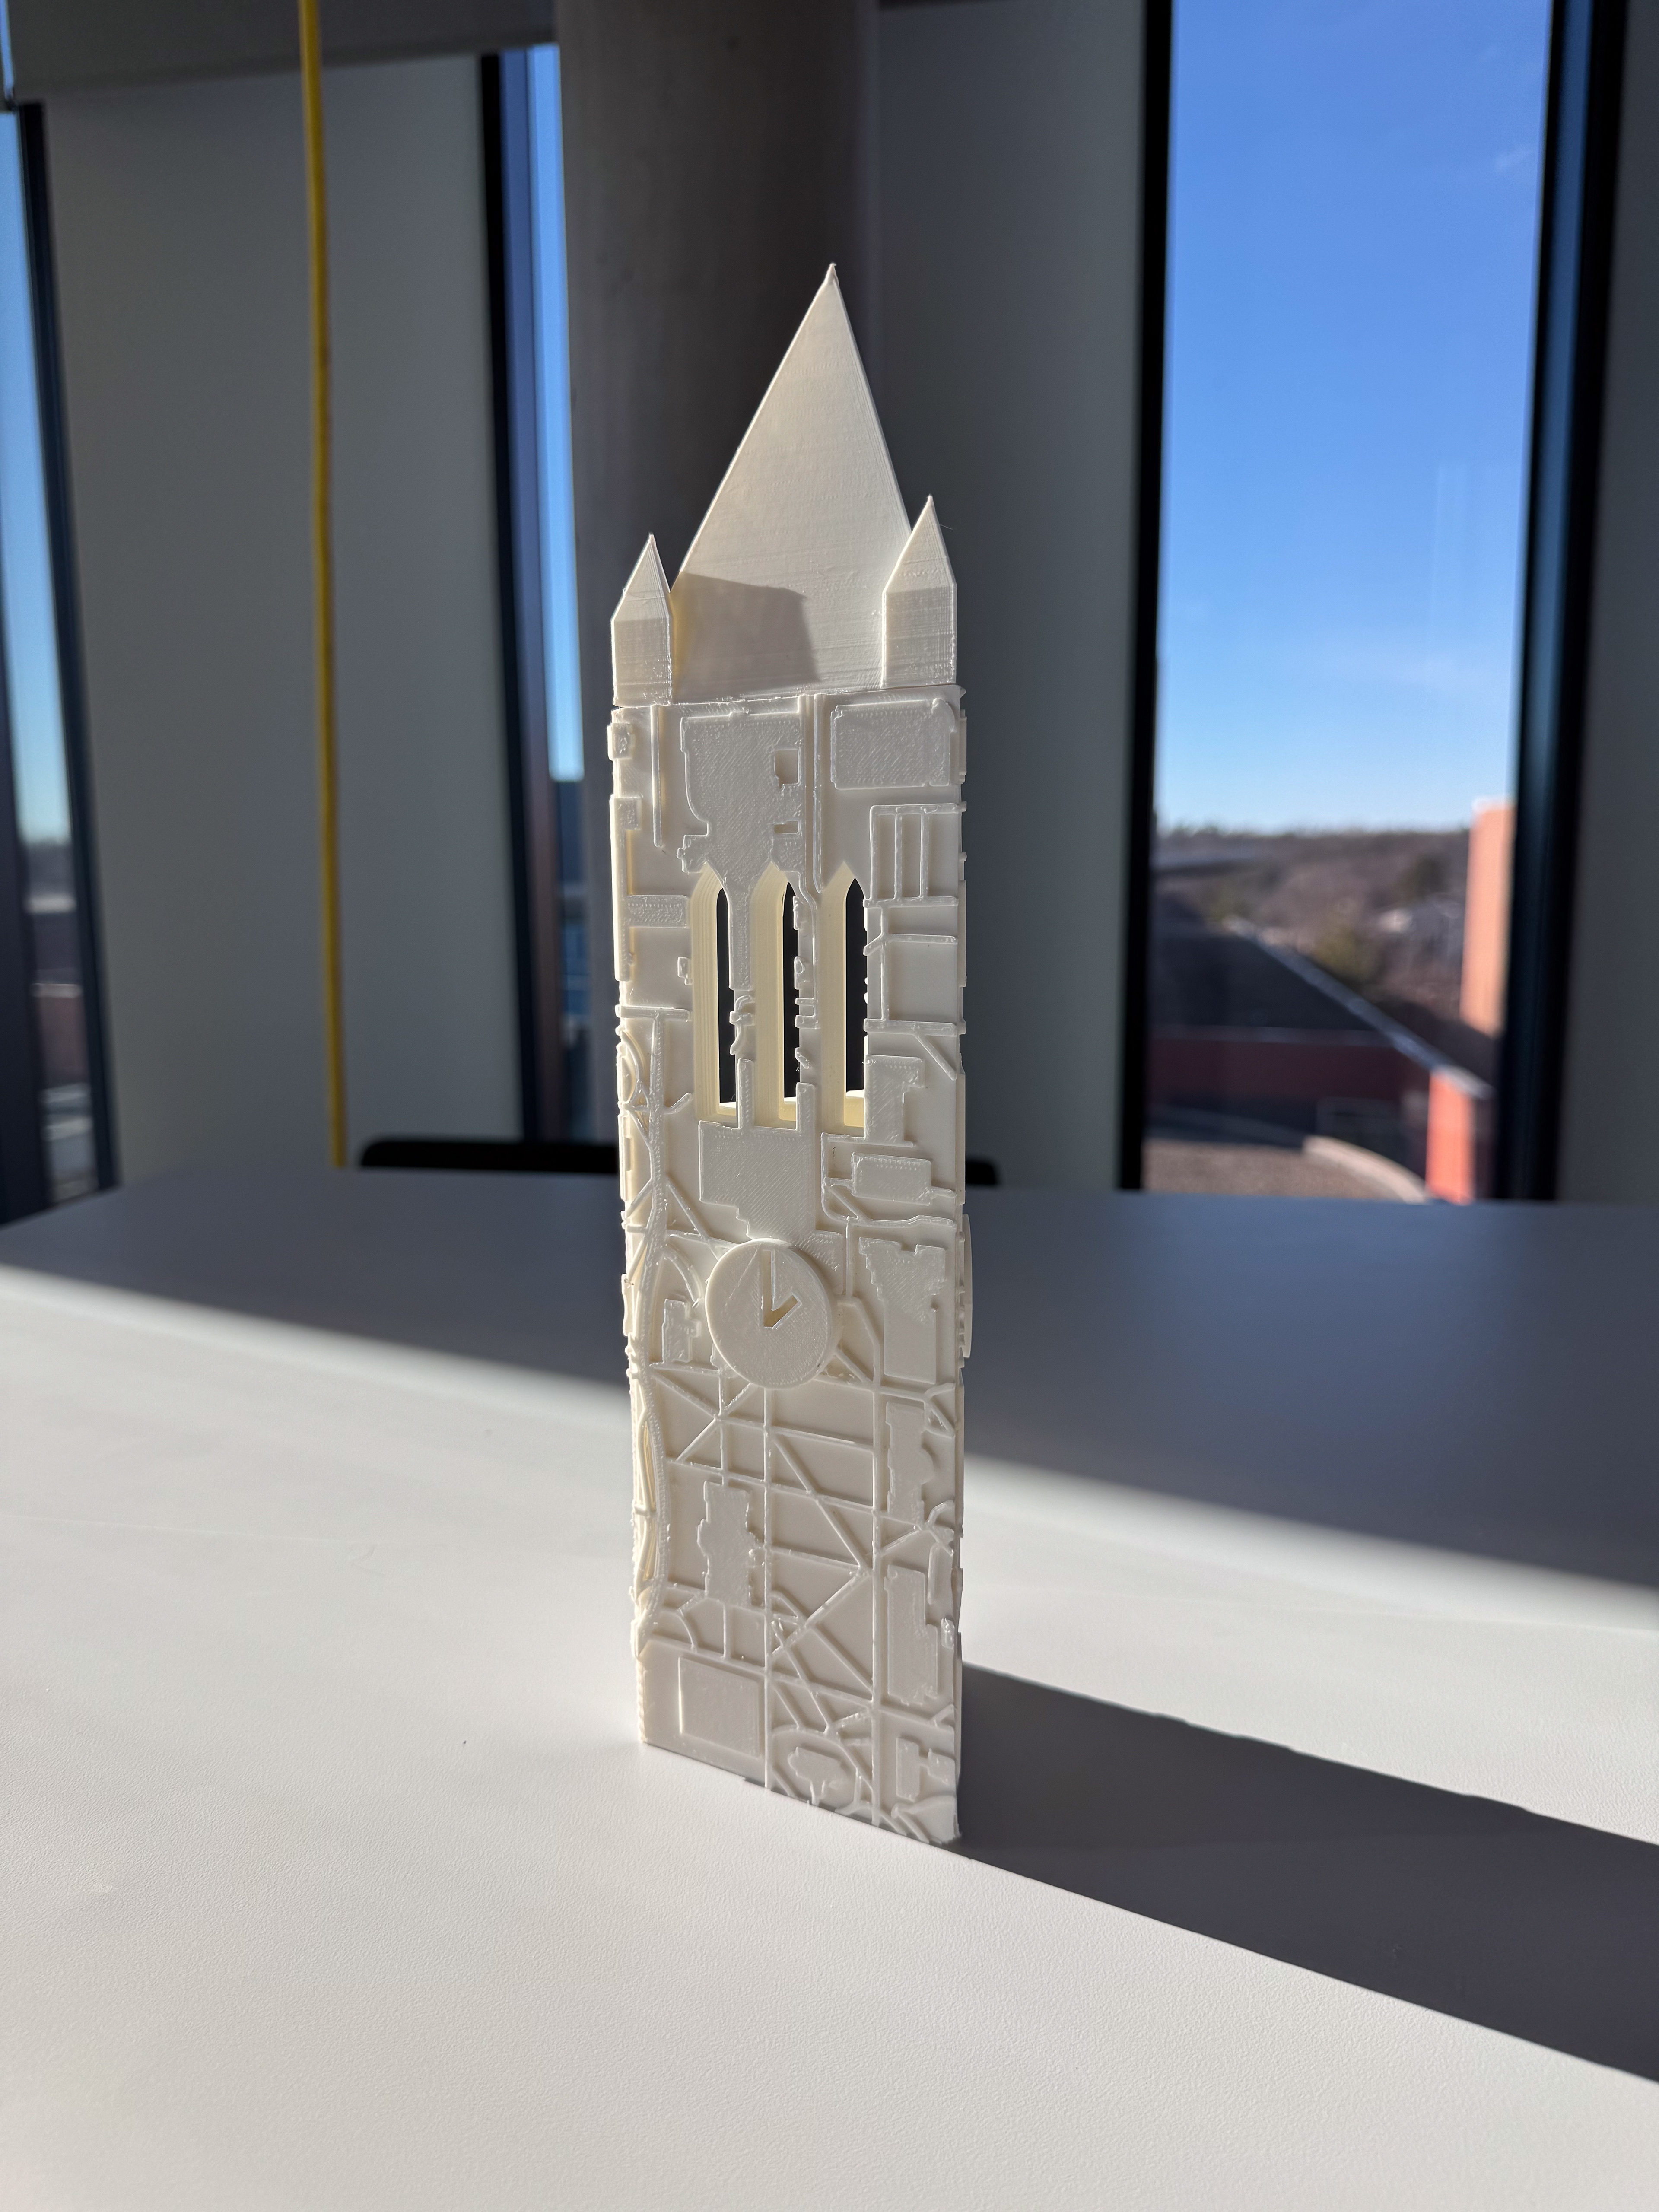
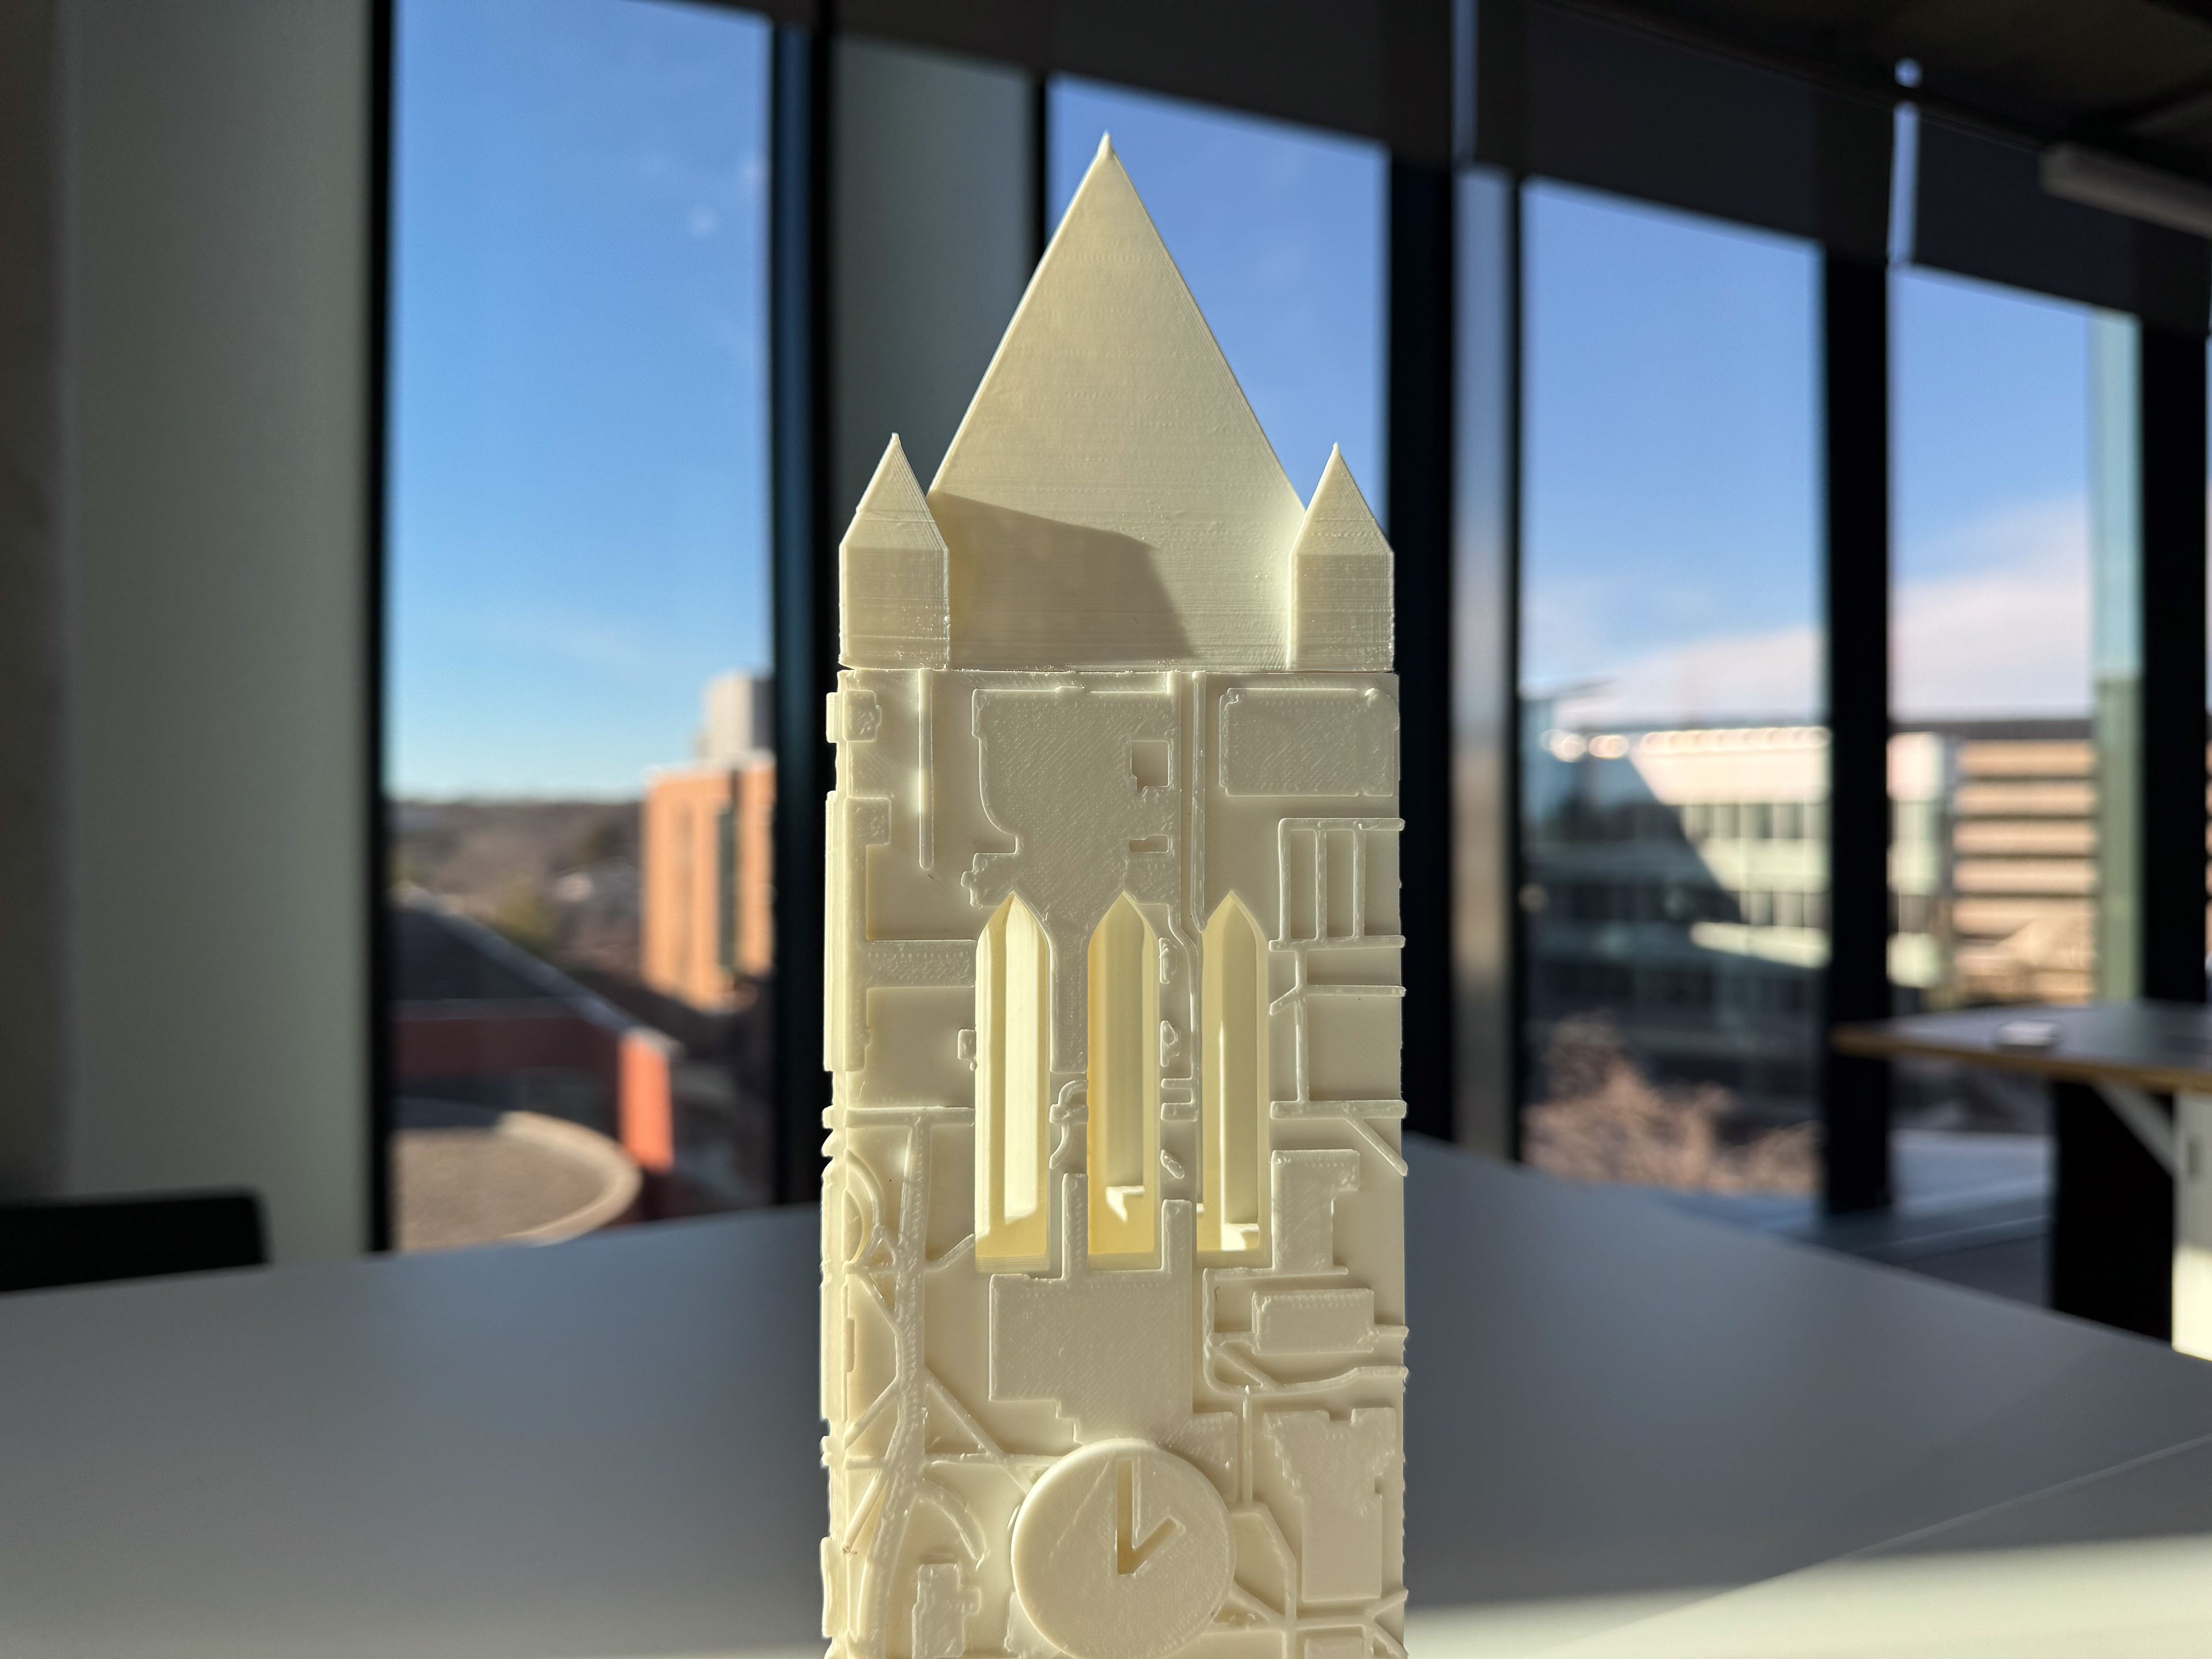
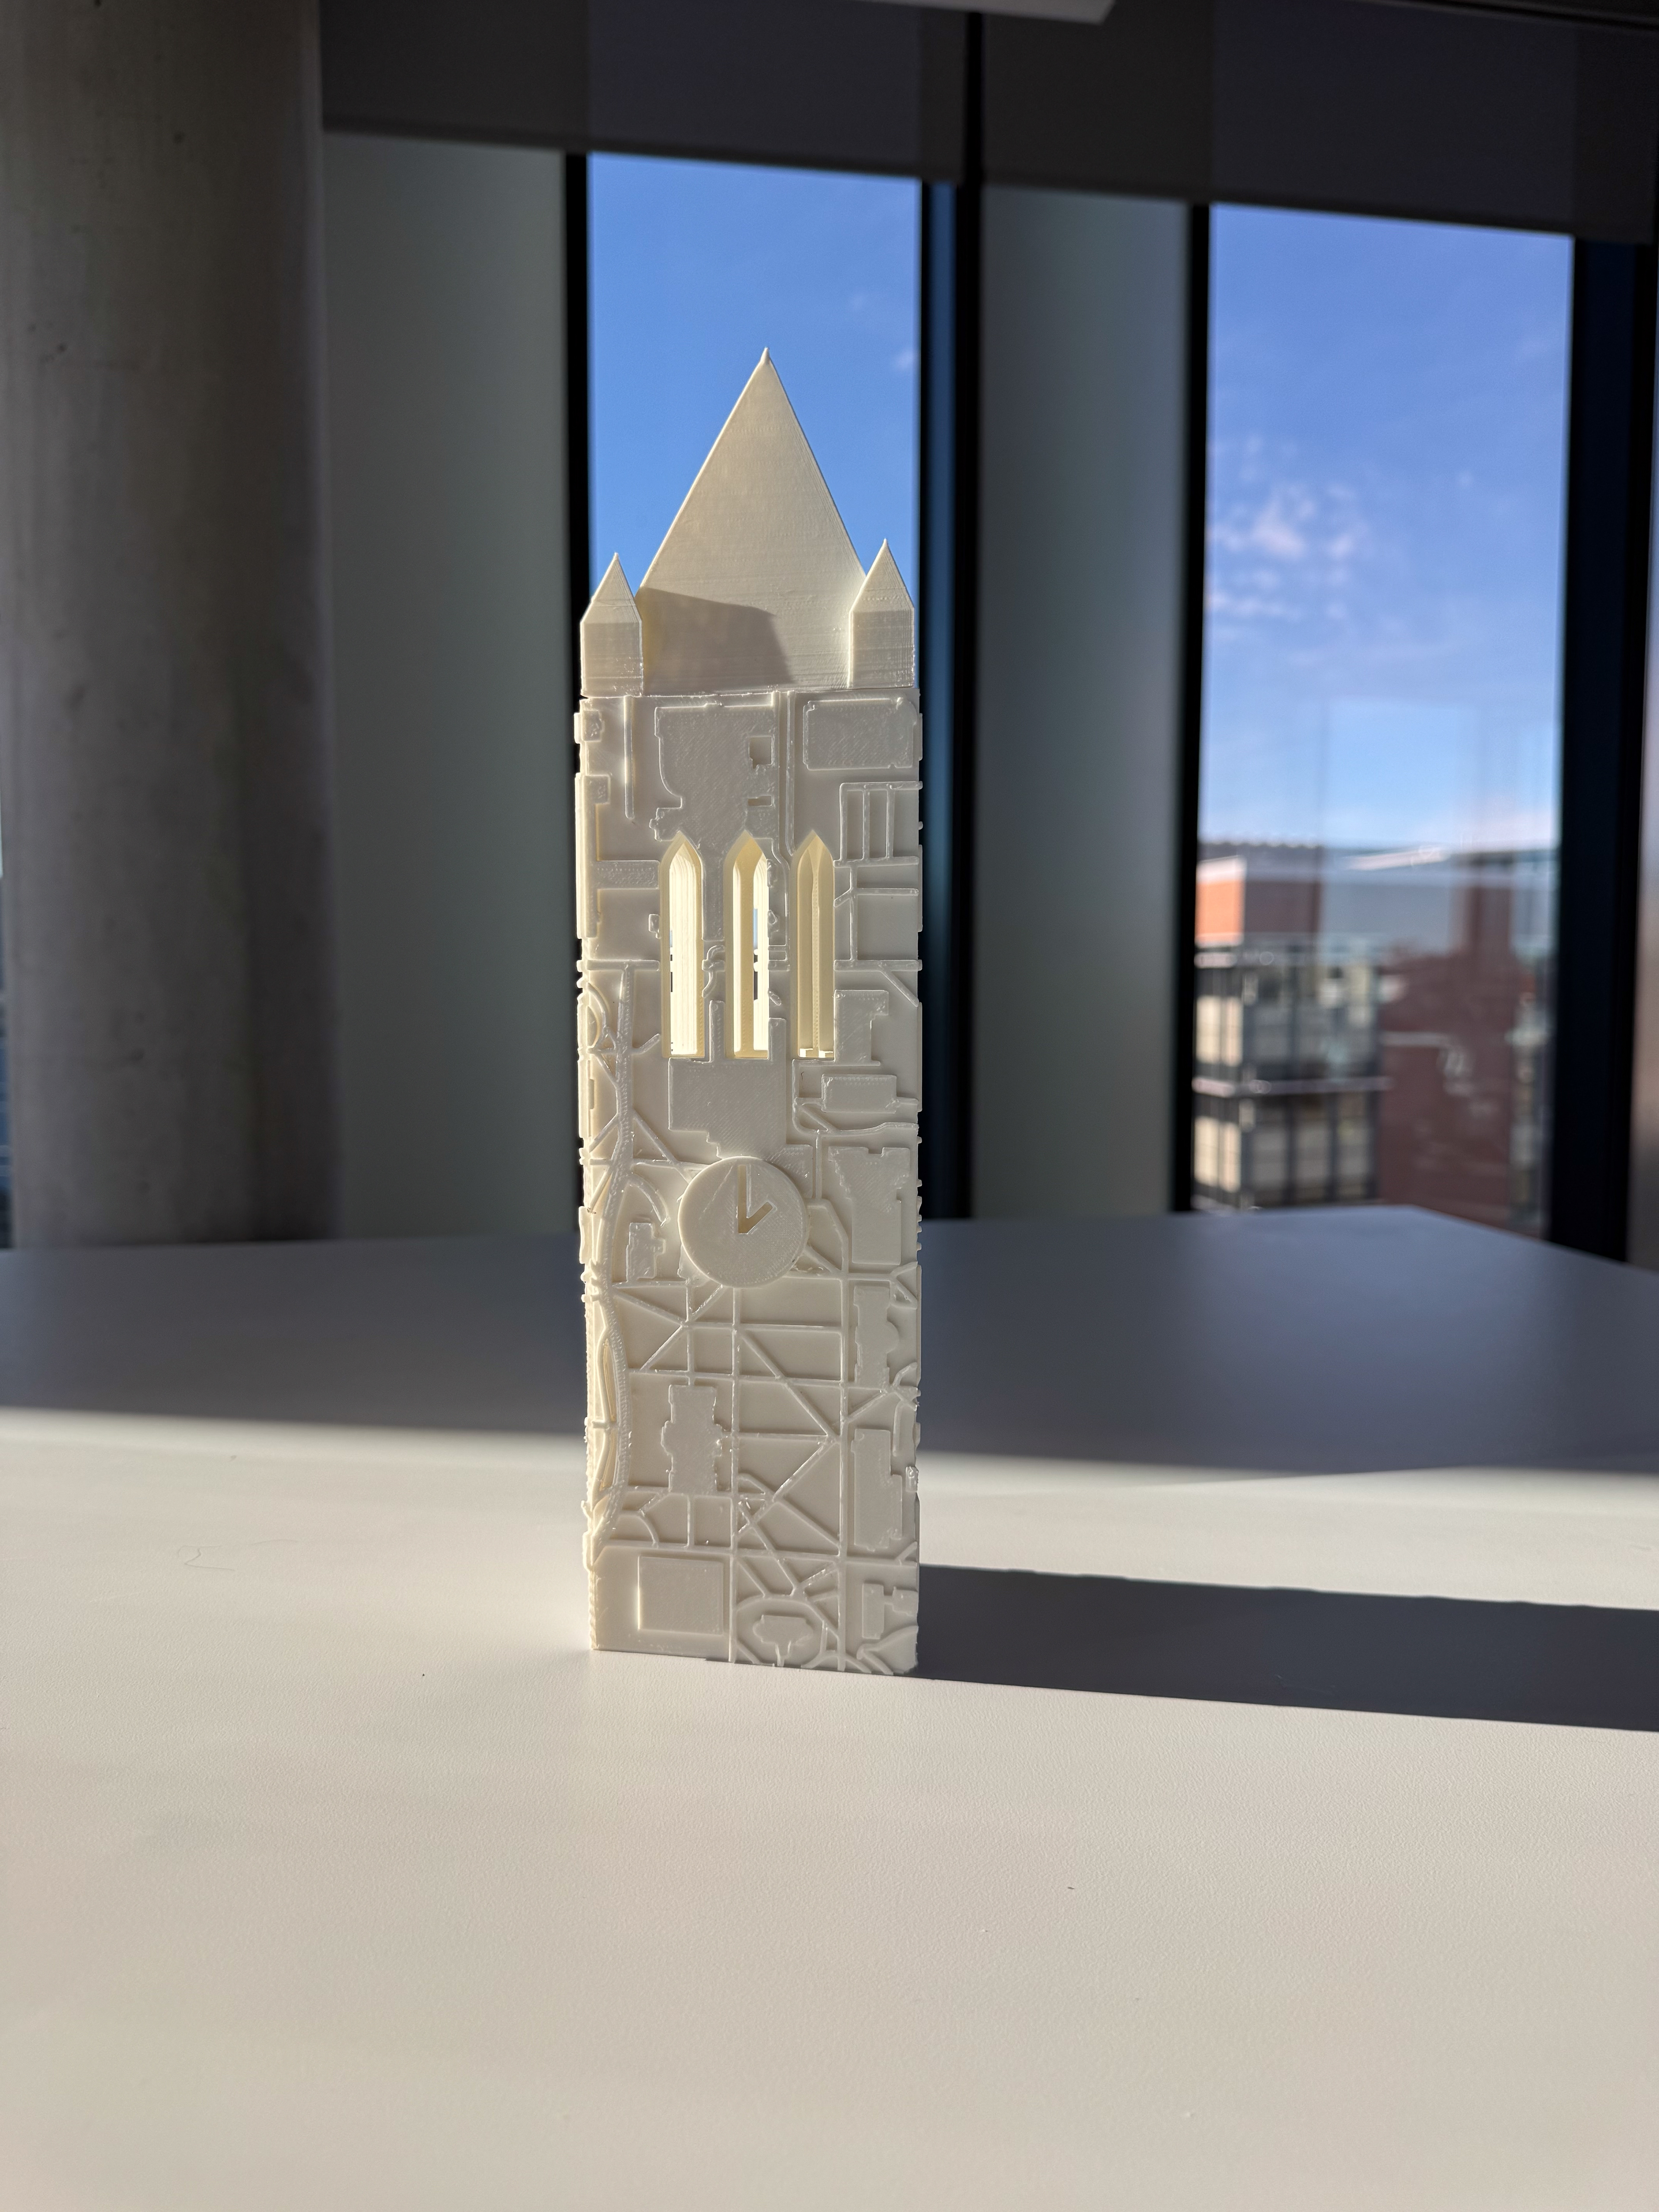
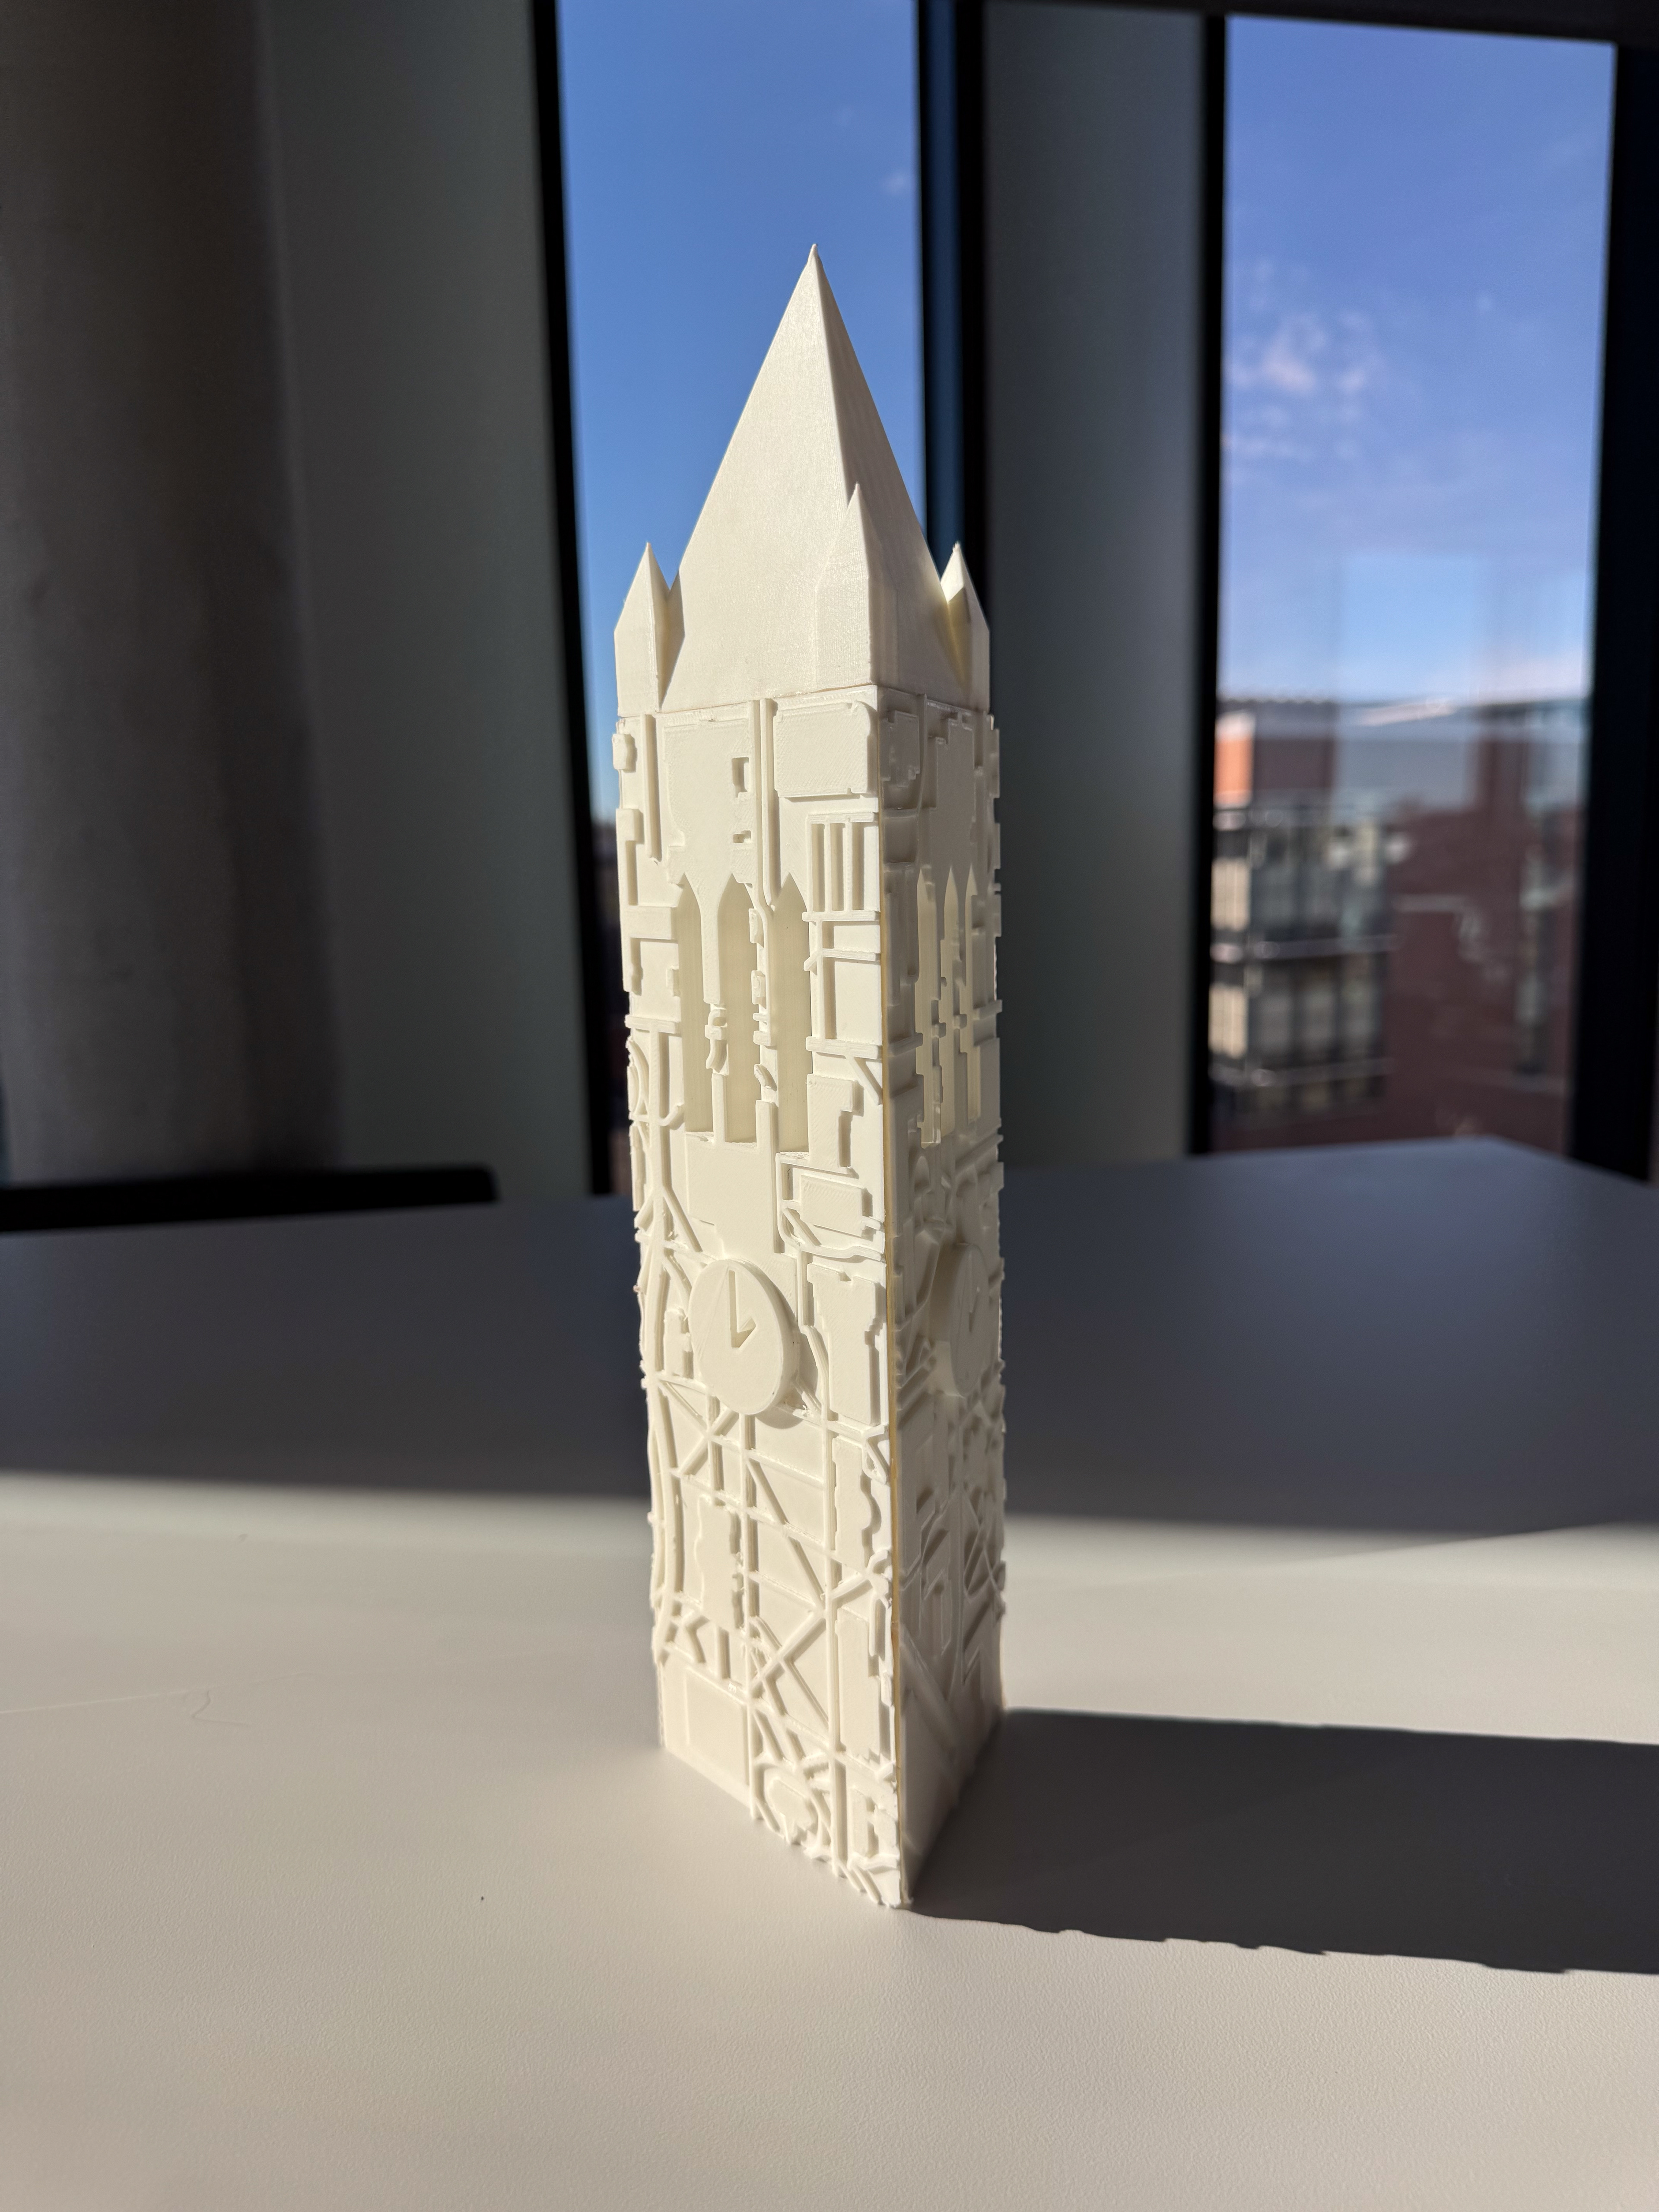
After choosing our favorite concepts and refining their sketches, we brought the designs into Adobe Illustrator for vectorization. This step required immense precision because Cinema 4D picks up on the slightest details. We made clean, scalable vector graphics that maintained precision and consistency. Some of these graphics consisted of the campanile, the Brew Lab logo, and other base shapes.


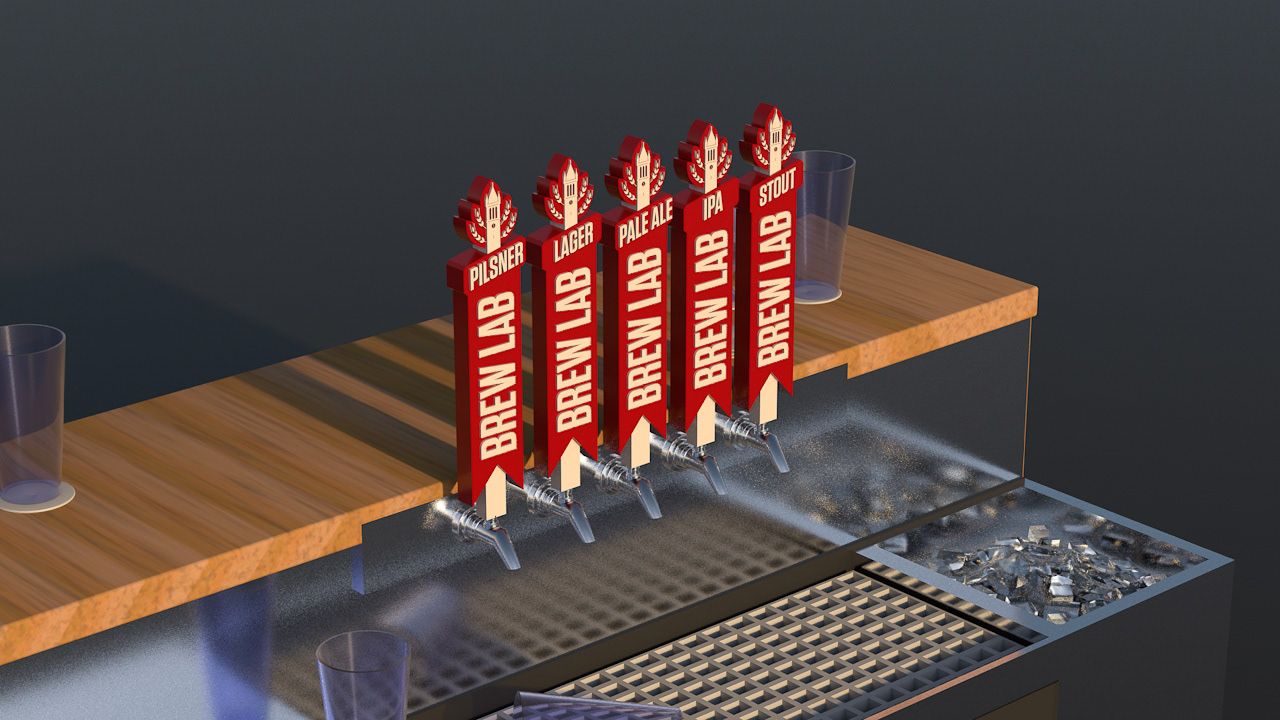
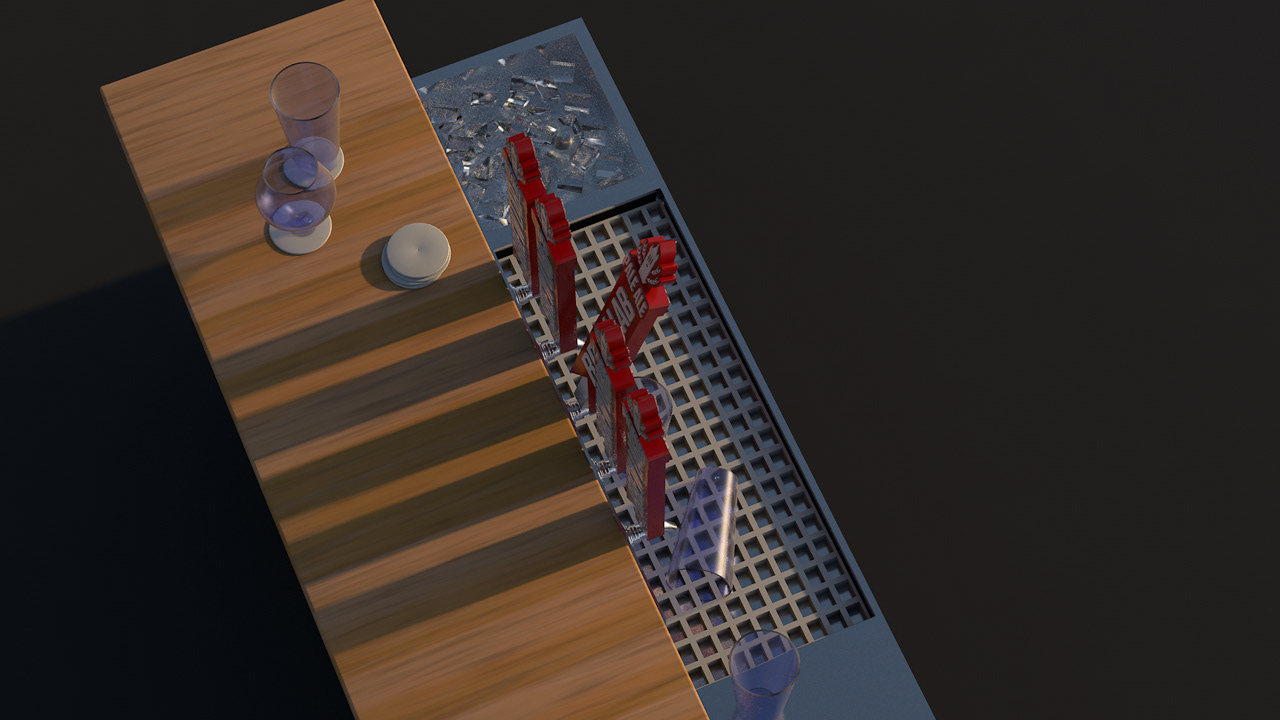
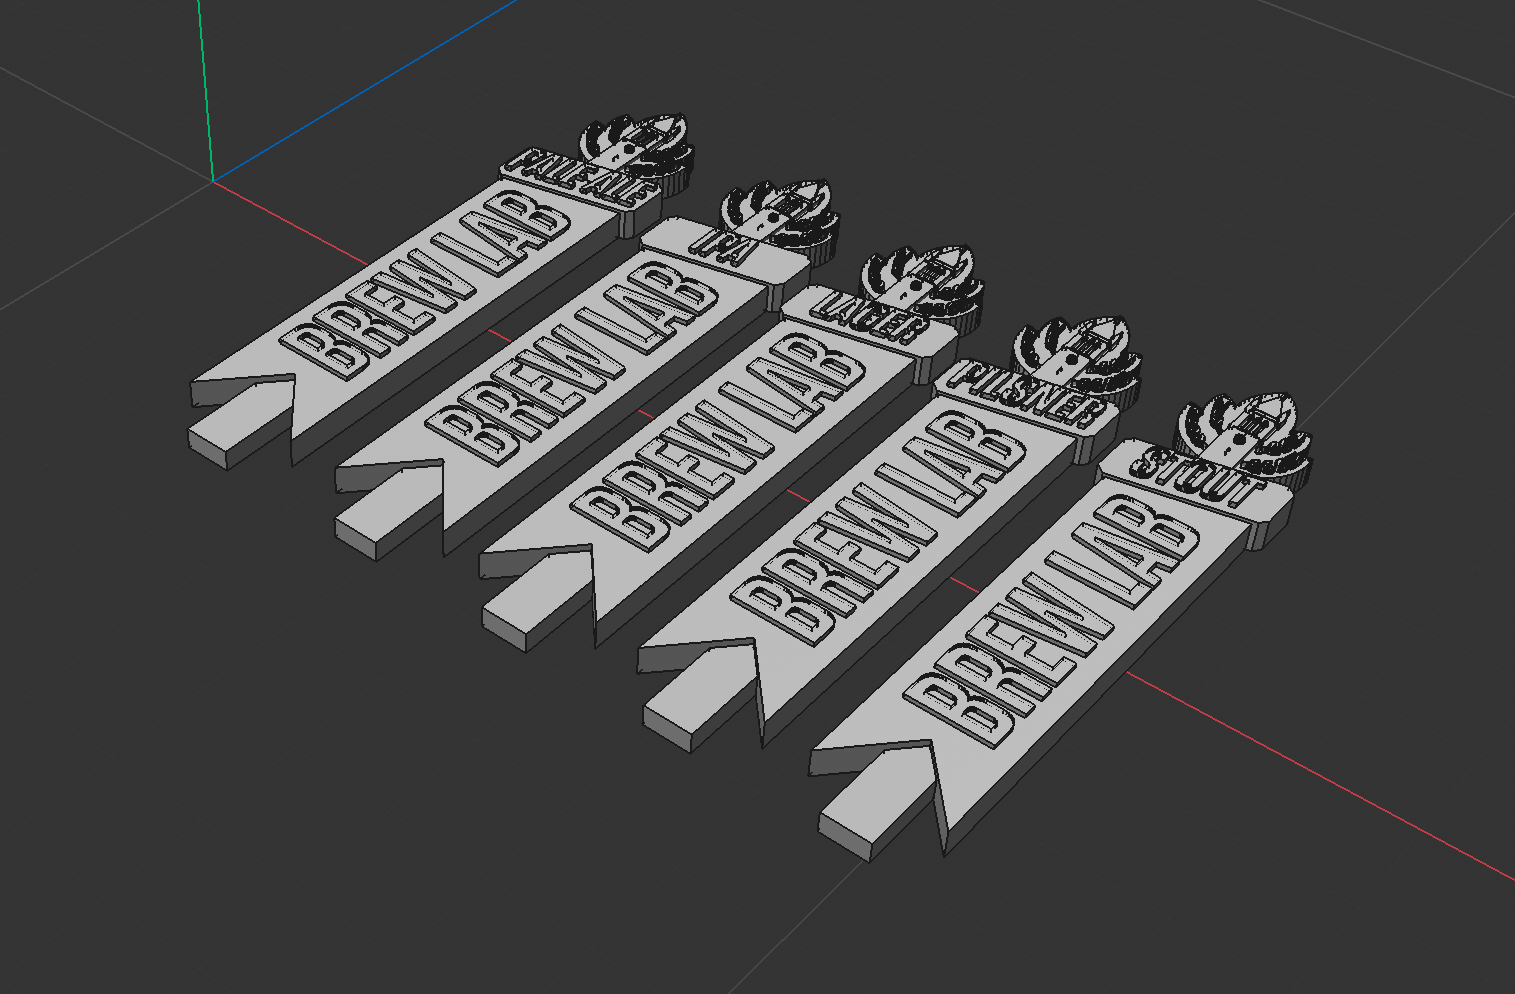
Once our vector designs were finalized in Illustrator, they were imported into Cinema 4D to begin the 3D modeling process. We learned how to bevel, extrude, boyle, etc. to help transform our 2D vectors into 3D tap handles. This stage focused on achieving accurate proportions and maintaining the design’s integrity while adding depth and dimension. We incorporated additional details, such as engravings and textures, to enhance both the design and realism.
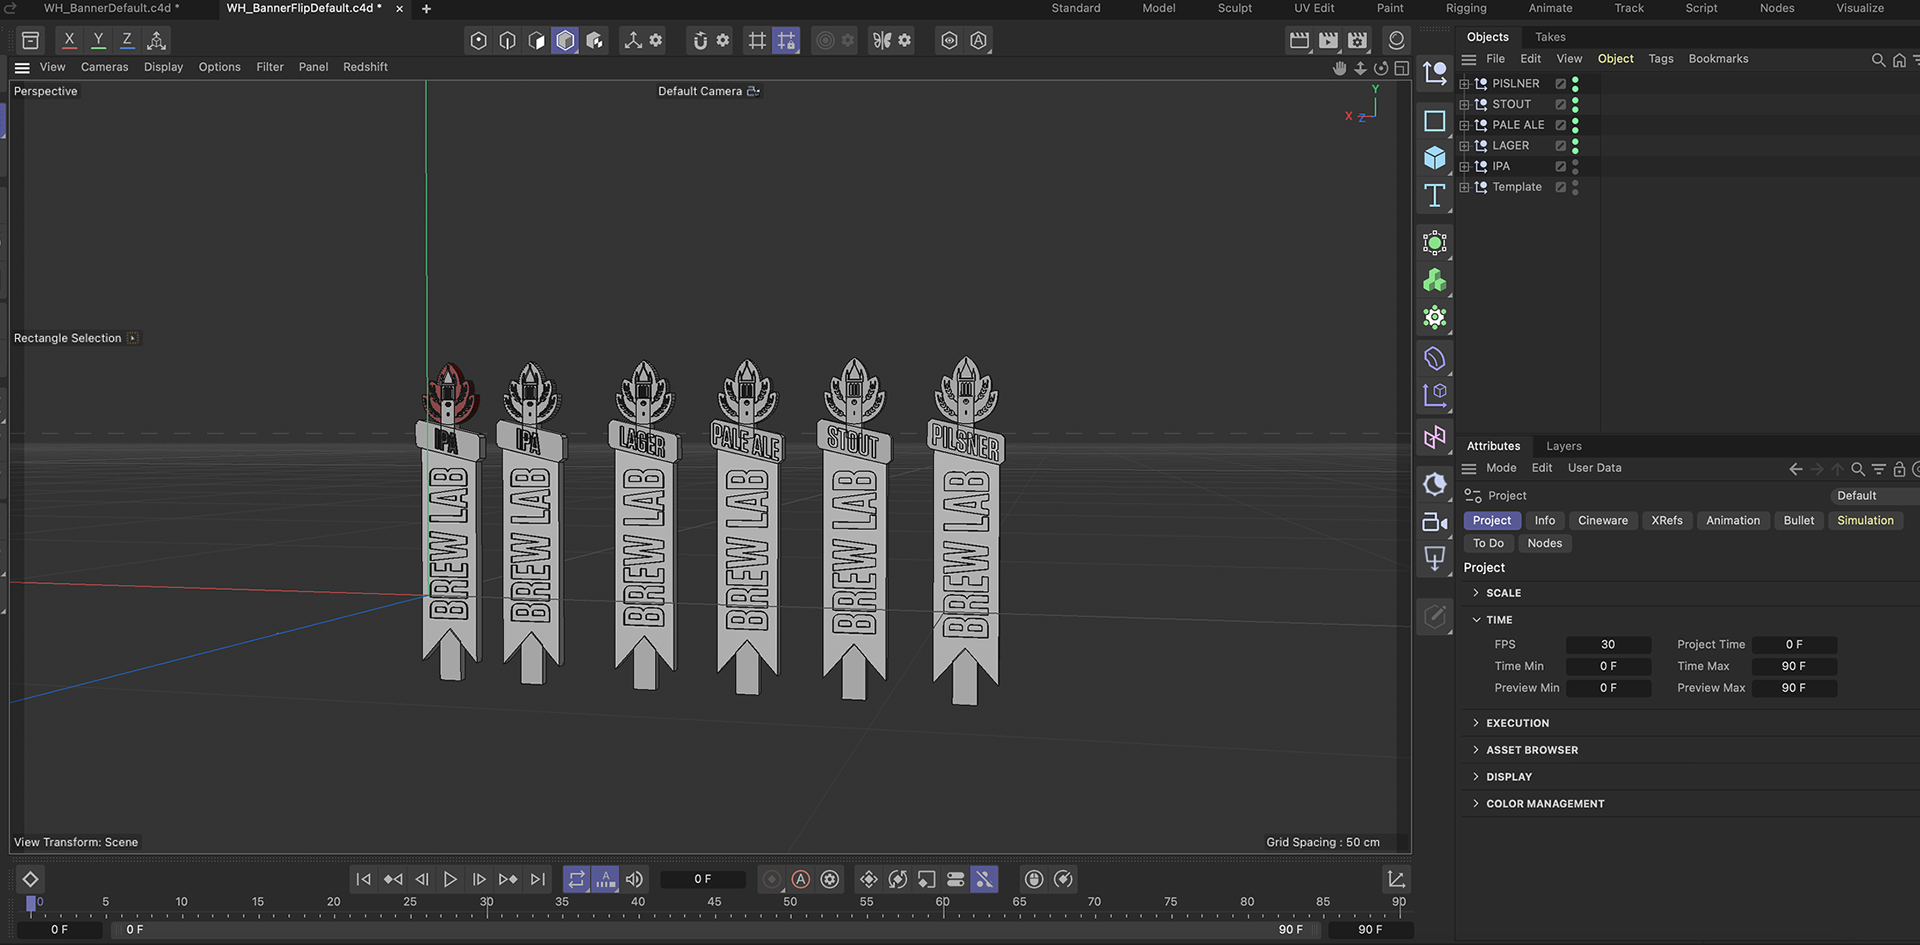
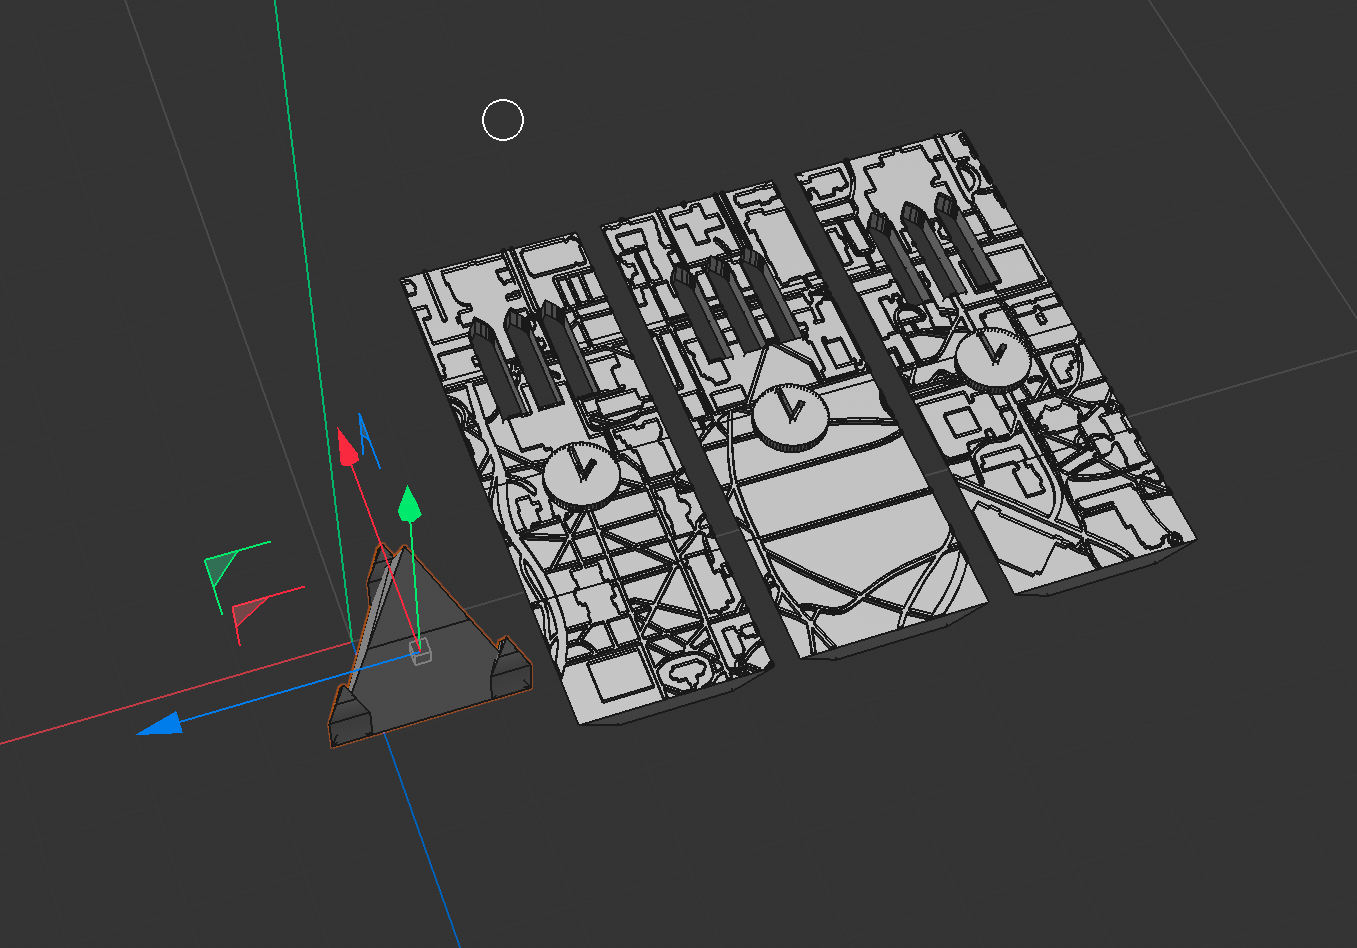
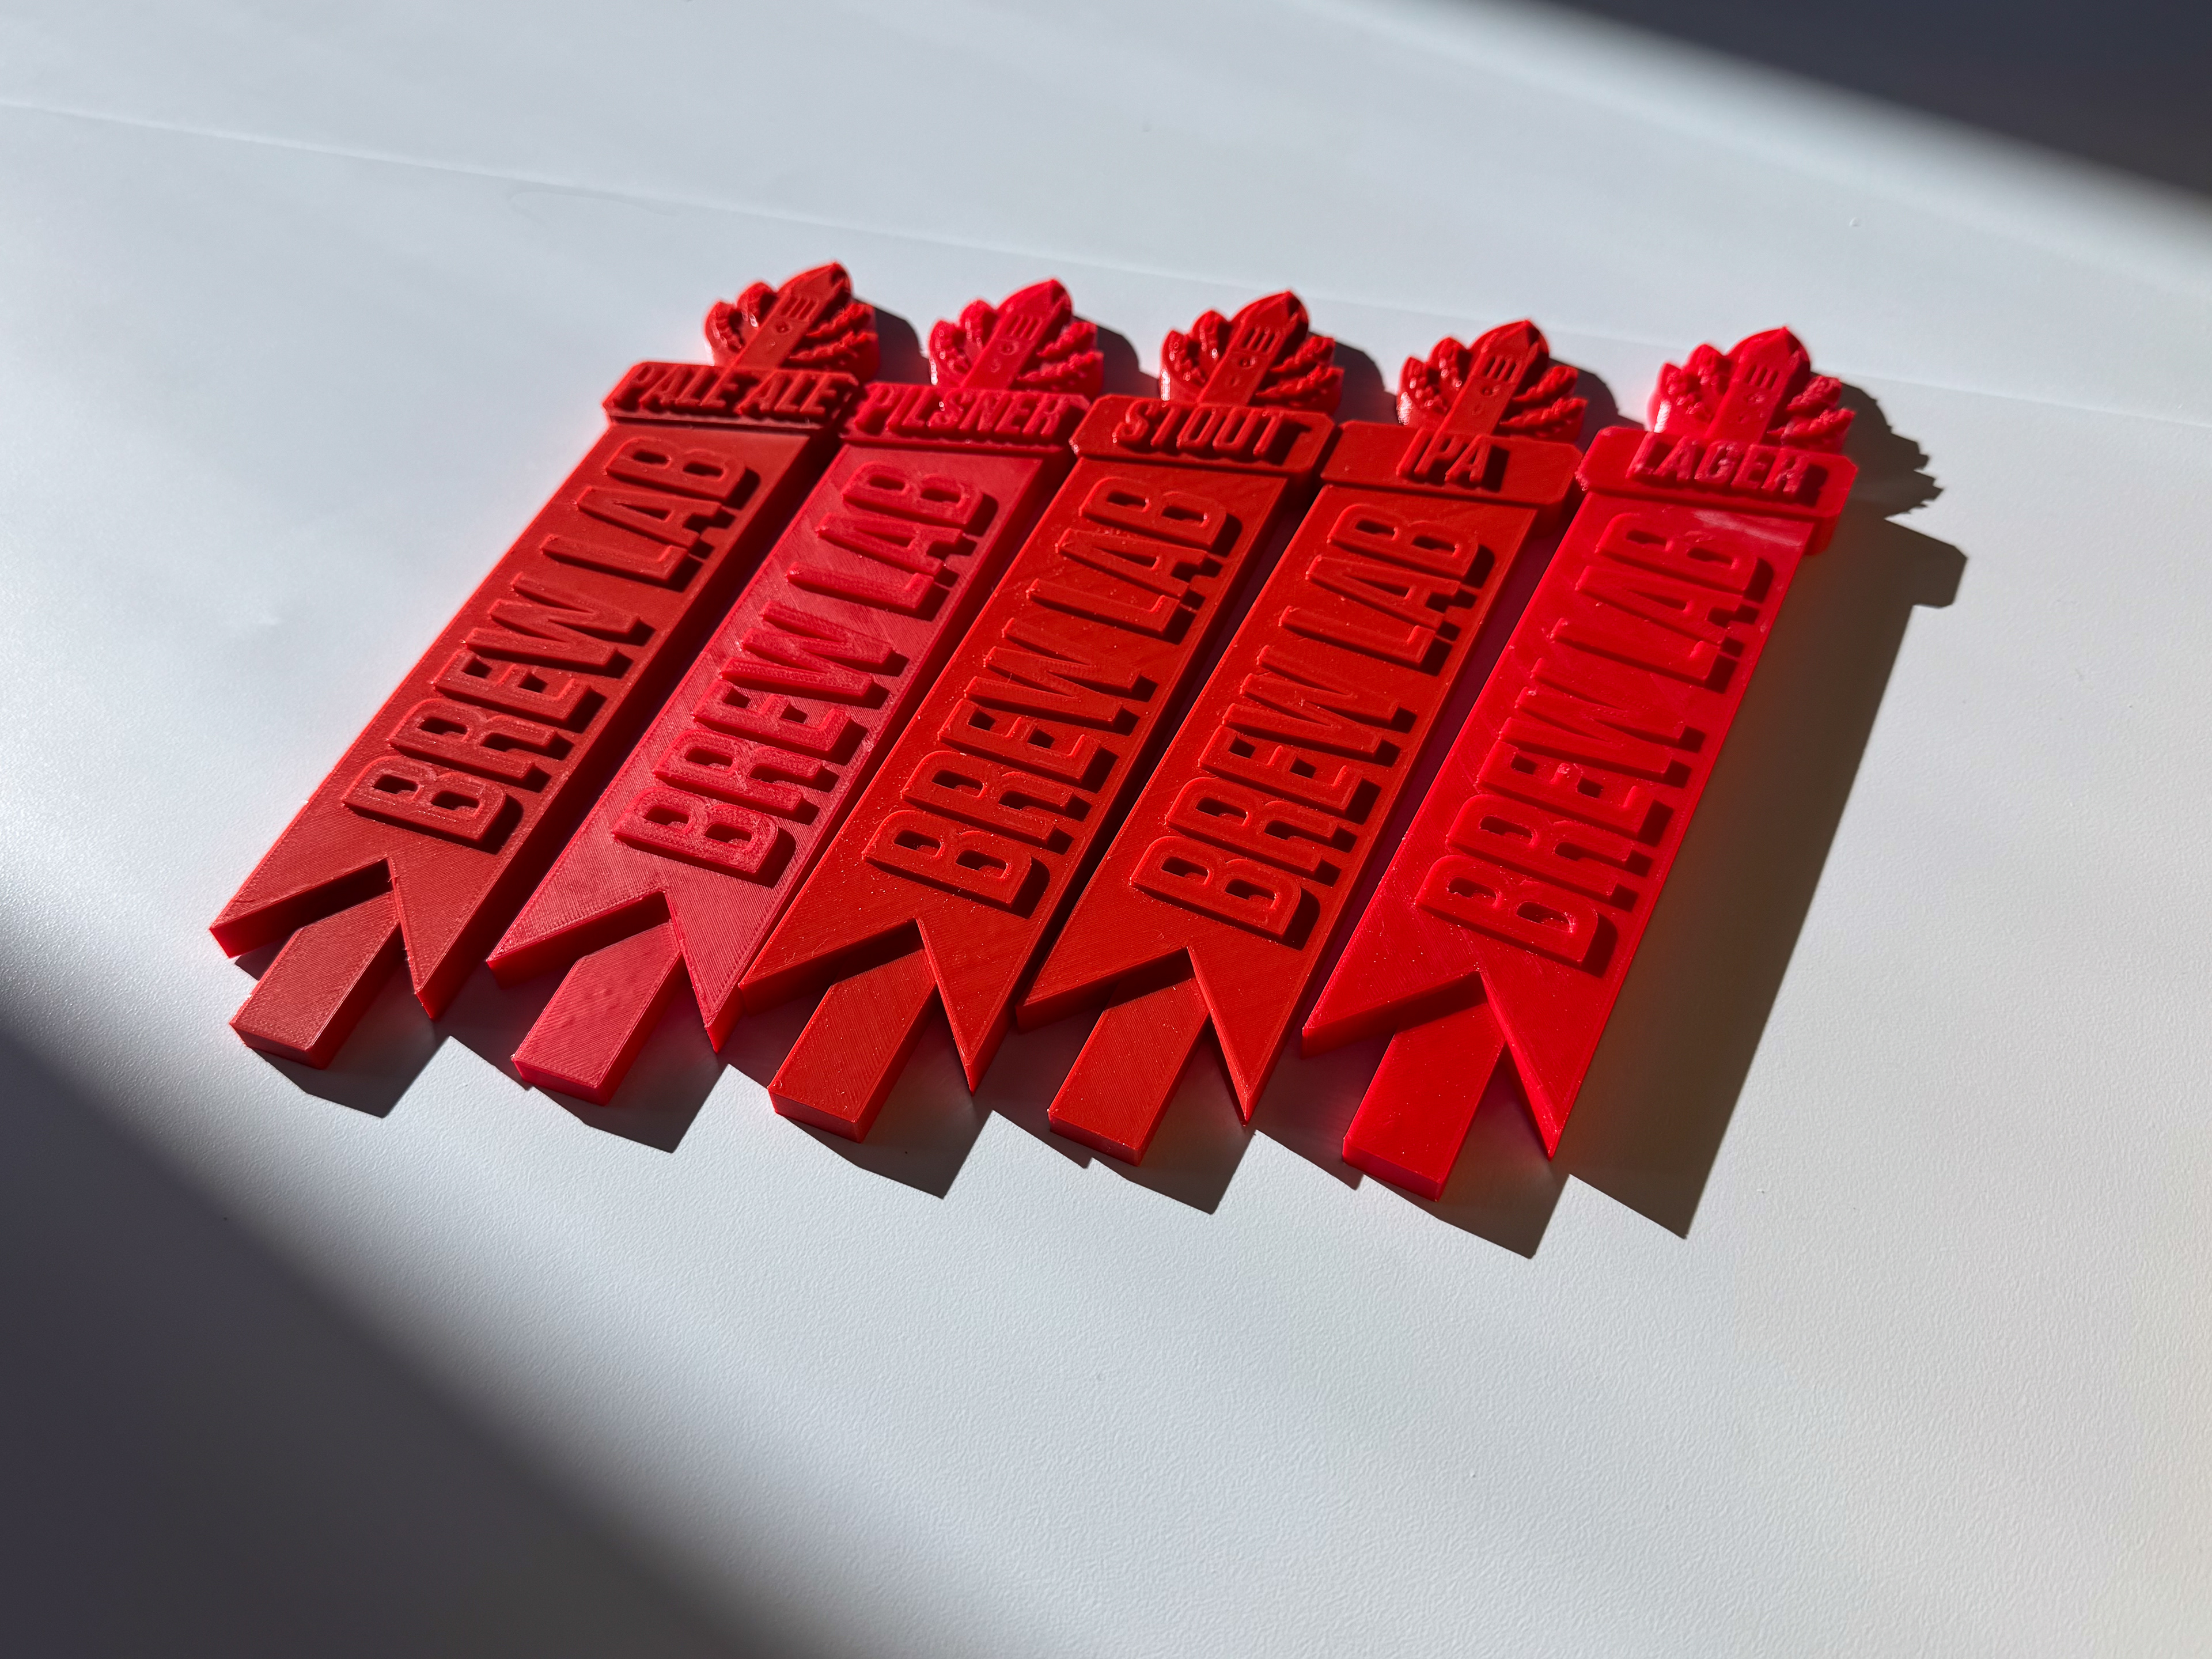
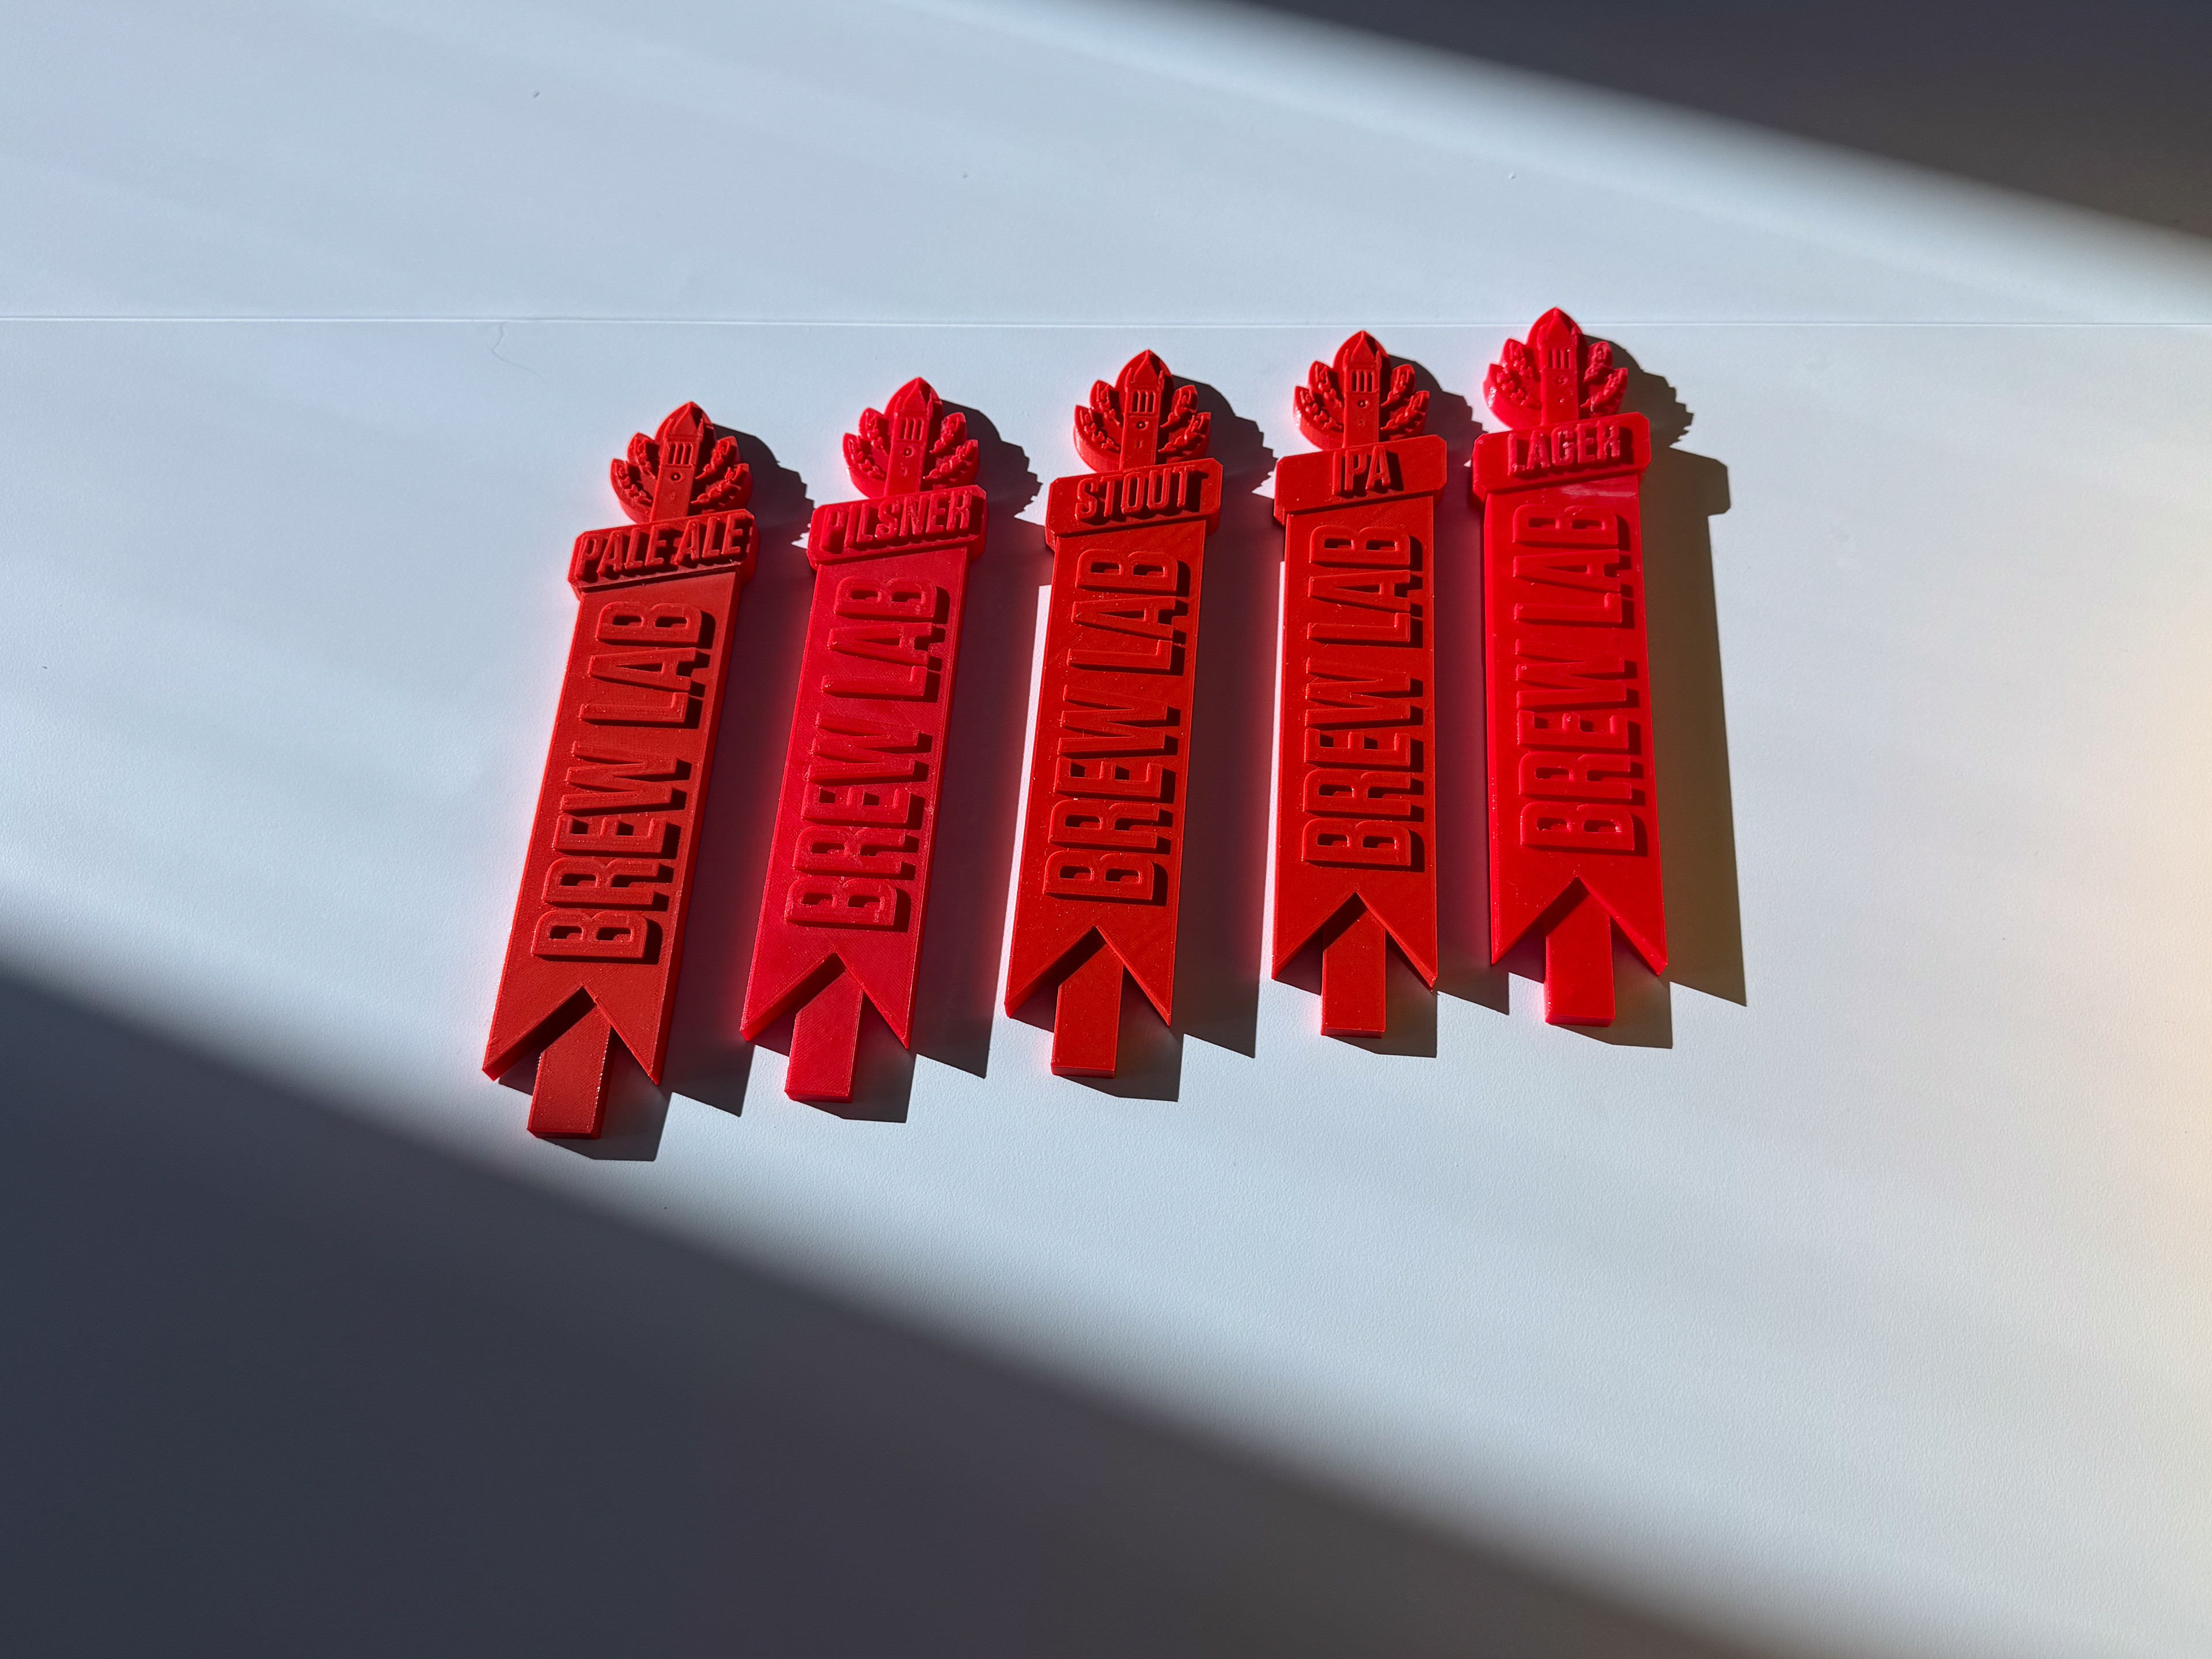
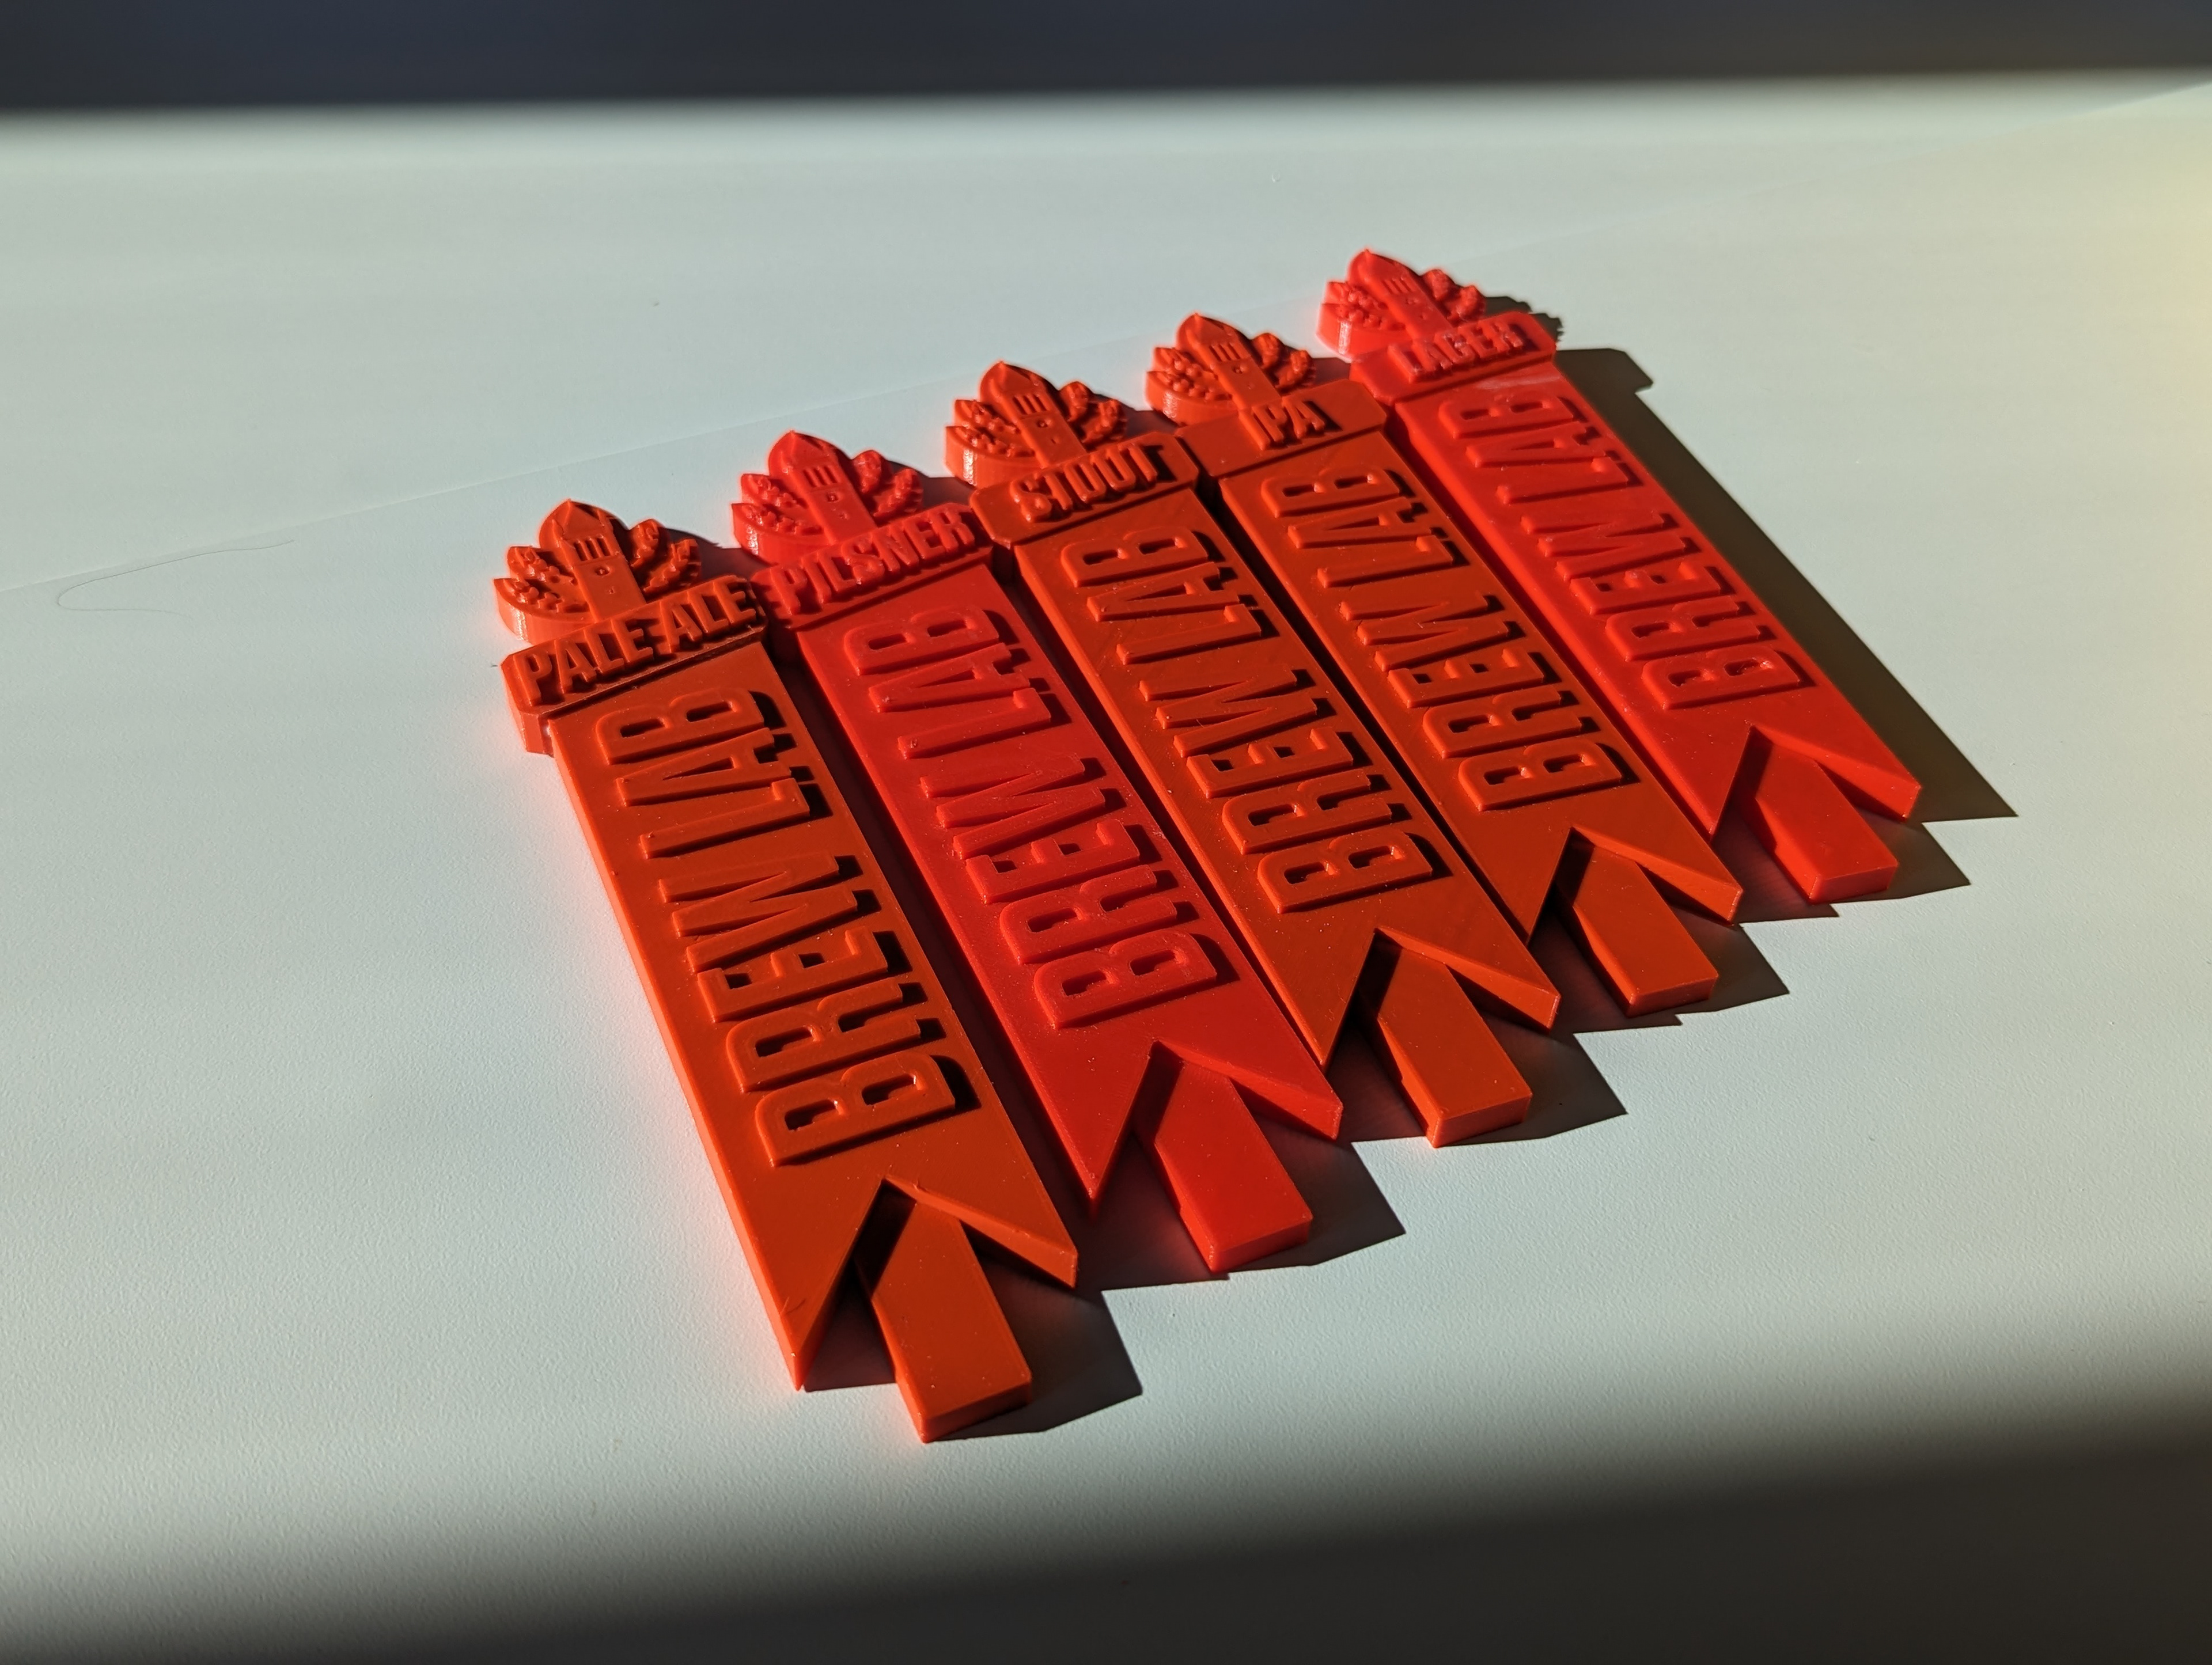
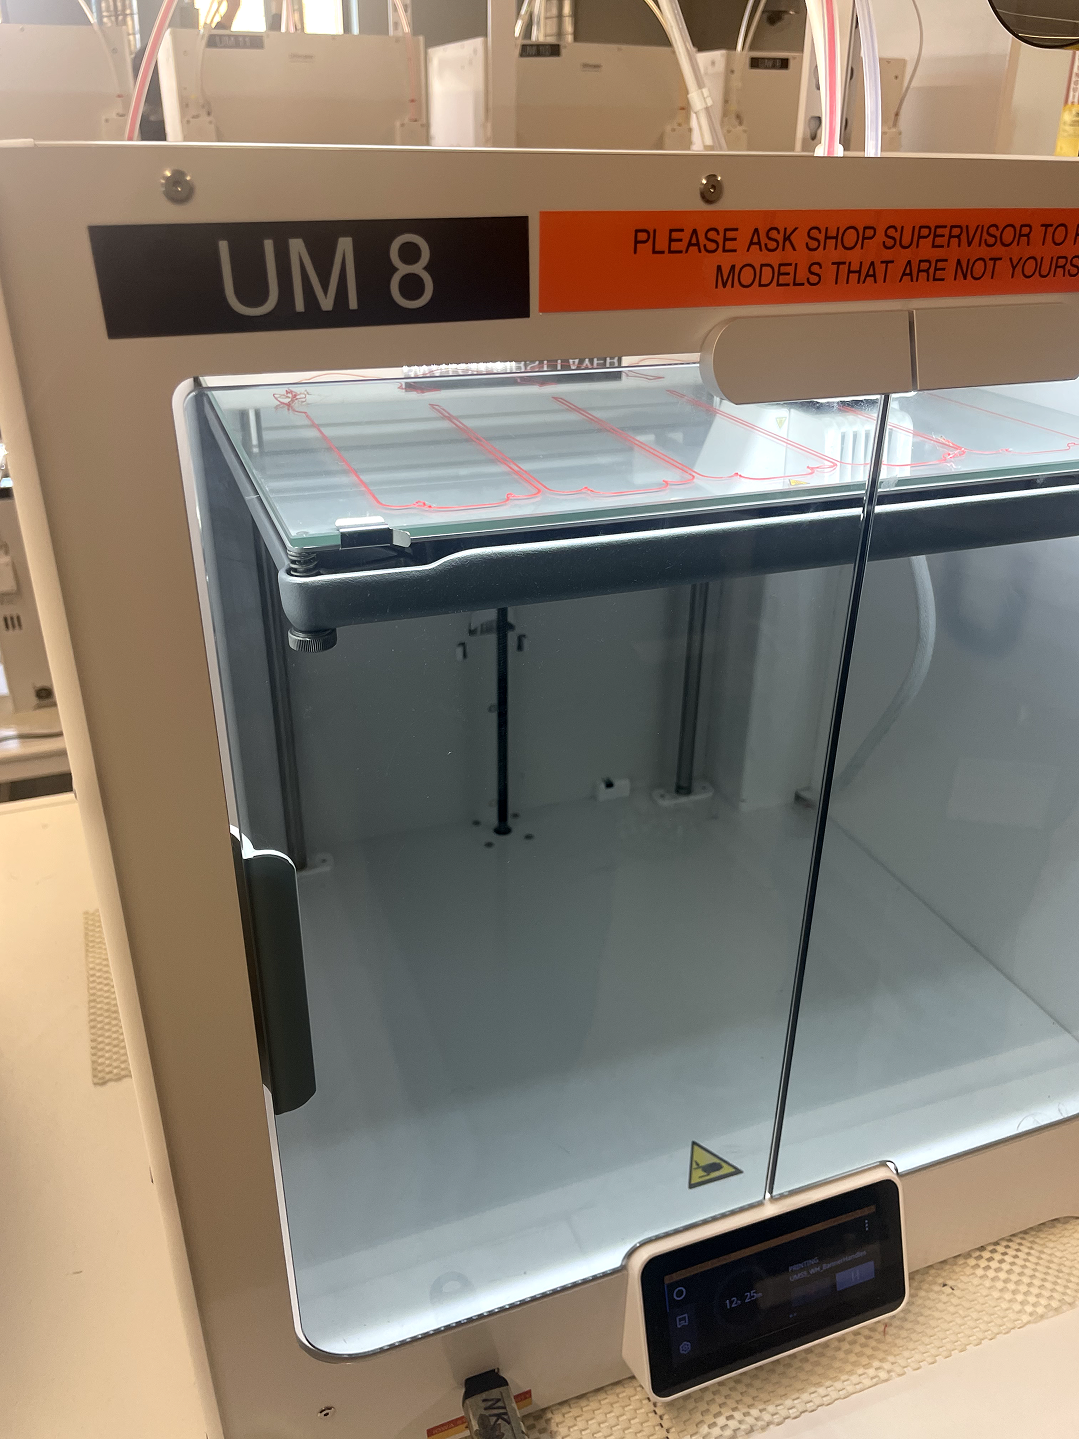
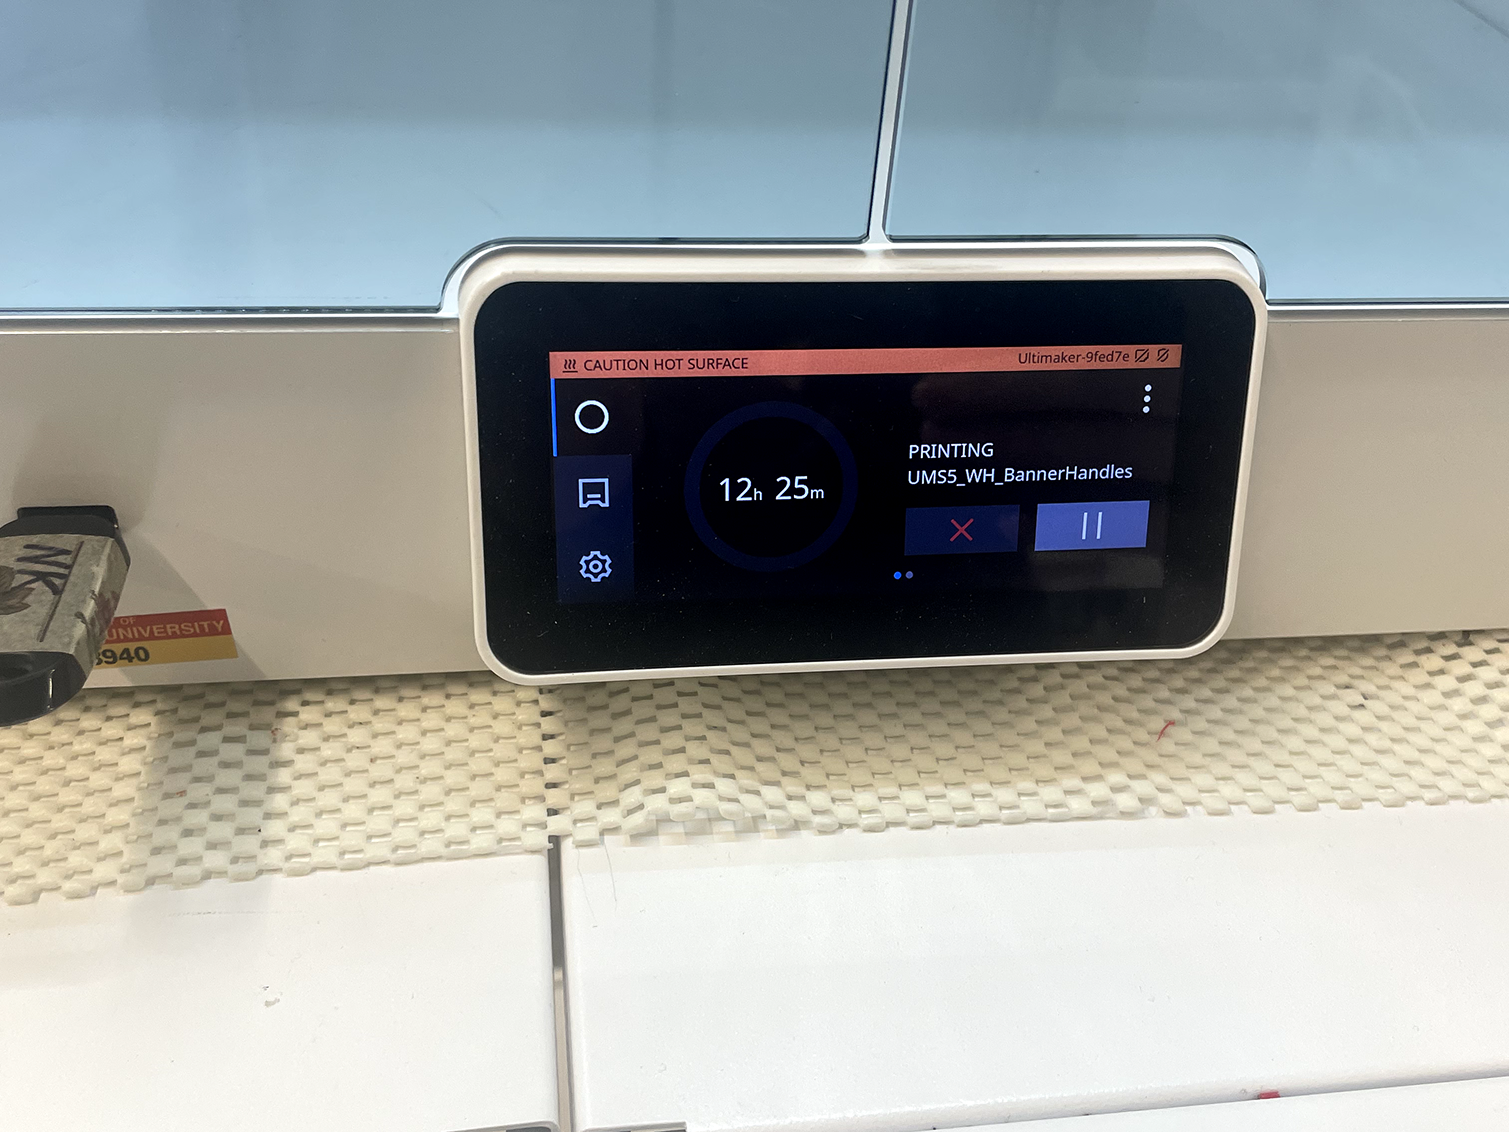
Once we finalized our designs in Cinema 4D, we prepared them for 3D printing utilizing the Cura Ultimaker machines. We imported the designs into the slicing software, where parameters like print resolution, layer height, and material type are configured. Any fine details or unsupported overhangs can mess up a print. We experienced this in our process. We had to reprint and adjust some designs because of small details. The 3D printer brings the digital design to life, layer by layer. This was a time consuming process, with some of our taps even taking three days to print. Once we had our printed prototypes, we could utilize them for functional testing, client presentations, or as a stepping stone for final production.
Additionally, one of our group members created renders of the tap handles.